
It's Day 3 of our Digital Design tutorials. This one is really fun and combines a few techniques.
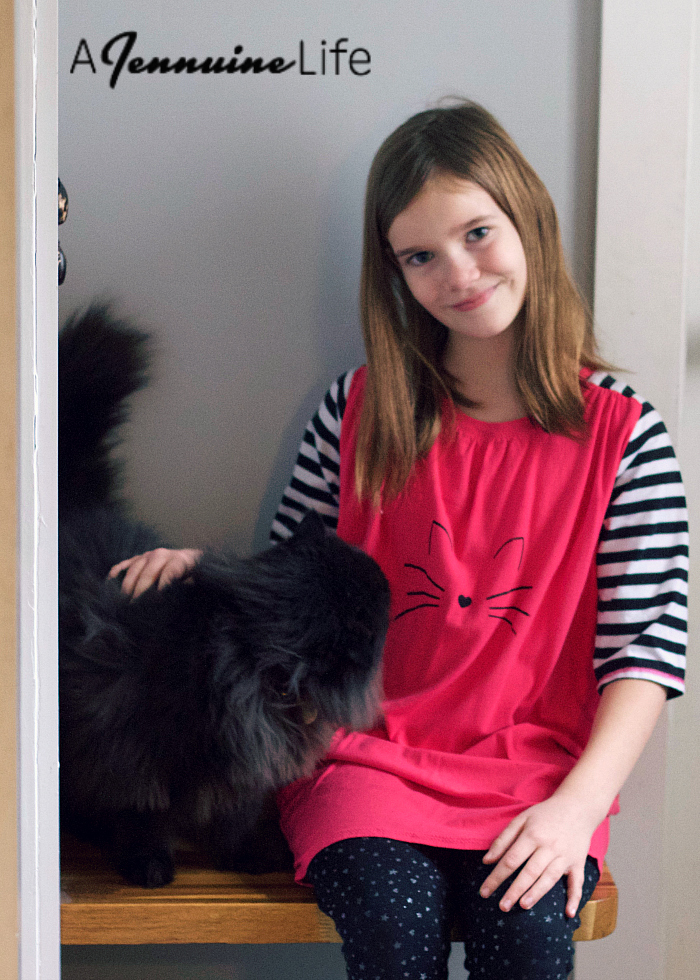
Today Jenn from Jennuine Design is sharing a tutorial on how to use a cutting machine and a screen printing kit to create a fun pajama themed print. Jenn used the kitty face digital design in this tutorial.
I've used a few different methods over the years, like freezer paper stenciling, applique, reverse applique, and heat transfer vinyl (HTV). My favorite method is my easy screen printing kit from Bobbinhood. The Bobbinhood kit is different from traditional screen printing in that a stencil is used instead of making a screen with the design emulsified onto it... or something like that, I've never done it that way!
It is possible to use designs that have central pieces, like letters, but I chose this design for it's simplicity. I would avoid really complicated designs with lots of small interior pieces. Those would be better with HTV than stencil screen printing like this. If you have a few larger central pieces, you can tape or place them separately before laying the screen in place.
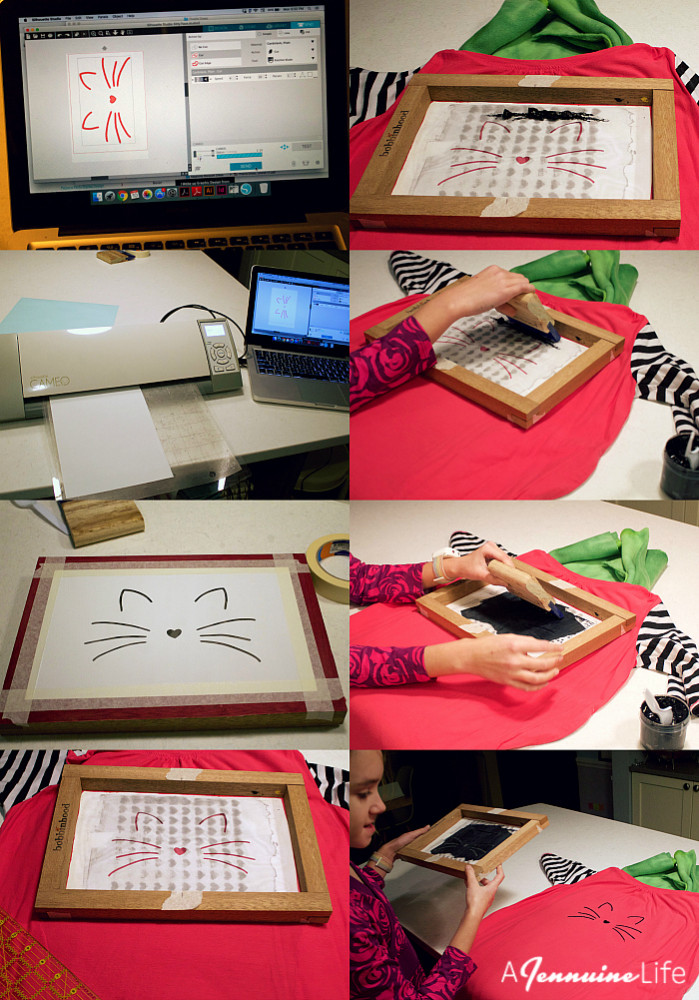
The first part of the process is very similar to making a HTV design. The steps I follow are:
- Import the design into the craft cutting software. I have a Silhouette Cameo so I use Silhouette Studio. I trace the design and then send it to the cutter.
- The Bobbinhood kit comes with a nifty waterproof paper from which the stencils are made. You could absolutely hand cut the designs, and I did that for my first couple of goes at this method. I like the precision and speed of using the Silhouette.
- Once the design is cut, tape it to the outside of the screen. A nice part of this method is you don't have to worry about reversing any text, as the paper can be used from either side.
- Place the prepared screen onto the surface to be printed with the screen down and touching the garment evenly. Yardage or finished items can be printed, but you do have to be sure that the ink won't bleed onto the back side of garments. I have some fleece that I placed smoothly inside the dress to accomplish this and also to have a surface with a little give for printing.
- Once the screen is in place - and level and centered!! - put a small line of the ink onto the screen away from the design area. I keep a plastic spoon in my kit for this purpose.
- Arden is modeling how the squeegee in the kit is used to smooth the ink over the design area.
- Go across the entire area from multiple directions to ensure good coverage. The excess ink on the squeegee can be scraped back into the ink container for reuse.
- Lift the screen away from the garment.
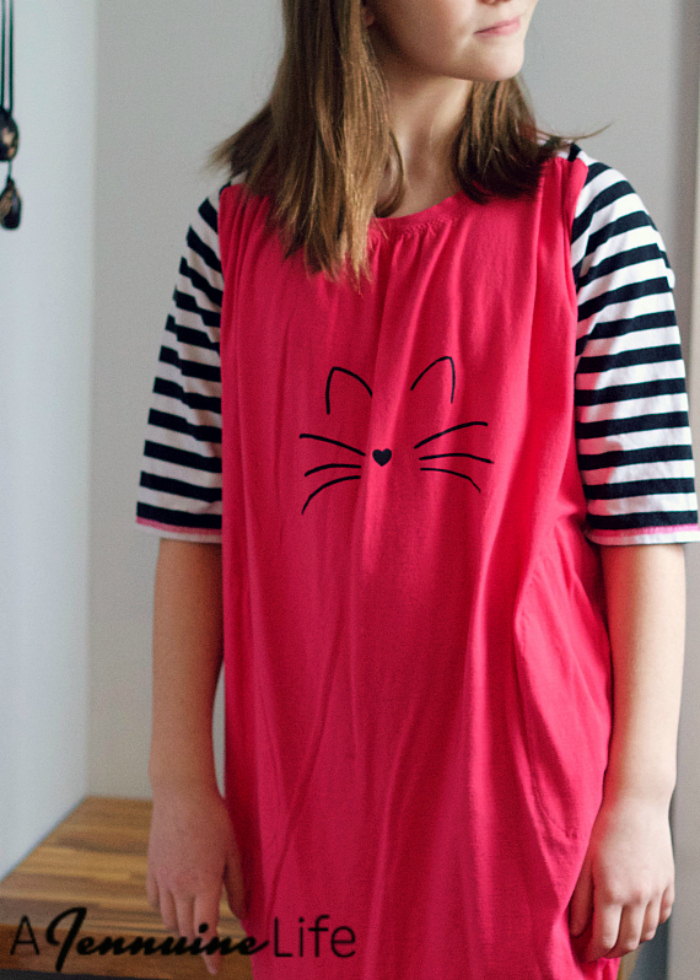
The dress I printed is the UpBeet Tee available in the PR&P shop. I made this for Project Farmer's Market and thought it would look really cute with some extra pizazz, and I was right!! What can you add a digital file to for something extra?
Have you checked out ALL the pajama themed digital designs?


No comments :
Post a Comment
Note: Only a member of this blog may post a comment.