
It's Day 4 of our Digital Design tutorials. This one is very low tech and available to everyone!
Today Lorna from The Accidental Sewist is sharing a tutorial on how to use reverse appliqué and some embroidery to create a pajama themed print.
I'm in envy of the crisp results I see on Facebook and Instagram when people use machine cut, heat press vinyl to embellish their sewing. However I know I have no room for, and dont really need another gadget in my sewing life, but that doesn't mean you can't make amazing things using digital images. Here is my take on the 'Dream on' pyjama pack digital design.

For this project I scrap busted. I dug out quilting cotton, scraps of tablecloth, embroidery floss and some purple cord. No, I'm not making the worlds dodgiest pyjamas, it's going to be a book cushion. Perfect to go with pyjamas.
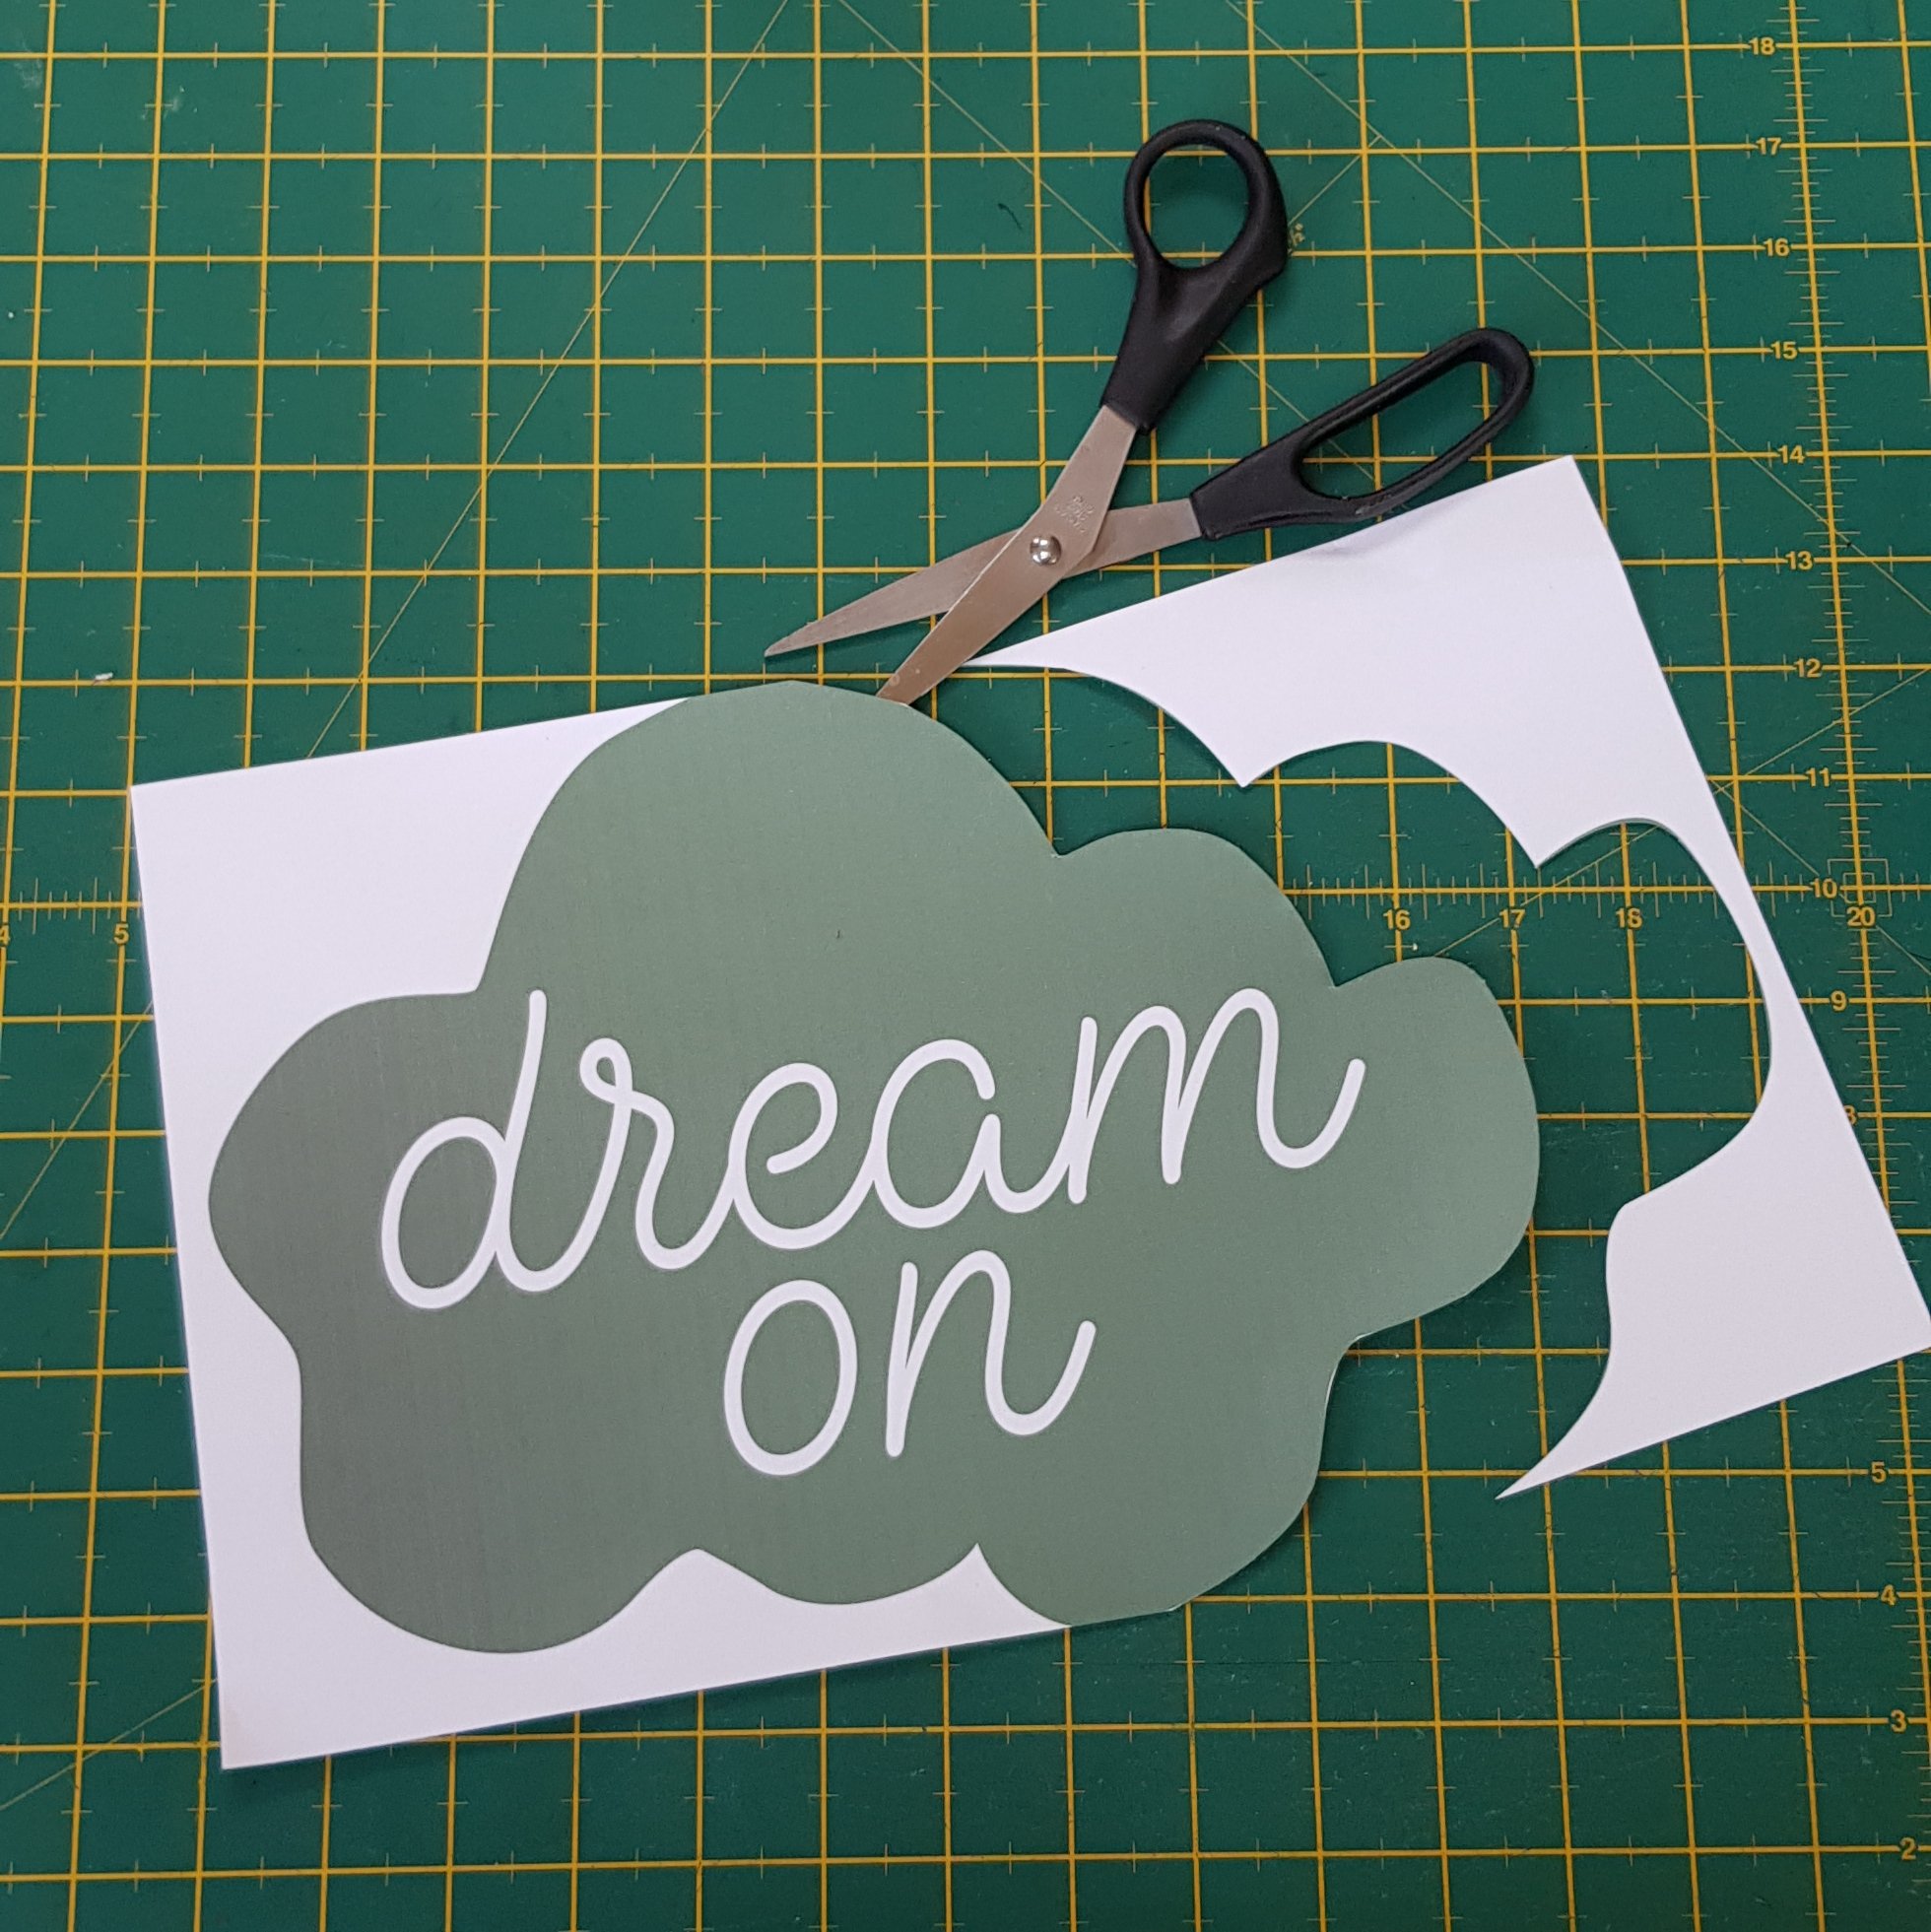

I cut out the cloud so I could easily plan my project and to start I did some reverse applique.
For this project, I kept it simple with a single layer, but you can go for more layers or more detail (as I did for my PR&P season 22 signature sew) it just needs more planning. This is how it works

Put the right side of your cut out shape onto the wrong side of the fabric you are using for your applique and trace around with a 1/8" 'seam allowance'.
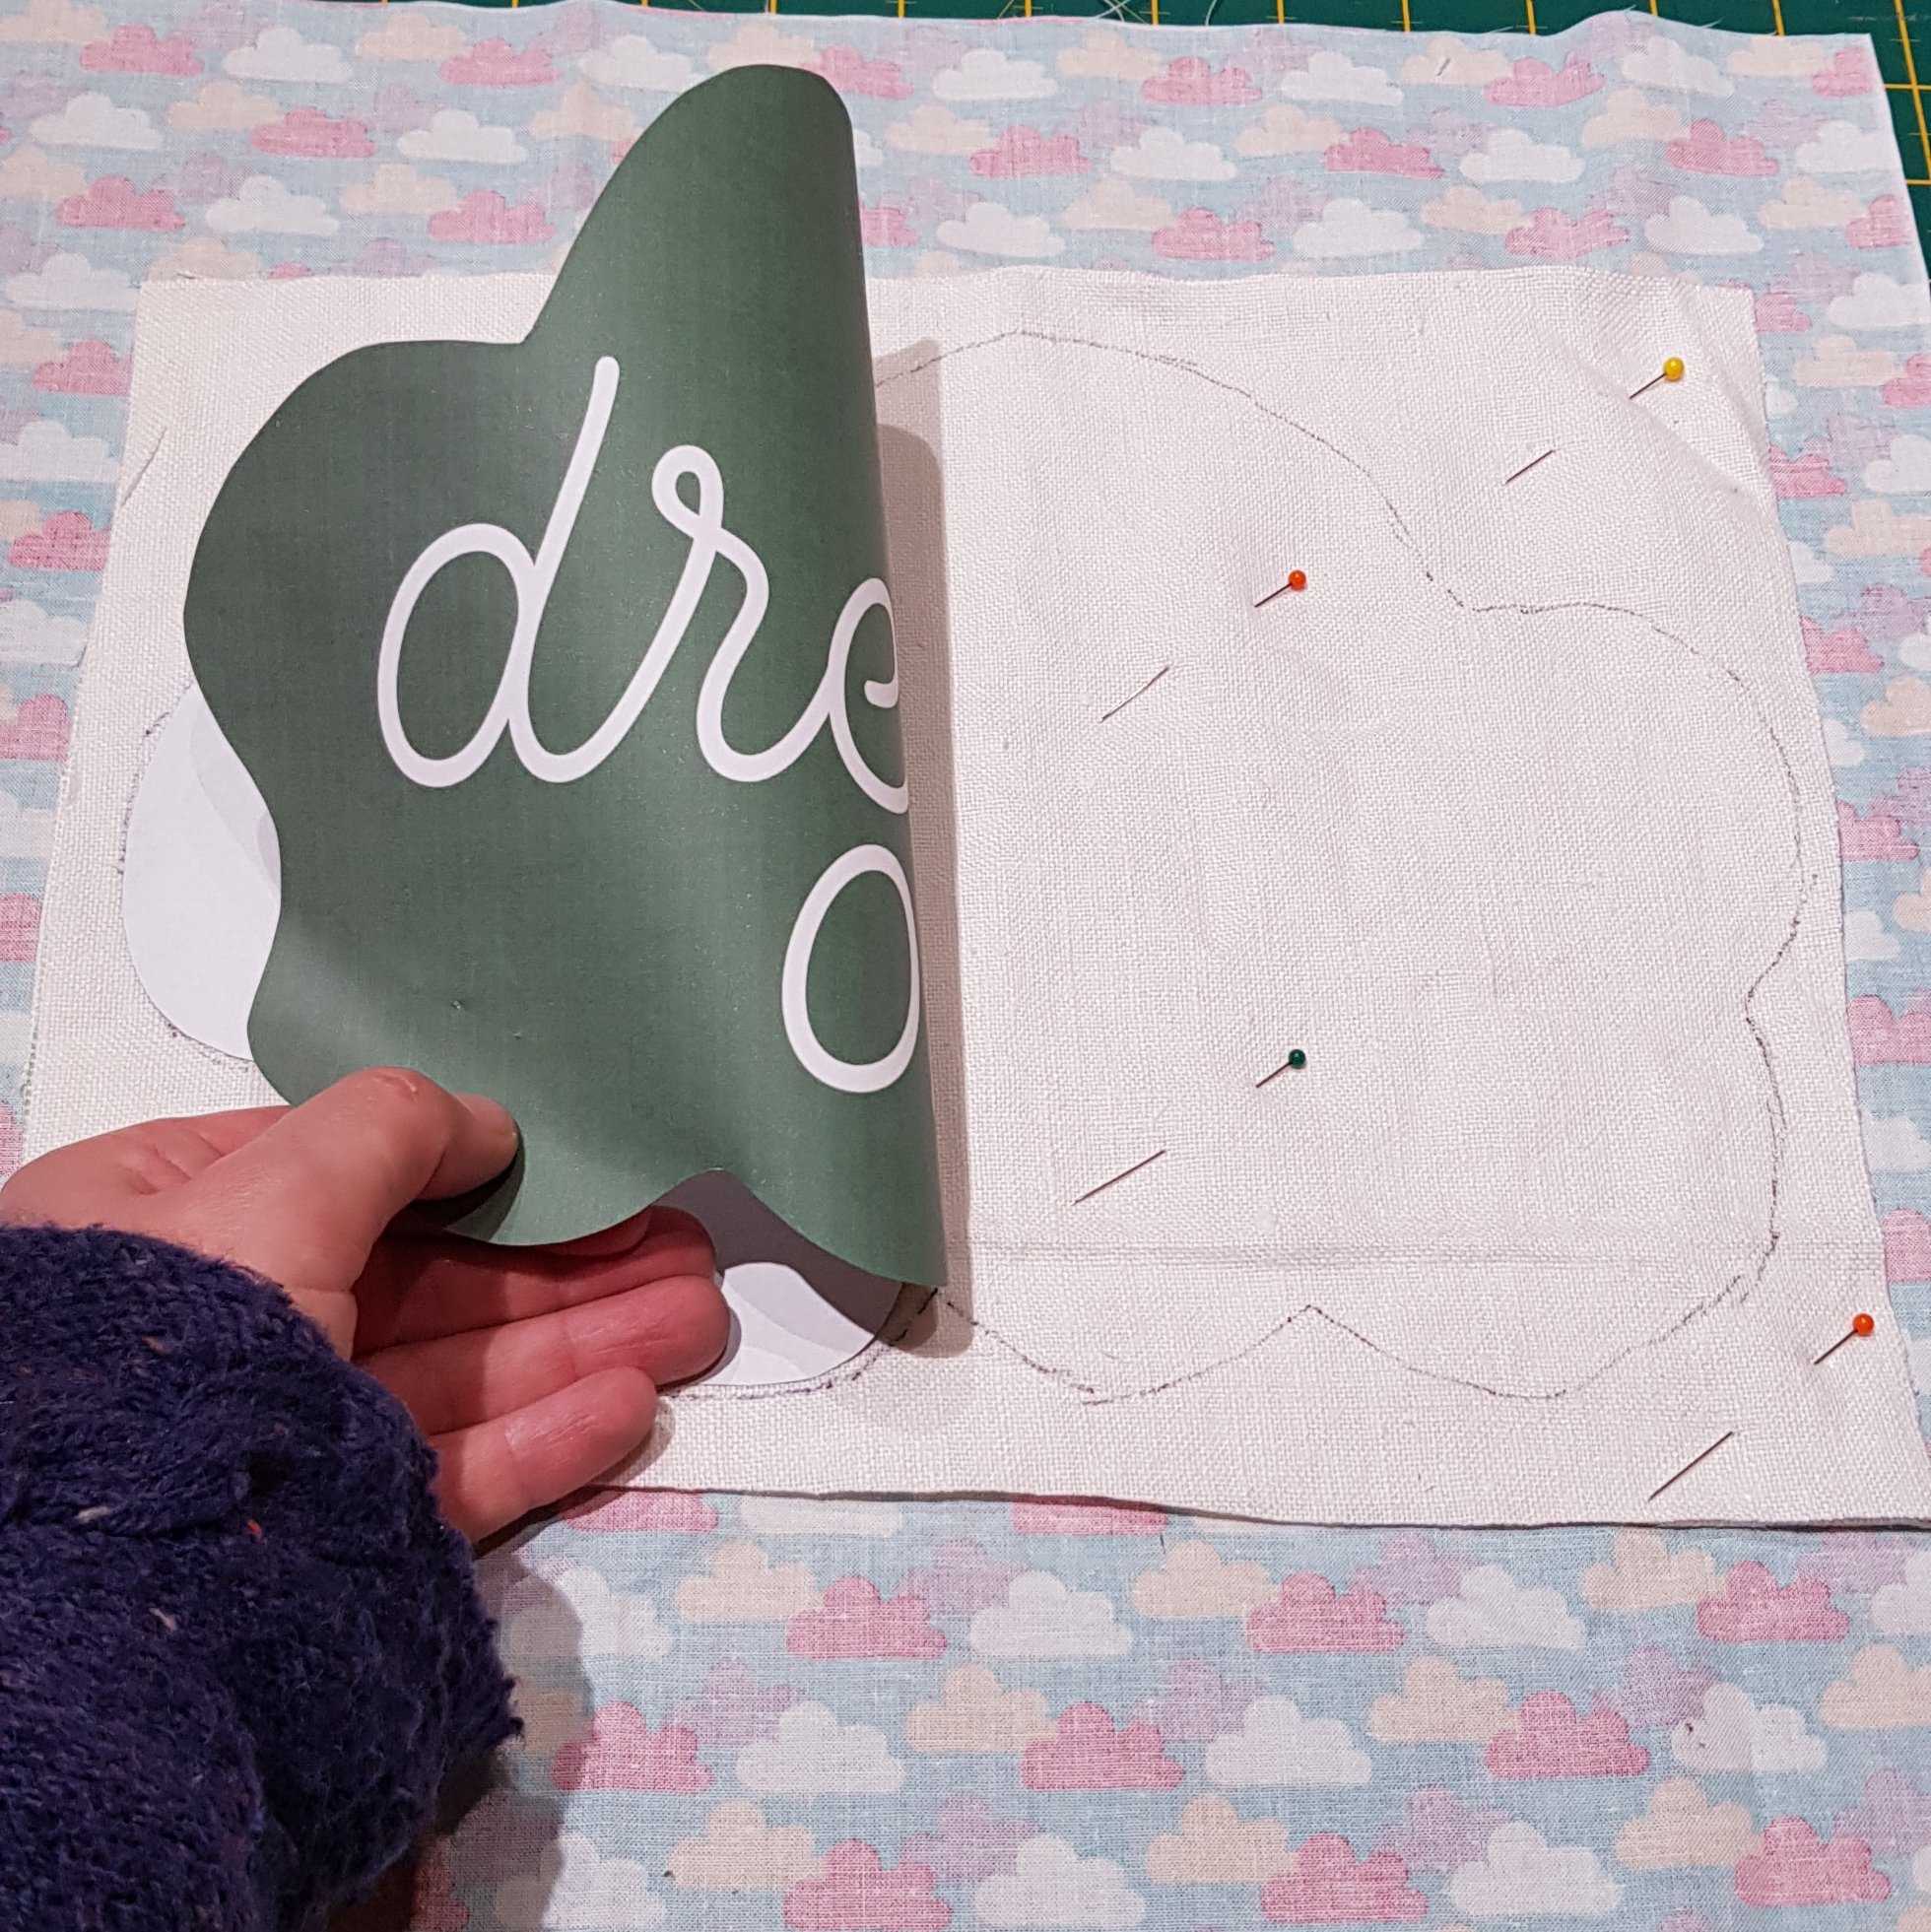
Then pin it to the wrong side of your main fabric and stitch around the shape with a short straight stitch. You can go contrast or matching thread but just remember it will be your bobbin thread that shows on the final project!

Then the fun begins! Remove the pins and gently pinch the top layer - your main fabric - to lift it away from the applique fabric, then make a small snip so you can get you scissors in there. You can get beautiful duckbilled scissors for trimming applique but I dont own a pair (yet) so any good sharp pair will do.

Trim all the way around your shape leaving a 1/8" allowance. And voila, you have reverse appliqued.


Now you could do the same again with another layer beneath the cloud and cut through to show the letters, but I fancied something a bit different. I traced the lettering - you could use a light box or window for this but I could just see through the fabric.

Then I added some couching using the cord and embroidery floss. Stitching the cord down as I went, following the markings, to make a real feature of the flowing font as well as adding some interesting texture.

To turn it into the finished article I bound one raw edge on each back panel of the cushion, sewed the back to the front with french seams, inserted the cushion pad, and there you go, one book cushion, fit for any bedtime story. Simple, unique and effective.

What will you make with your digital pyjama panel? The possibilities are endless.

Have you checked out ALL the pajama themed digital designs?


No comments :
Post a Comment
Note: Only a member of this blog may post a comment.