
Today we are blessed to have Whitney from Sew Whit Designs here sharing her advice for anyone sewing swim for their 1st time. Whitney is an AMAZING swimwear sewist, so you can depend on any and all advice she shares. Be sure to follow her on Instagram for your chance to win a swimwear sewing pattern from the shop!
I’ve been a sewing swimsuits since I was in Highschool 20+ years ago. Back in the day there wasn’t a lot of info on how to sew your own swimsuits. I was stuck with one or two paper patterns and whatever fabric I could find at the local fabric store which was usually 3 or 4 prints. Now there are hundreds of digital patterns, oodles of fabrics, and lots of info available online.
If you are new at sewing swimwear start here. This is a post I did a few months ago for Raspberry Creek Fabrics. I compiled all my most Frequently Asked questions and did a little breakdown of different fabric, elastic, notion types. I was a labor of love and worth the read.
Usually, you know where you want to end up, but sometimes it’s hard to know where to start. Here is my best recommendation for true beginners. Start with a Rash guard and some Euro Shorties. This type of swim wear will allow you to practice your skill on the swim fabric, which does have a bit of a learning curve, without overwhelming you with new technique. It's pretty similar to sewing any other knit fabric but sewing with swim fabric can be tricky because it can be slippery.
With these types of patterns there isn’t any elastic involved (except for the waistband) there isn’t extra support/cups that need to be added and fitting is as easy as any knit shirt or shorts. Rash guards and shorties are the perfect way to dip your toes into sewing swim.
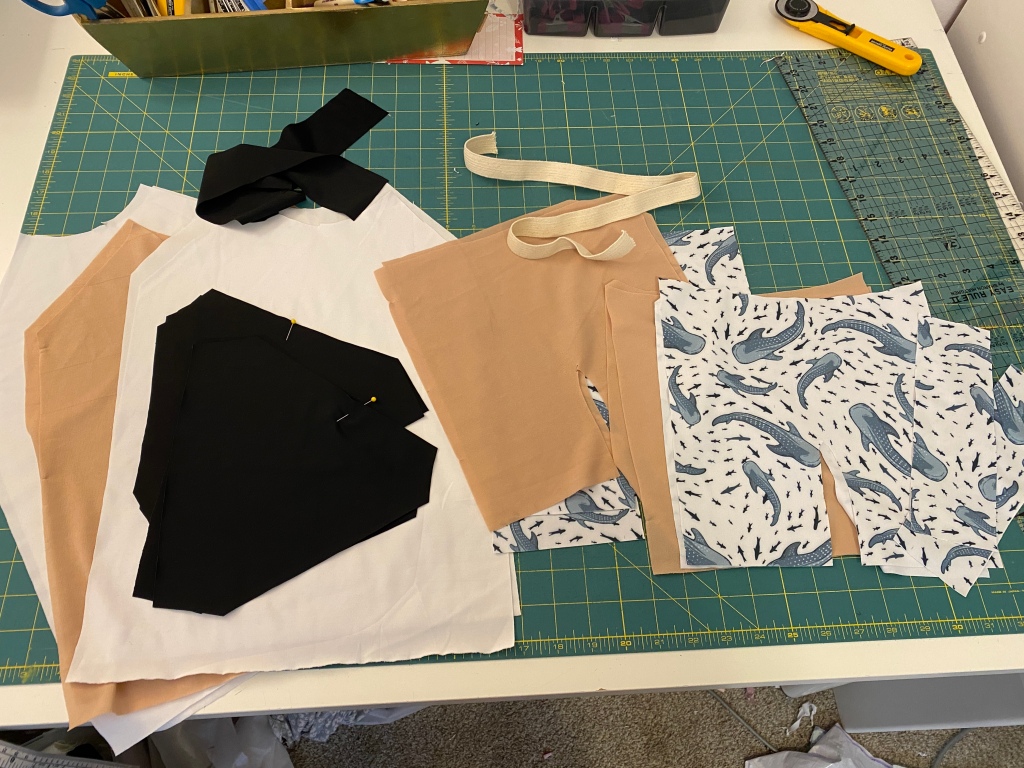
I was excited to sew up the Reef Beach Rashie and the PB Swim Shorties from the Project Jet set collection for this post!

I’d already sewn up the Rashie for the Project Jet set tour in regular jersey. When I initially made it, I sized up because I wasn’t sure how much negative ease was included. But as a rash guard you want the top to fit a little more snug so it’s not baggy in the water. So, recommend choosing size according to the child's measurements.
We chose just the basic design for these. If you're a true beginner, start with that view on the pattern. But the Rashie Pattern is awesome because it does have a color blocked view and an option for a zipper! So when you're ready to up your game a little bit choose one of those fun options.

I used my go to Raspberry Creek Swim fabric solids for the top. I went with classic black and white. I debated on adding a shark with some heat transfer vinyl but decided to leave it plain because it will coordinate with more swim bottoms.
One tip I have for sewing with swim fabric is a regular old washable glue stick. It's helpful to "glue" the lining to the fabric to keep it from slipping as easily as you sew. The pattern instructs you to add the lining to the wrong side of your front and treat it as one piece.
I typically line the fronts of my rash guards only. The sleeves and the back don't need lining. For the bottoms however, I line both the front and back with swim lining and I lined the gusset with swim fabric for a little more coverage.

Another tip I have is for hems, and that is to baste your hem at the Hem allowance. Sew a long basting stitch over both the fabric and lining where you plan on FOLDING your hem. I basted the rash guard, and the shorts hem this way.

After basting your hem at the hem allowance line, you can turn up your hem. If I'm sewing anything but swim, I press the hem up. (You can press swim fabric, on a low setting, but it doesn't hold the crease well.) At this point you can easily see where you are supposed to fold the hem up. You can glue or pin it if you need to before you sew the hem. Or if you are confident, you can use your stitching line to fold and stitch as you go along.

I hemmed with my cover stitch. And it was so easy to know where to fold because of the basting stitch. Then remove your basting stitch. If you don't have a coverstitch machine no worries, you can use a twin needle on your sewing machine or a zig zag stitch. But work awesome too. For info on needles and stitch types for swim refer to my FAQs post.
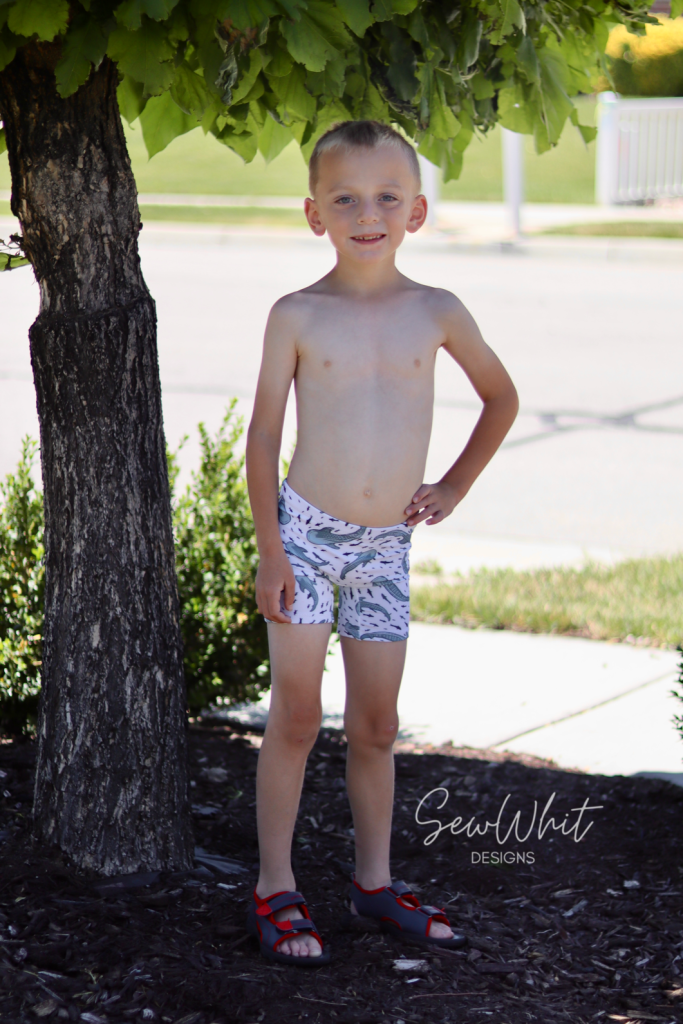
For the Shorties I also went with the basic option. I can't wait to make the rouched side version for my daughter but today we are talking beginner options. This is the long version of the Shorties. The shark fabric was a custom print from Raspberry Creek Fabrics. Hopefully, the designer will add it to their Designer Studios soon.
My boys are now working on darkening their farmer's tan. And living in their new suits.
Stay tuned all month for great tips and inspiration on sewing all the swim! Thanks for having me Project Run & Play!
And for a bit more fun head over to my Instagram account where I get to give away a Free Swim Pattern from the Project Run & Play Shop! Keep your eyes open for that giveaway!

Use the code swim20 at checkout. Code expires July 1st, 2022.

No comments :
Post a Comment
Note: Only a member of this blog may post a comment.