Hi guys! Here is a tutorial for you about how to make the little shirt Amelia wore in my Wanderlust look! It's a little fiddly, but pretty simple! I already have the tutorial up for
Edison's Wanderlust Dress over on my blog, so I hope you enjoy the companion! {And thank you everyone who has helped me get this far!}
Using the top half of a men's shirt, you can make a cute little shirt with a peplum for your little miss! Grab a tee that fits your babe well as a guide. Place it over the top of your men's shirt and mark how wide to make the shoulders, how long the placket should be {the length of the shirt} and about where the middle of the chest is.
Cut the front of the shirt across the middle of the chest, and down the sides of the placket, making sure to leave 1cm either side of the placket for seam allowance.
Flip the placket up and cut straight across the back the same length.
Use your tee-shirt as a guide for how deep to cut the armholes. You should have about 3-4cm from the armhole to the bottom of the shirt piece in the sideseam area.
So this is what you should have!
Using bias-binding, either bought or DIYed, bind the armholes. As you can see in the picture above, I didn't switch the buttons out just yet. You can leave the original buttons, or take them off and replace them with some different ones.
Fold the shirt in half so the inside of it is on the outside. Stitch the sideseams, about a cm seam allowance, and overlock them.
Measure from sideseam to sideseam. Now multiply that by 4 to have a nice full peplum, or by 3 for a slightly gathered look. Cut out a rectangle of fabric {either the same as the bias binding on the sleeves, or switched up for something completely different!}. The width of the fabric is the measurement you just took, the height of the fabric is how much placket you have hanging over from the body of the shirt PLUS 1cm across the top and 1cm across the bottom for seam allowance.
Gather the top of this rectangle. At the bottom of
this post I have a bunch of links to various gathering, piping & bias-binding tutorials on the web! Now pin it to the body of the shirt, sandwiching the piping in between!
Stitch that
 |
| That's my gathering thread I hadn't removed yet :P |
Now when you get to the centre front, it's a bit difficult to stitch the right angle. Use lots of pins, go slow, you will be able to do it! You can't see very well in the photo below { :/ Sorry about that}, but I cut a 45 degree angle little snip in the seam allowance to make it easier to pin and stitch around.
Hem the bottom and you are totally done!
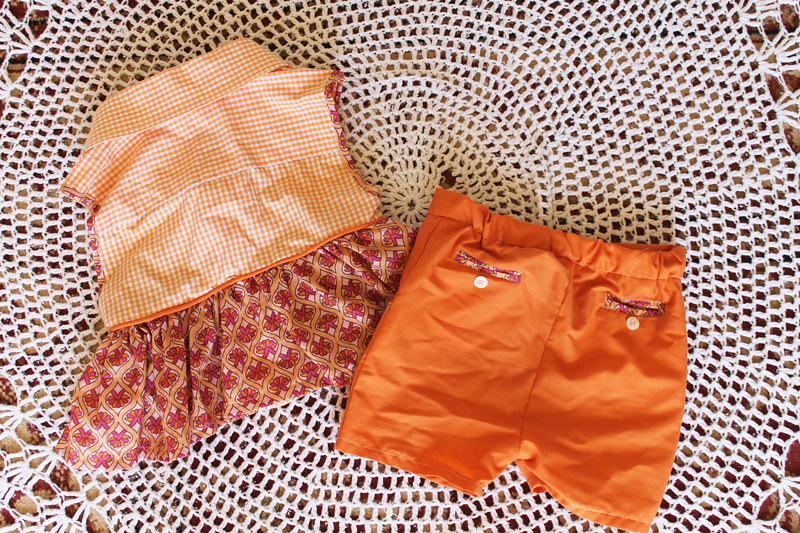
Here's a better shot of the front & back for you
Thanks for having me Simons!


Such a sweet refashion, Max!!! I LOVE the orange!
ReplyDeleteThanks Shannon <3!
Delete