
Hello PR&P readers! My name is Stacy, and I blog over at Stylin' Stacy. I am an avid seamstress, and have been sewing on a machine since I was 12. I tend to draft a lot of my own patterns, and like a challenge.
In the past few years we have taken our kids to a convention here in town. A smaller comic con than other cities, but it is an excuse for me to make costumes. I like making costumes.
They just keep getting harder to do!
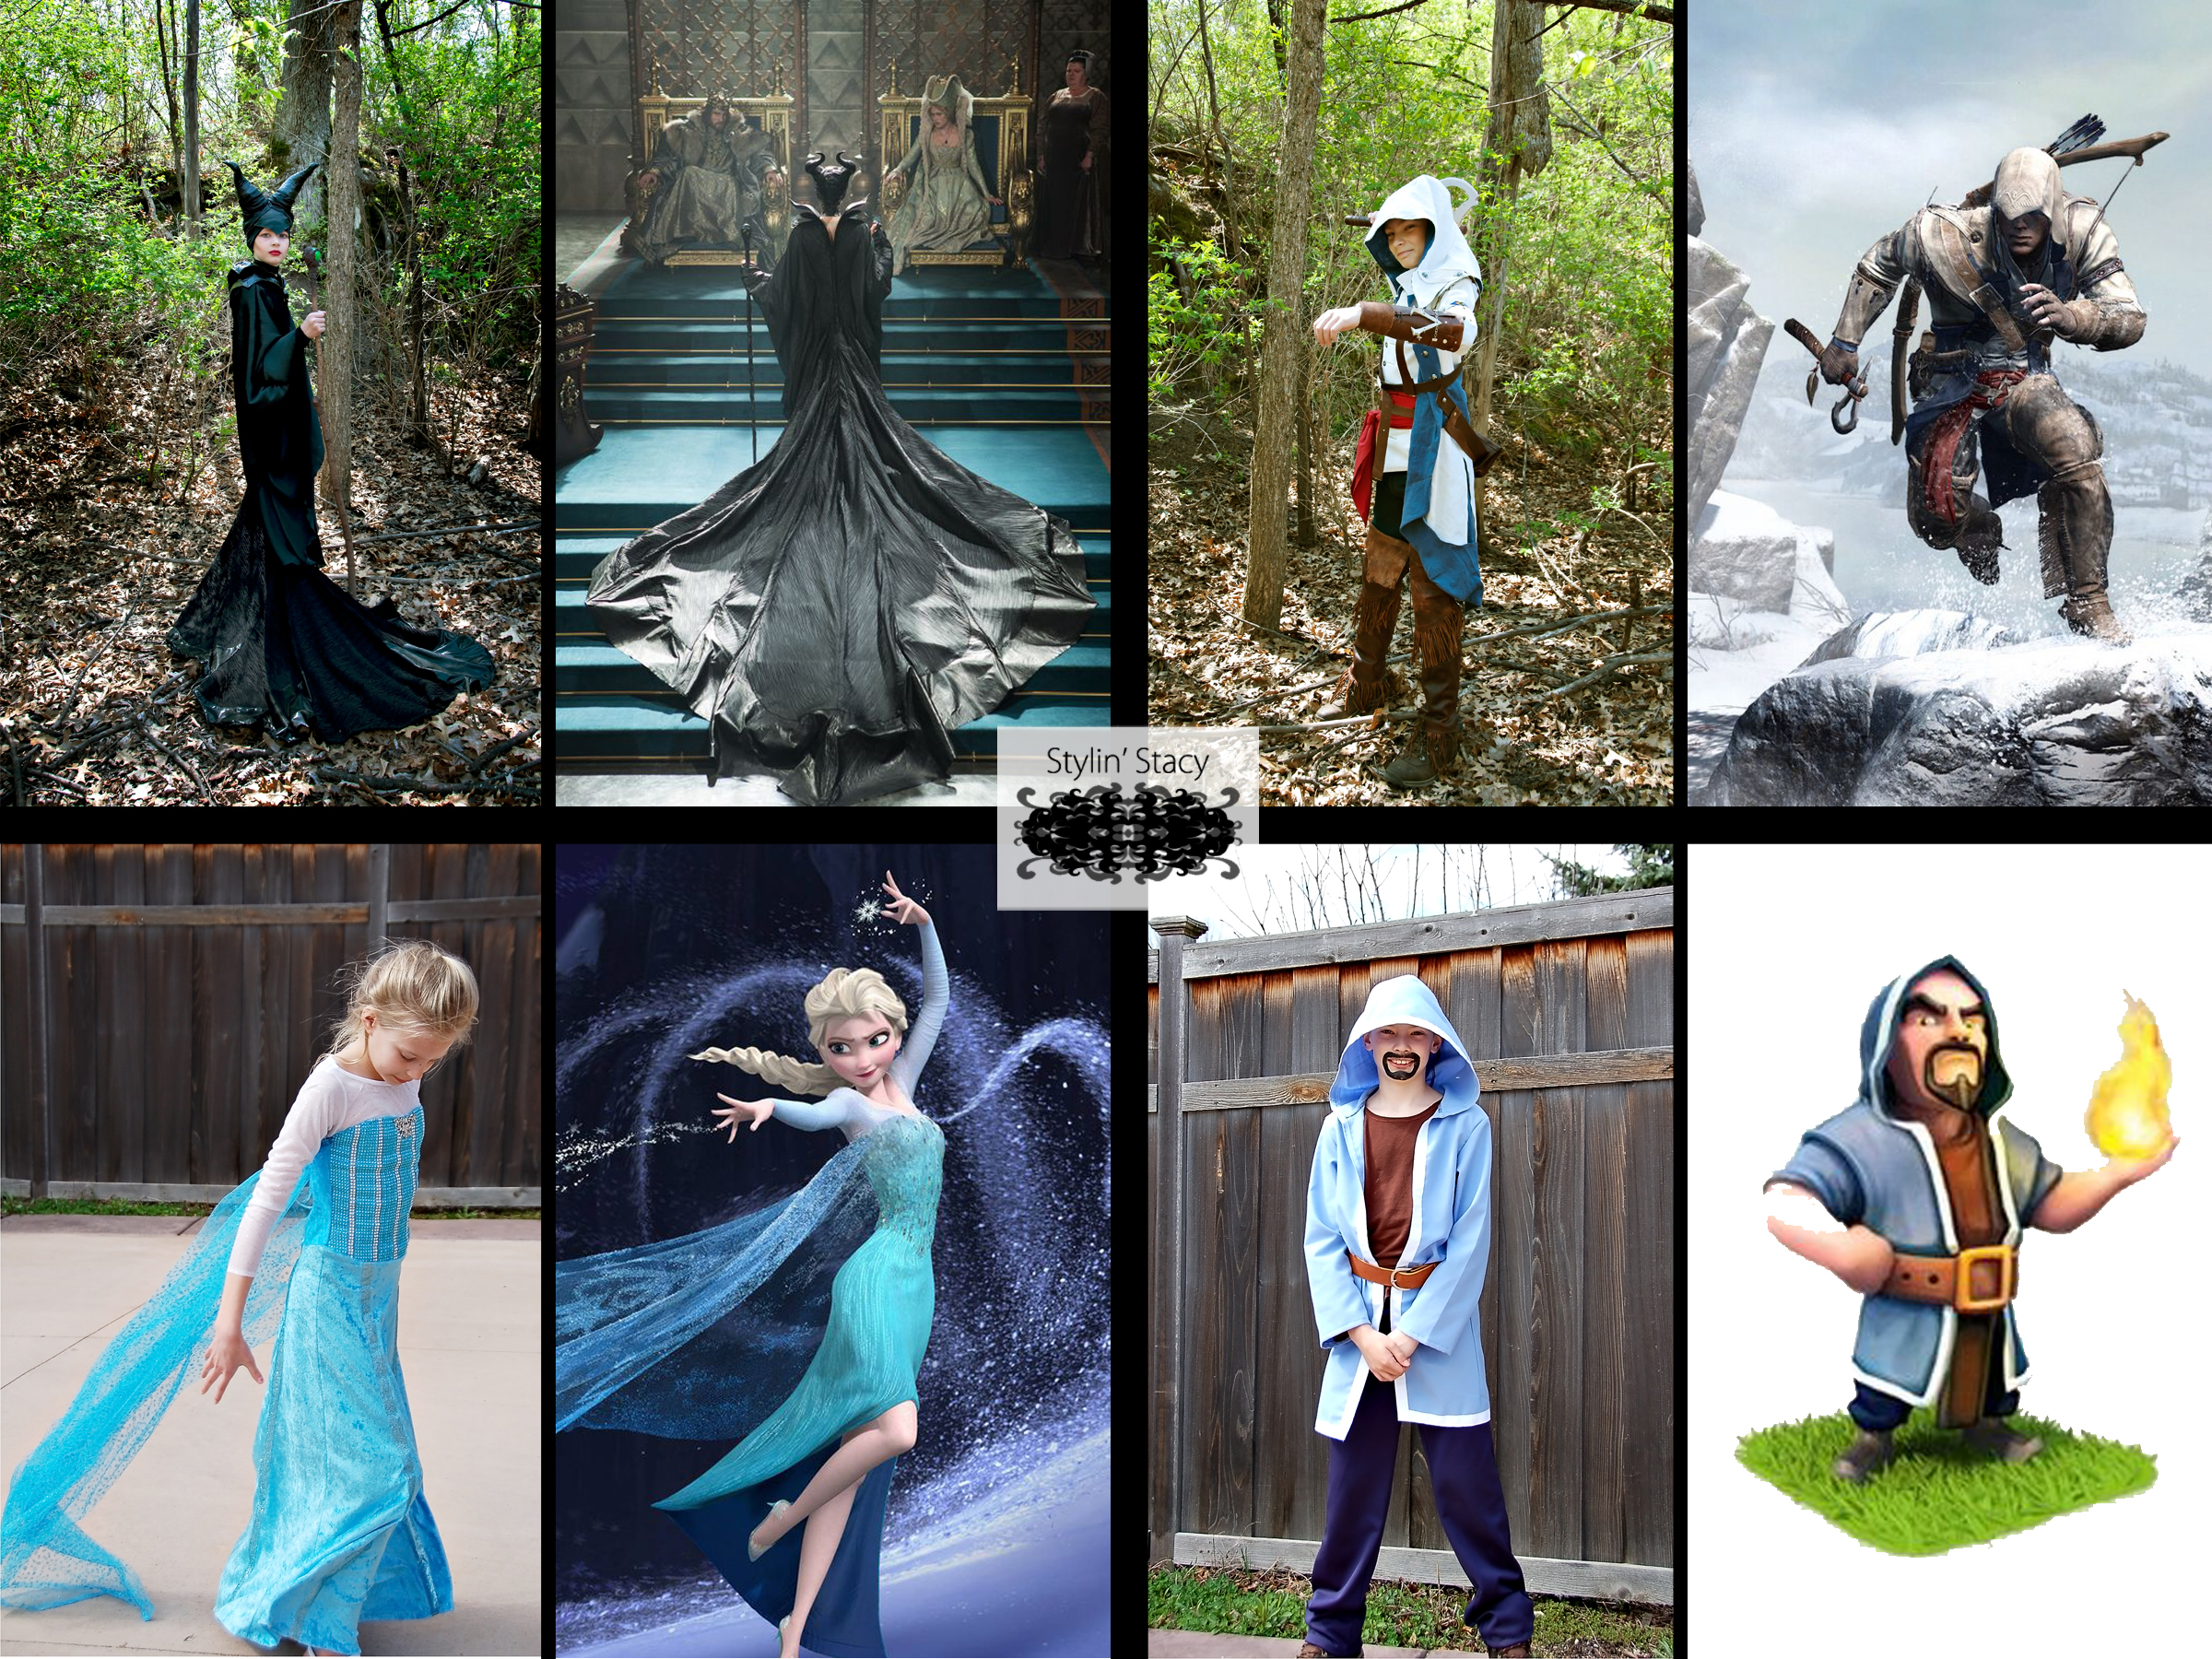
These are the kids' characters for this year:

The female is Ciri, and part of her costume is a leather corset. In many female cosplay costumes, a corset is a integral part of the costume. There are a lot of "period" (however fictitious the period may be) costumes, where corsets are the norm for the female characters. As this is for a girl and not a woman, the corset pattern is fairly easy to put together. I am making a simple version, so no lacing on the back, though I am fitting it to her exactly before finishing sewing it up.
Measurements and drafting:
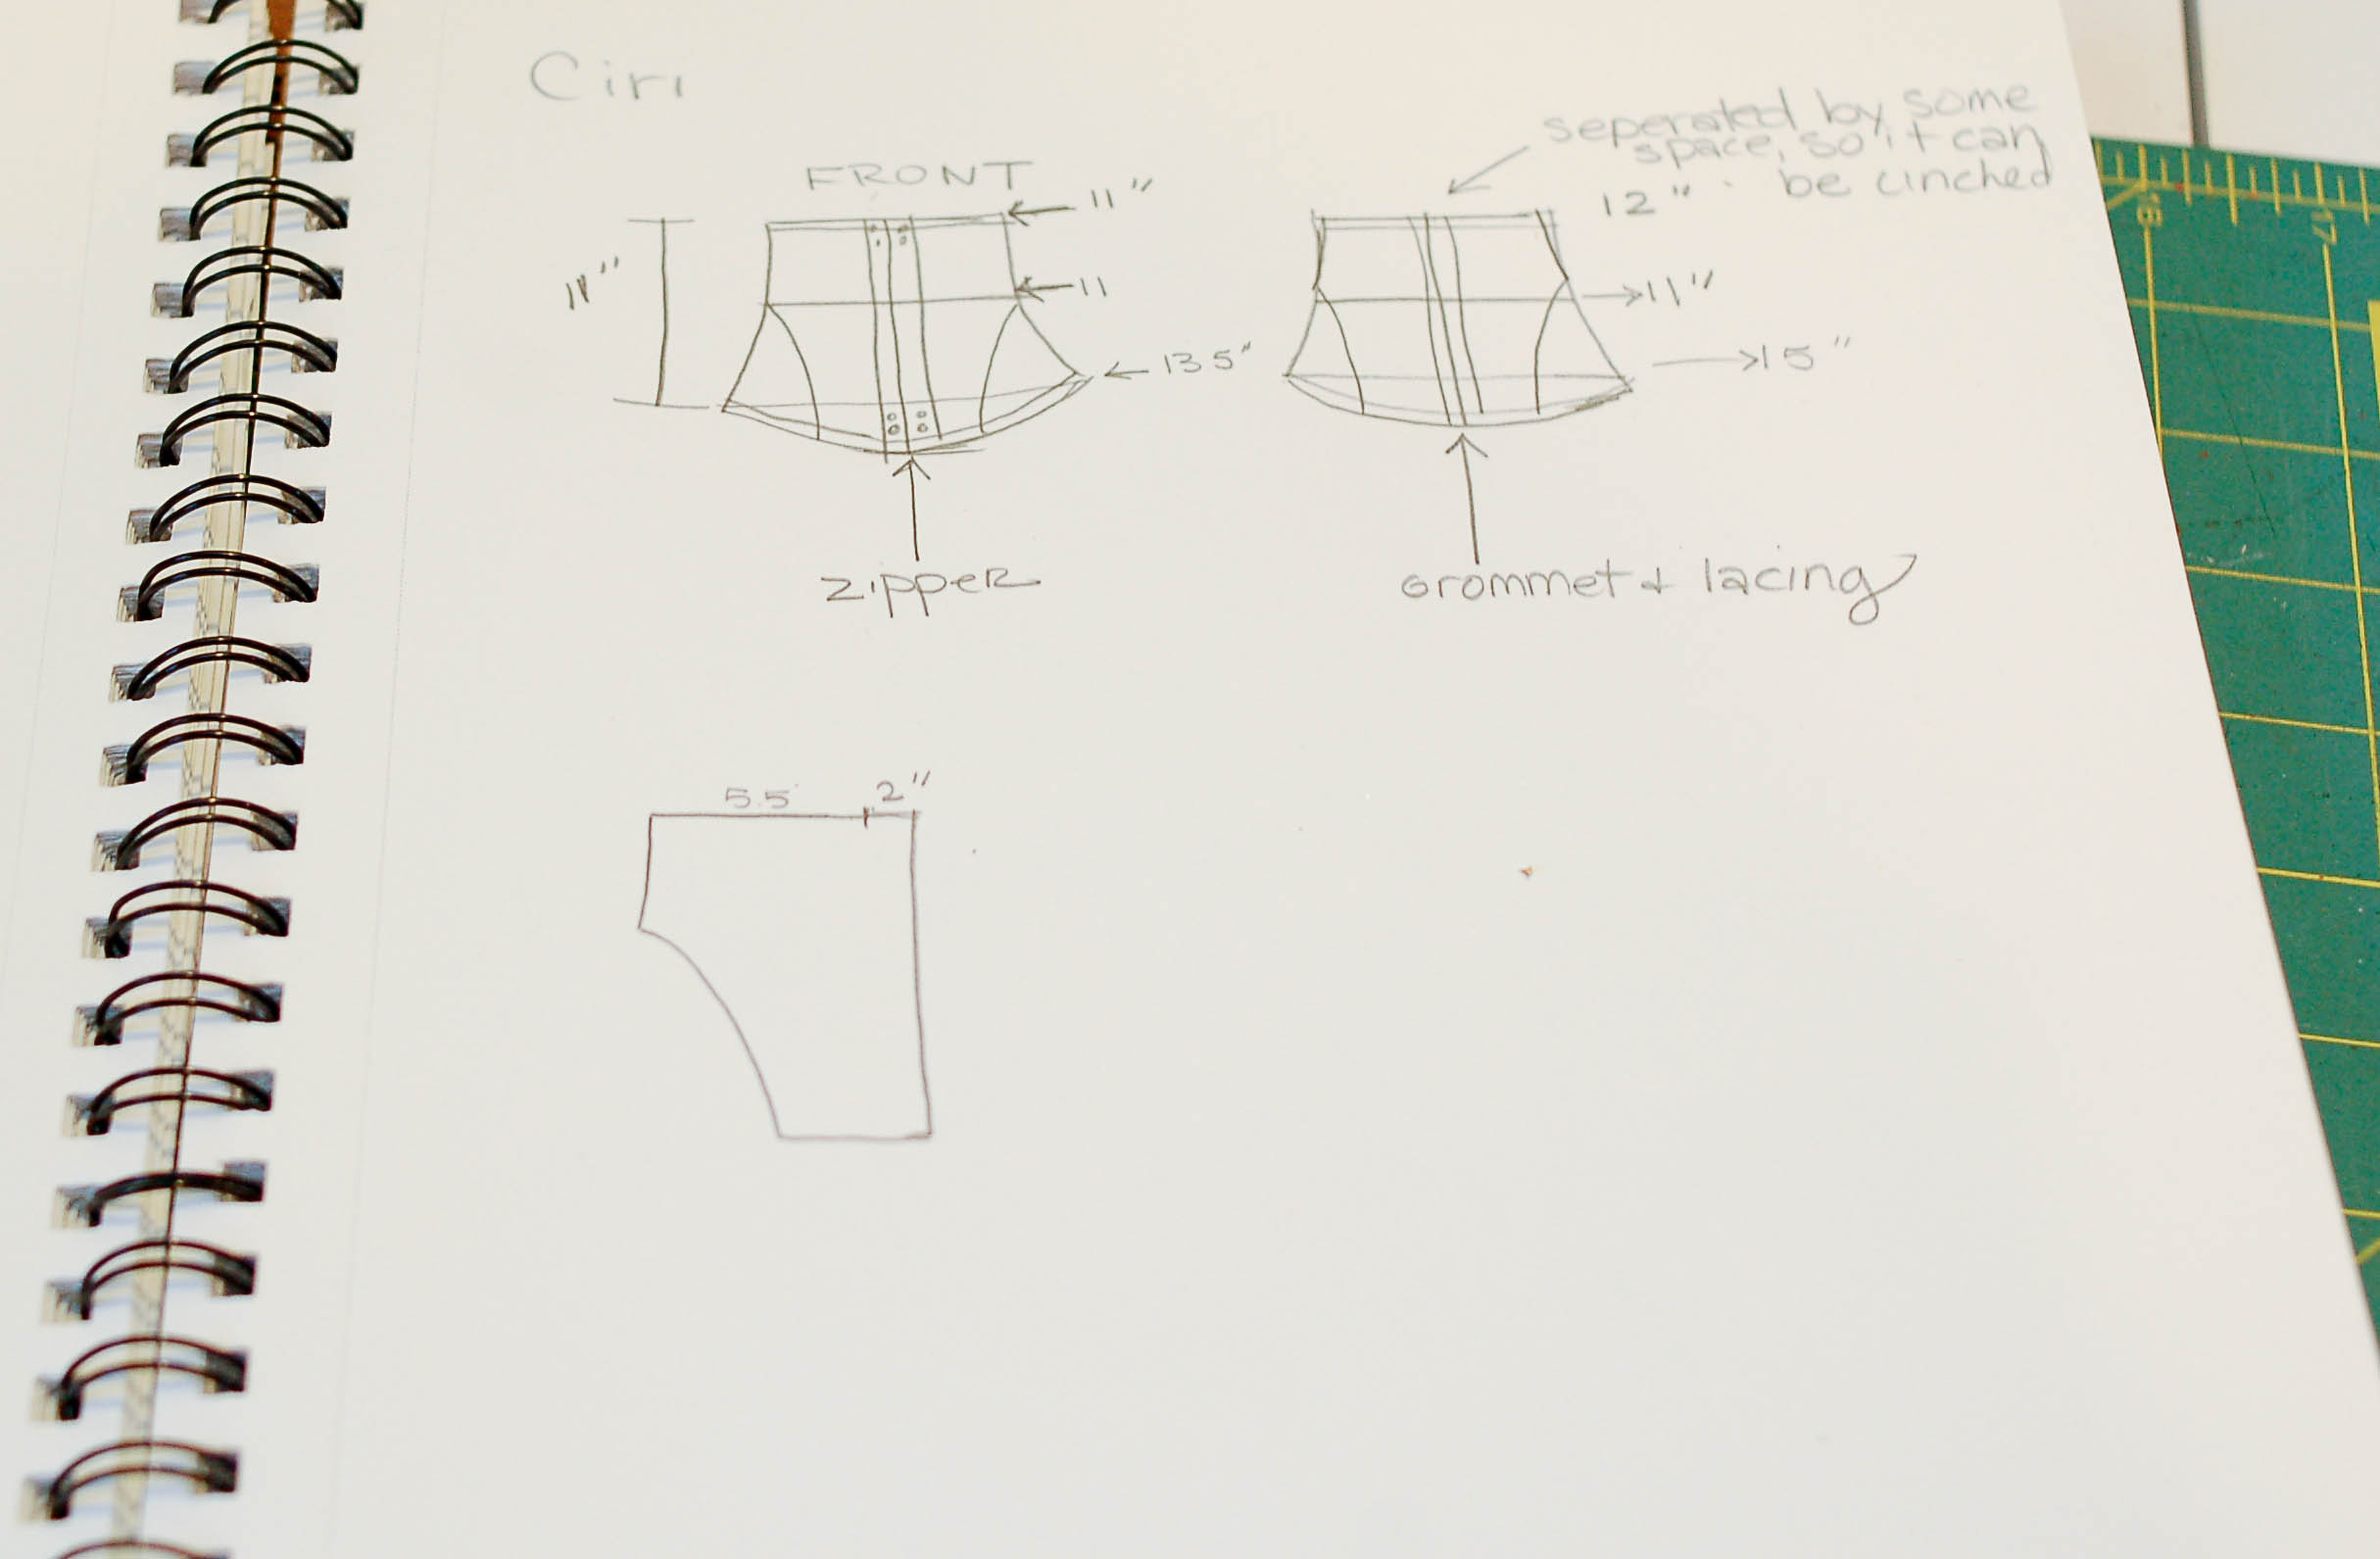
Take your measurements and draft out your pattern. Here is how I did mine, which was based on a rib cage measurement of 23", 22" waist and 25" hip. Total length is 11". Try to draw a hip curve for the side seams. This doesn't have to be perfect, since you will be fitting it at the back, and if using lacing, it will draw in areas to keep it tight. Just do the best you can. I had a pretty hefty seam allowance for the center, which was 1.5". This gives me a solid center piece and allowed me to fit it in the back fairly accurately.
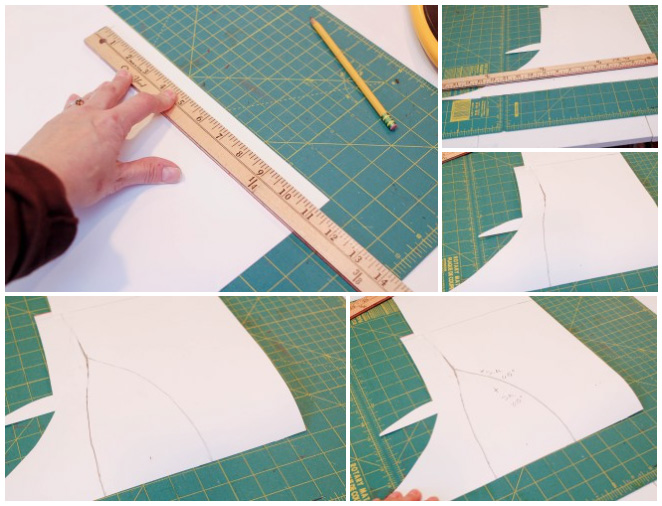
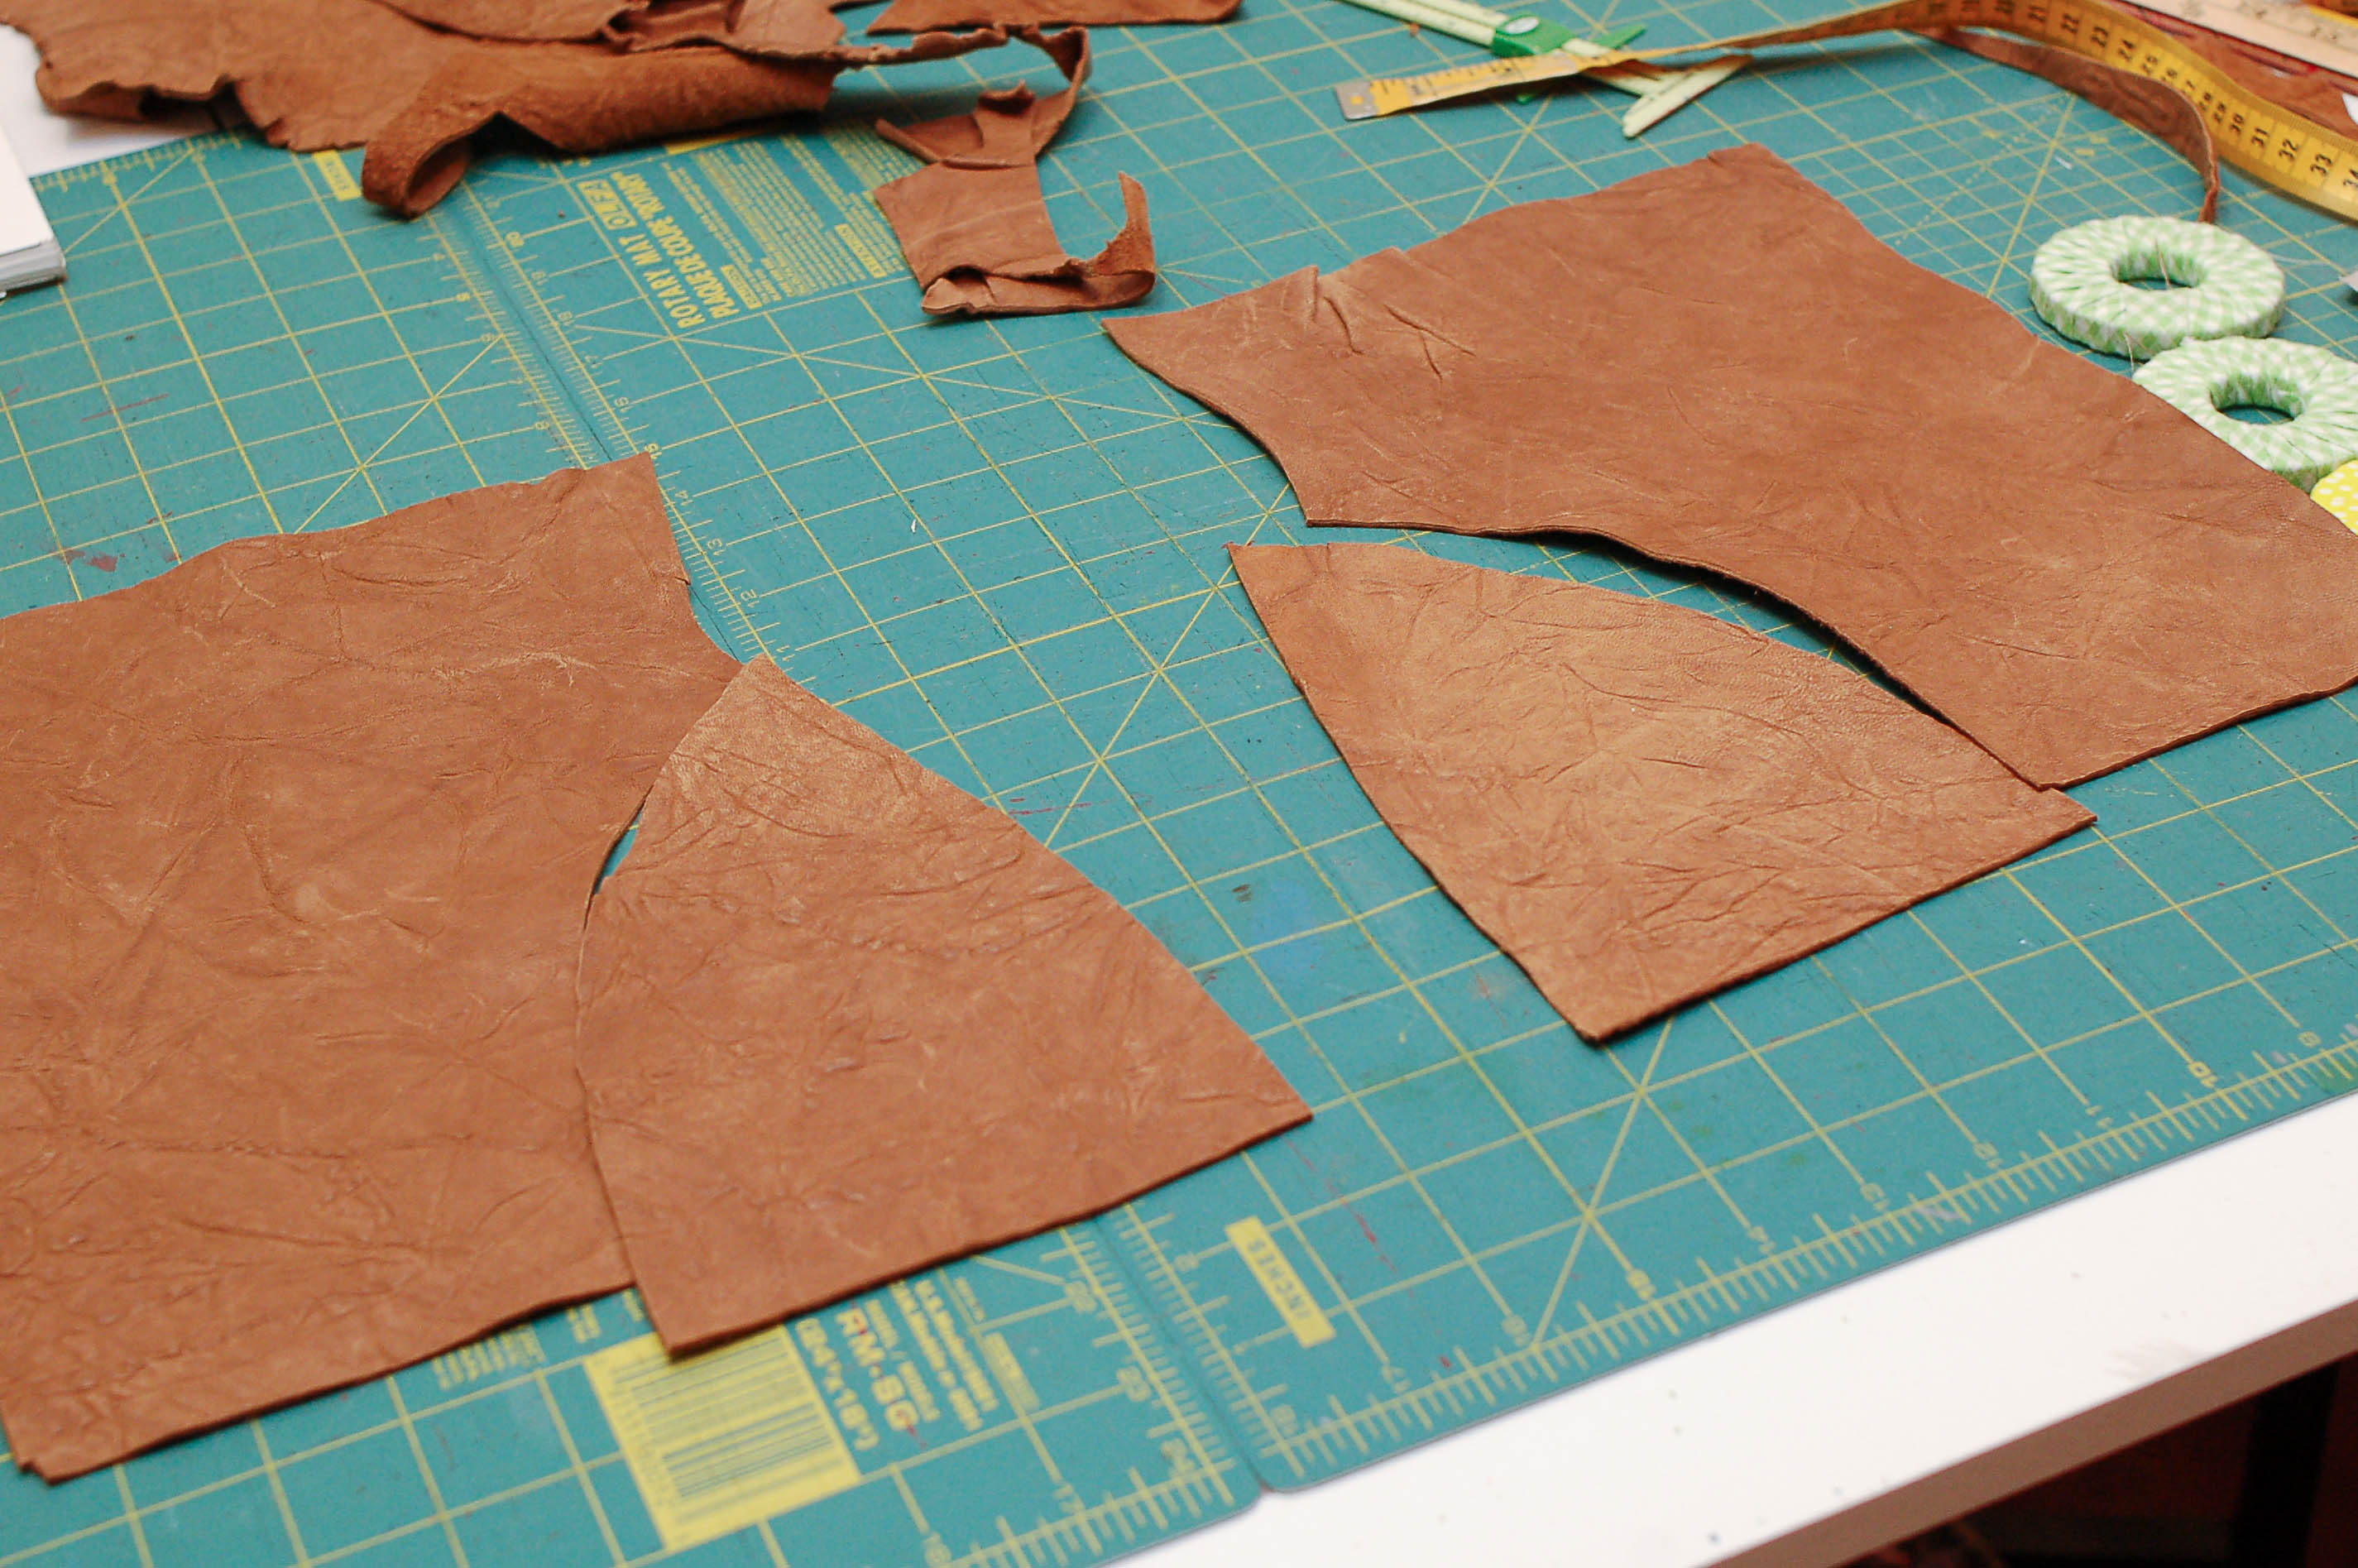
Your pattern pieces will look like this. I drew and cut the curved piece from where the hip started to flare out to about halfway. No special science behind the curve shape. I just drew out what looked good.
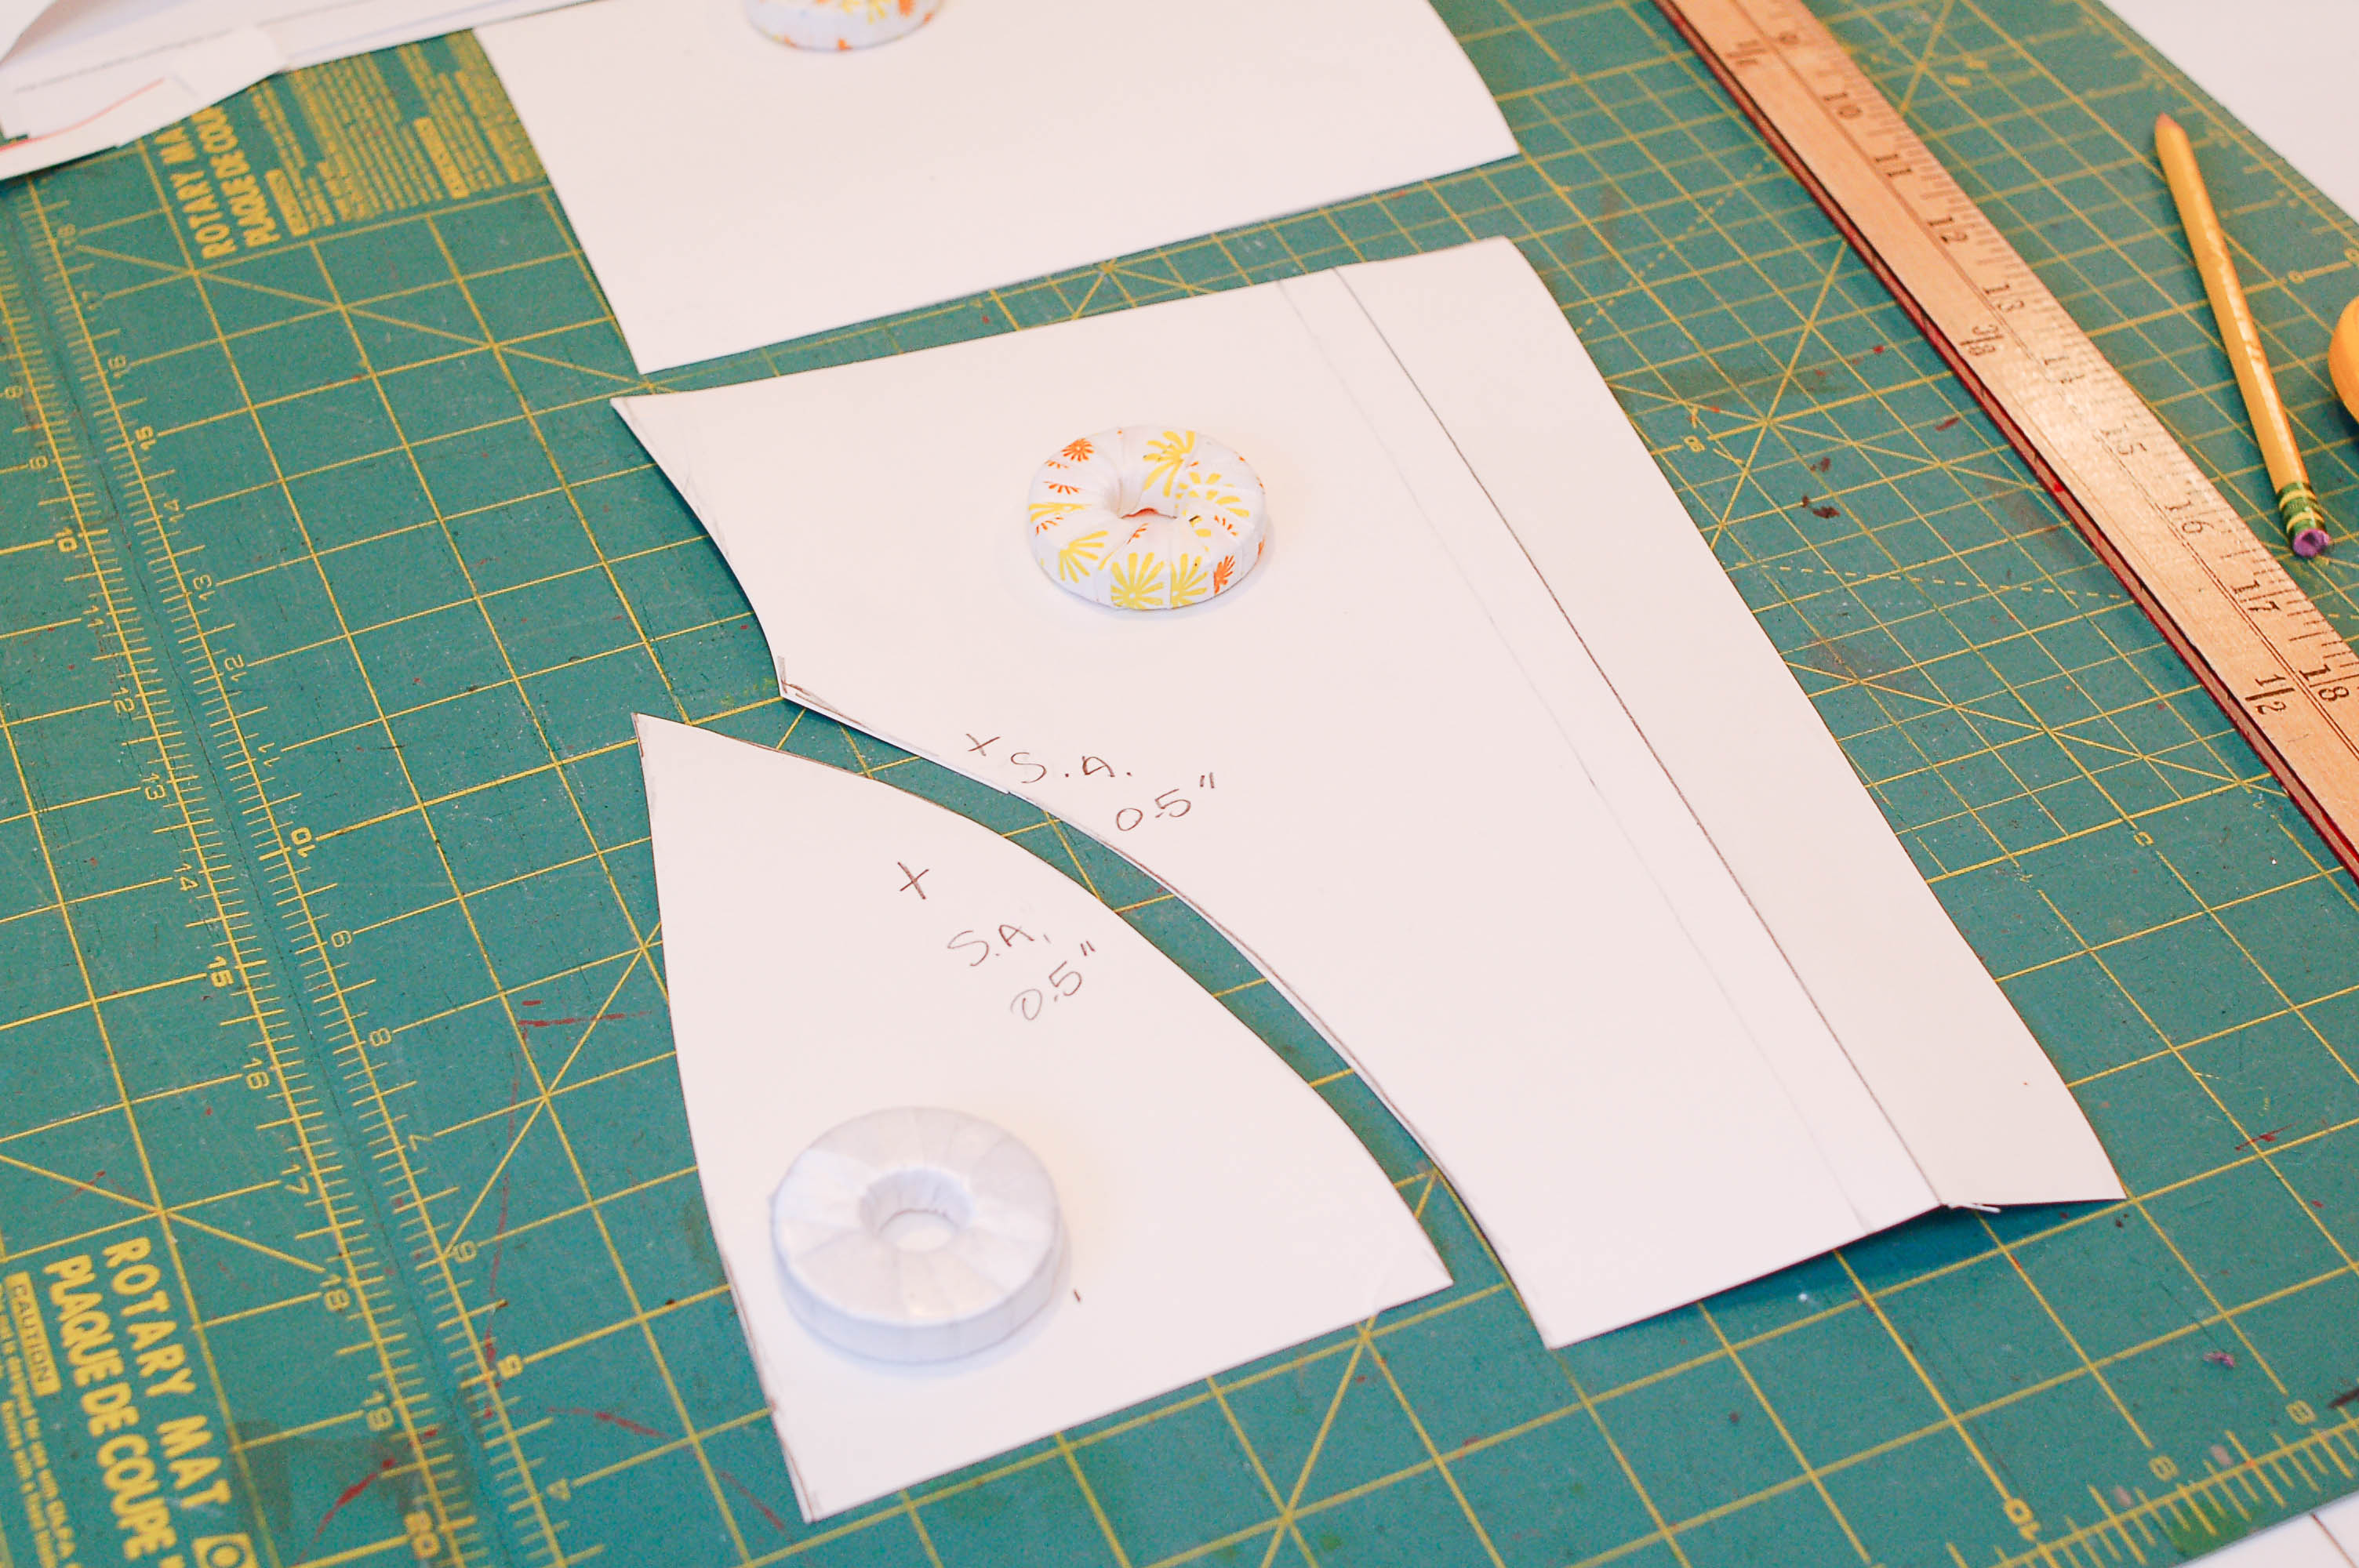
You need to make sure you include all of your seam allowances. You want the seam allowances to be at least 0.5", as you will be putting the boning in the inside of those seam allowances. Measure the width of your boning and add seam allowance accordingly. I am just using zip ties here, so they are fairly thin. A 0.5" seam allowance was all I needed, since I was going in between the seam and not on each side of the seam.
Supplies:
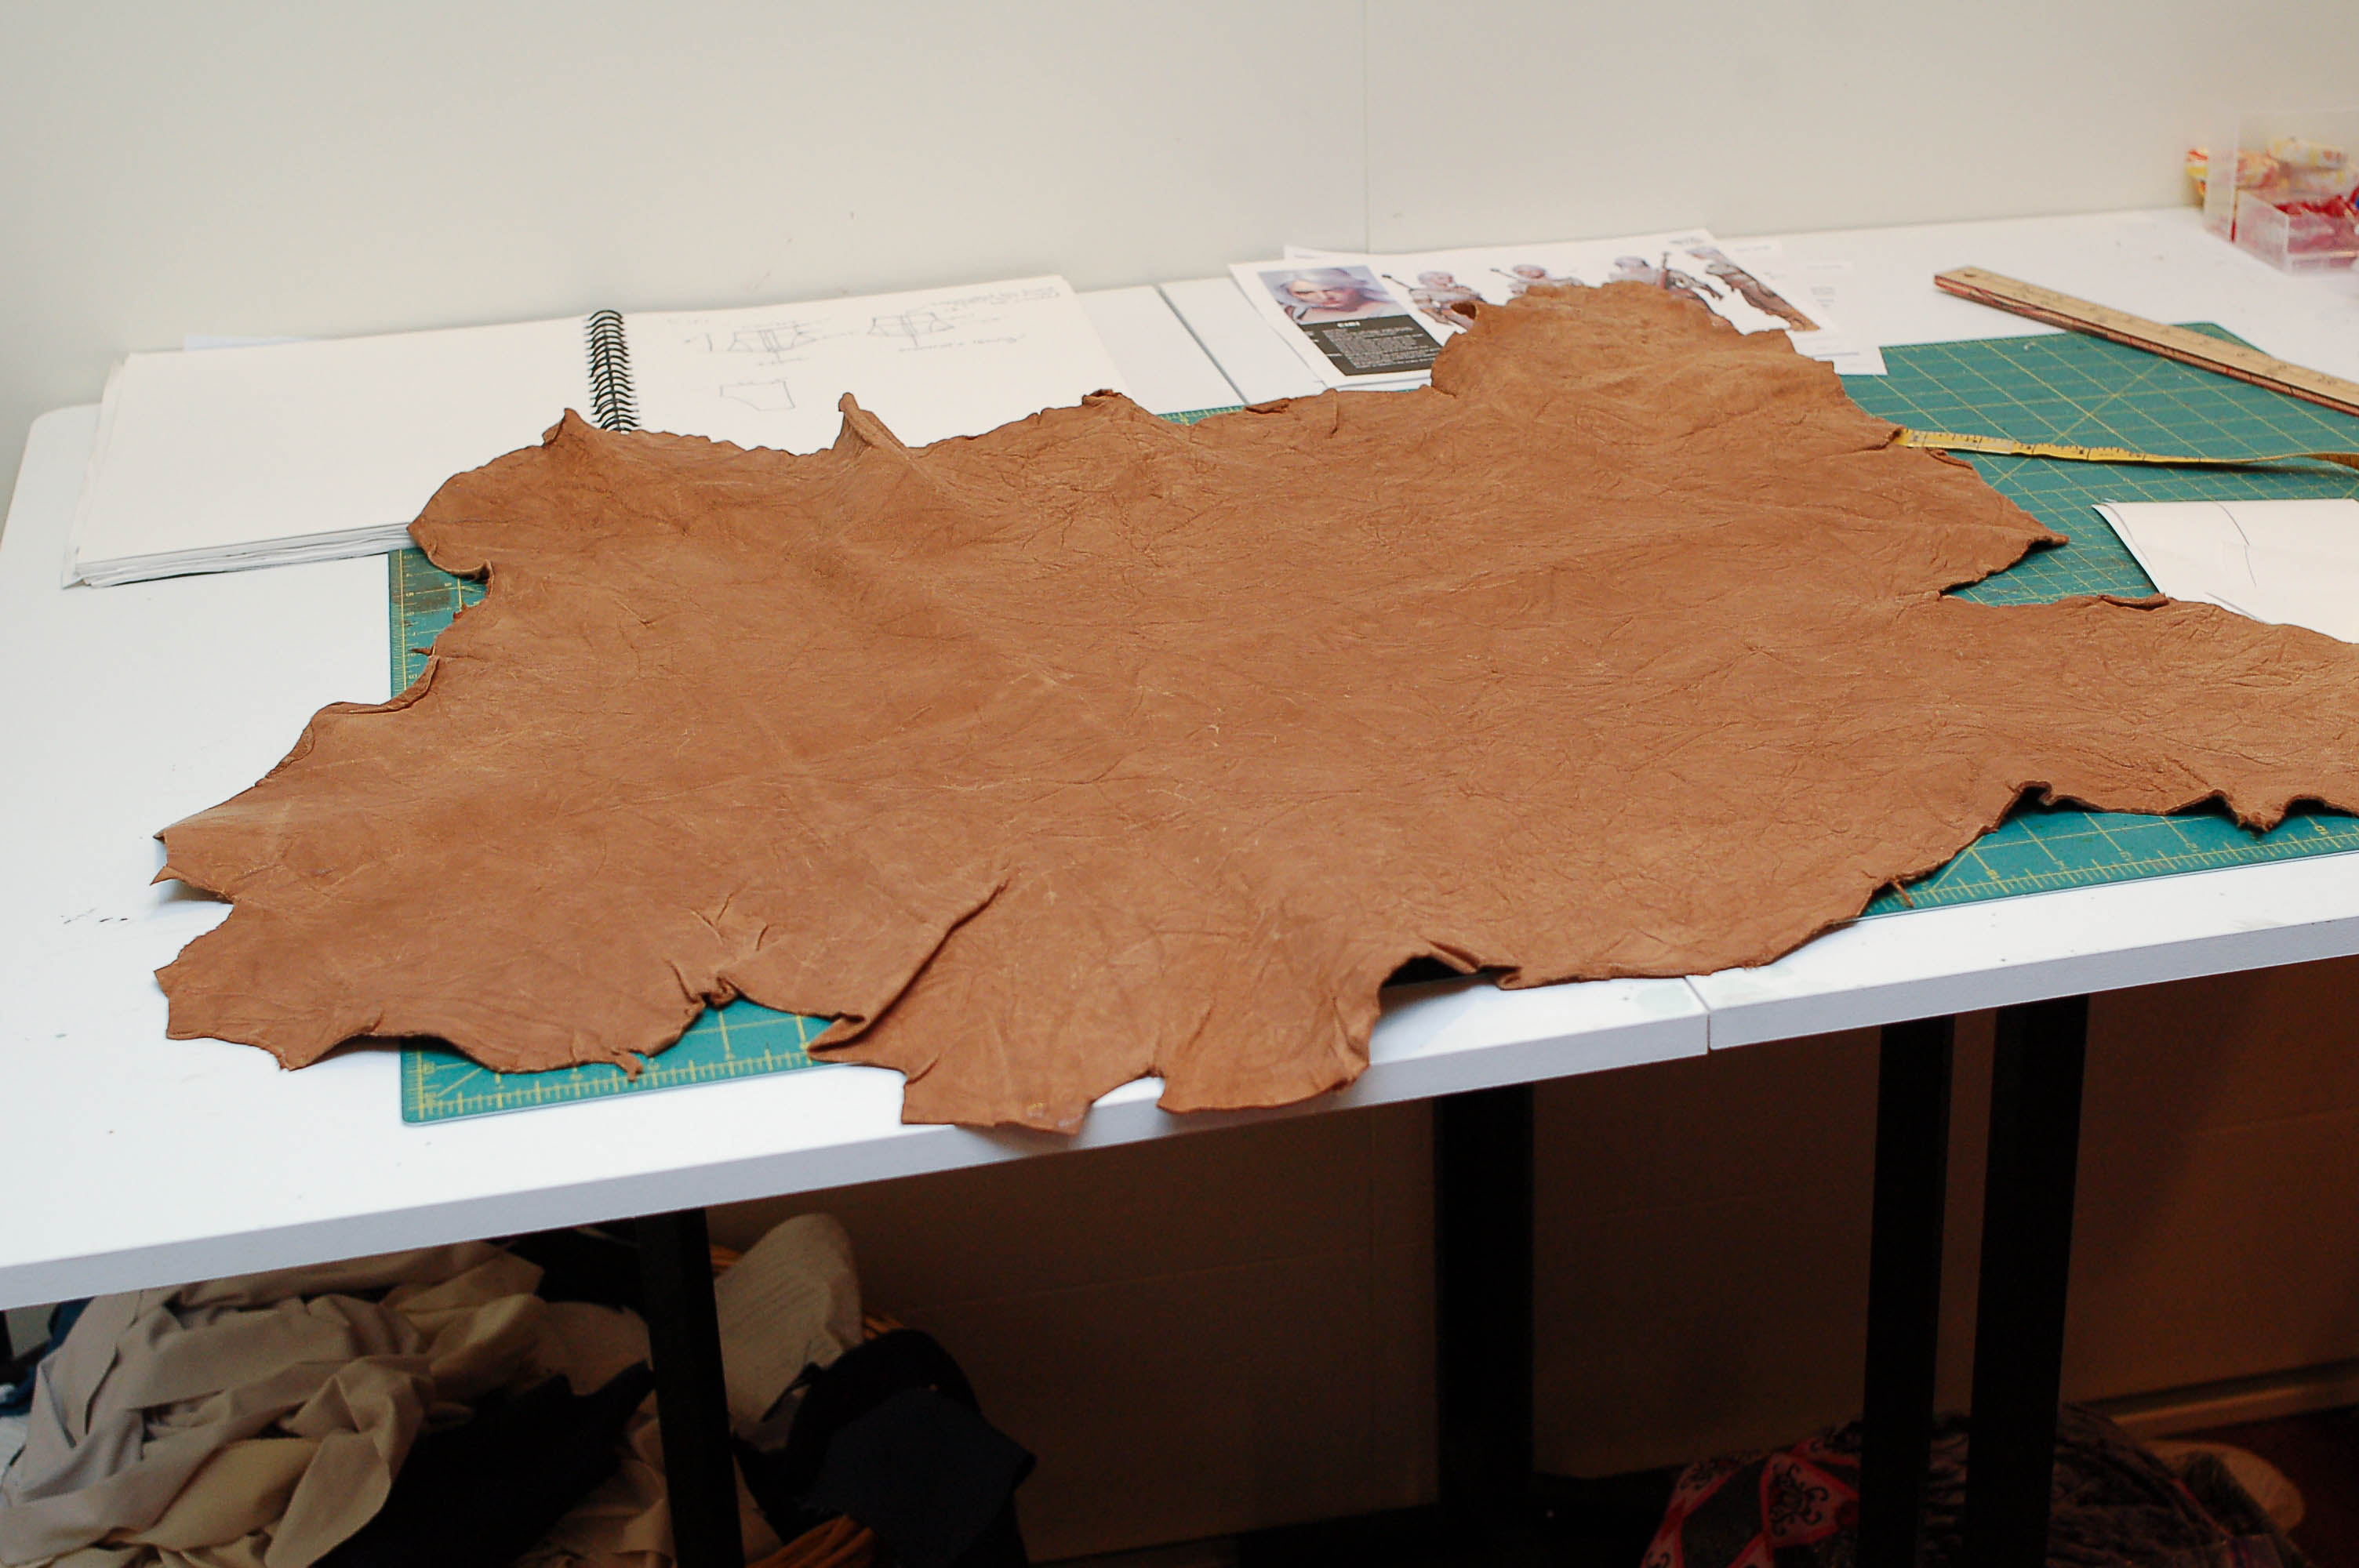
- Leather or Faux Leather
- Lining
- Interfacing for the lining, if it is lightweight
- Teflon foot for sewing leather/pleather
- Leather needle
- Boning (use zip ties for a cheap version to start)
- Separating Zipper, snaps or a busk if you want to go all out
Optional if you want to lace the back:
- Eyelets and setting tools
- Lacing
Onward!
Step 1: Make a muslin.
I used denim to make the muslin and figure out where the adjustments were needed. I needed to add some width to the sides, and to the back curve to allow room for the posterior. Afterwards I redrafted my pieces.

If your muslin worked, then you can just continue on to cutting your fabric/leather for the final version. Since I had to re-draft it, I cut out my lining first to make sure it fit (it did), before cutting out my leather pieces.

Step 2: Cut out the exterior, lining, and interfacing pieces (if needed). Adhere interfacing to the lining. I used canvas, so I will not be interfacing my pieces.
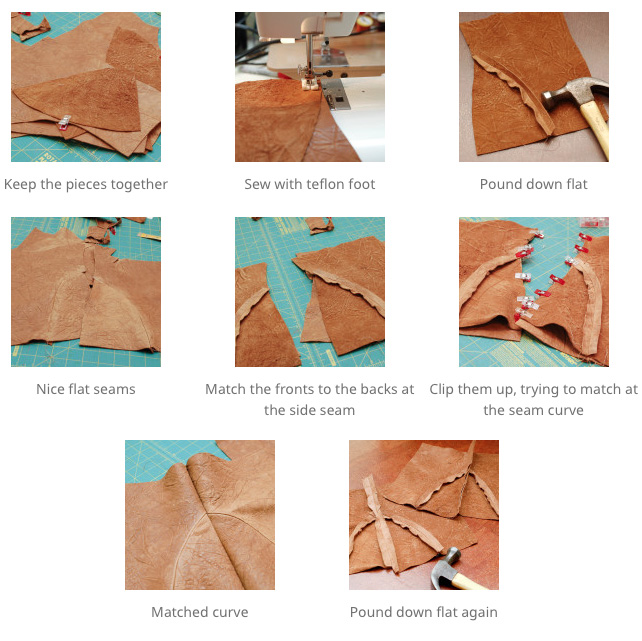
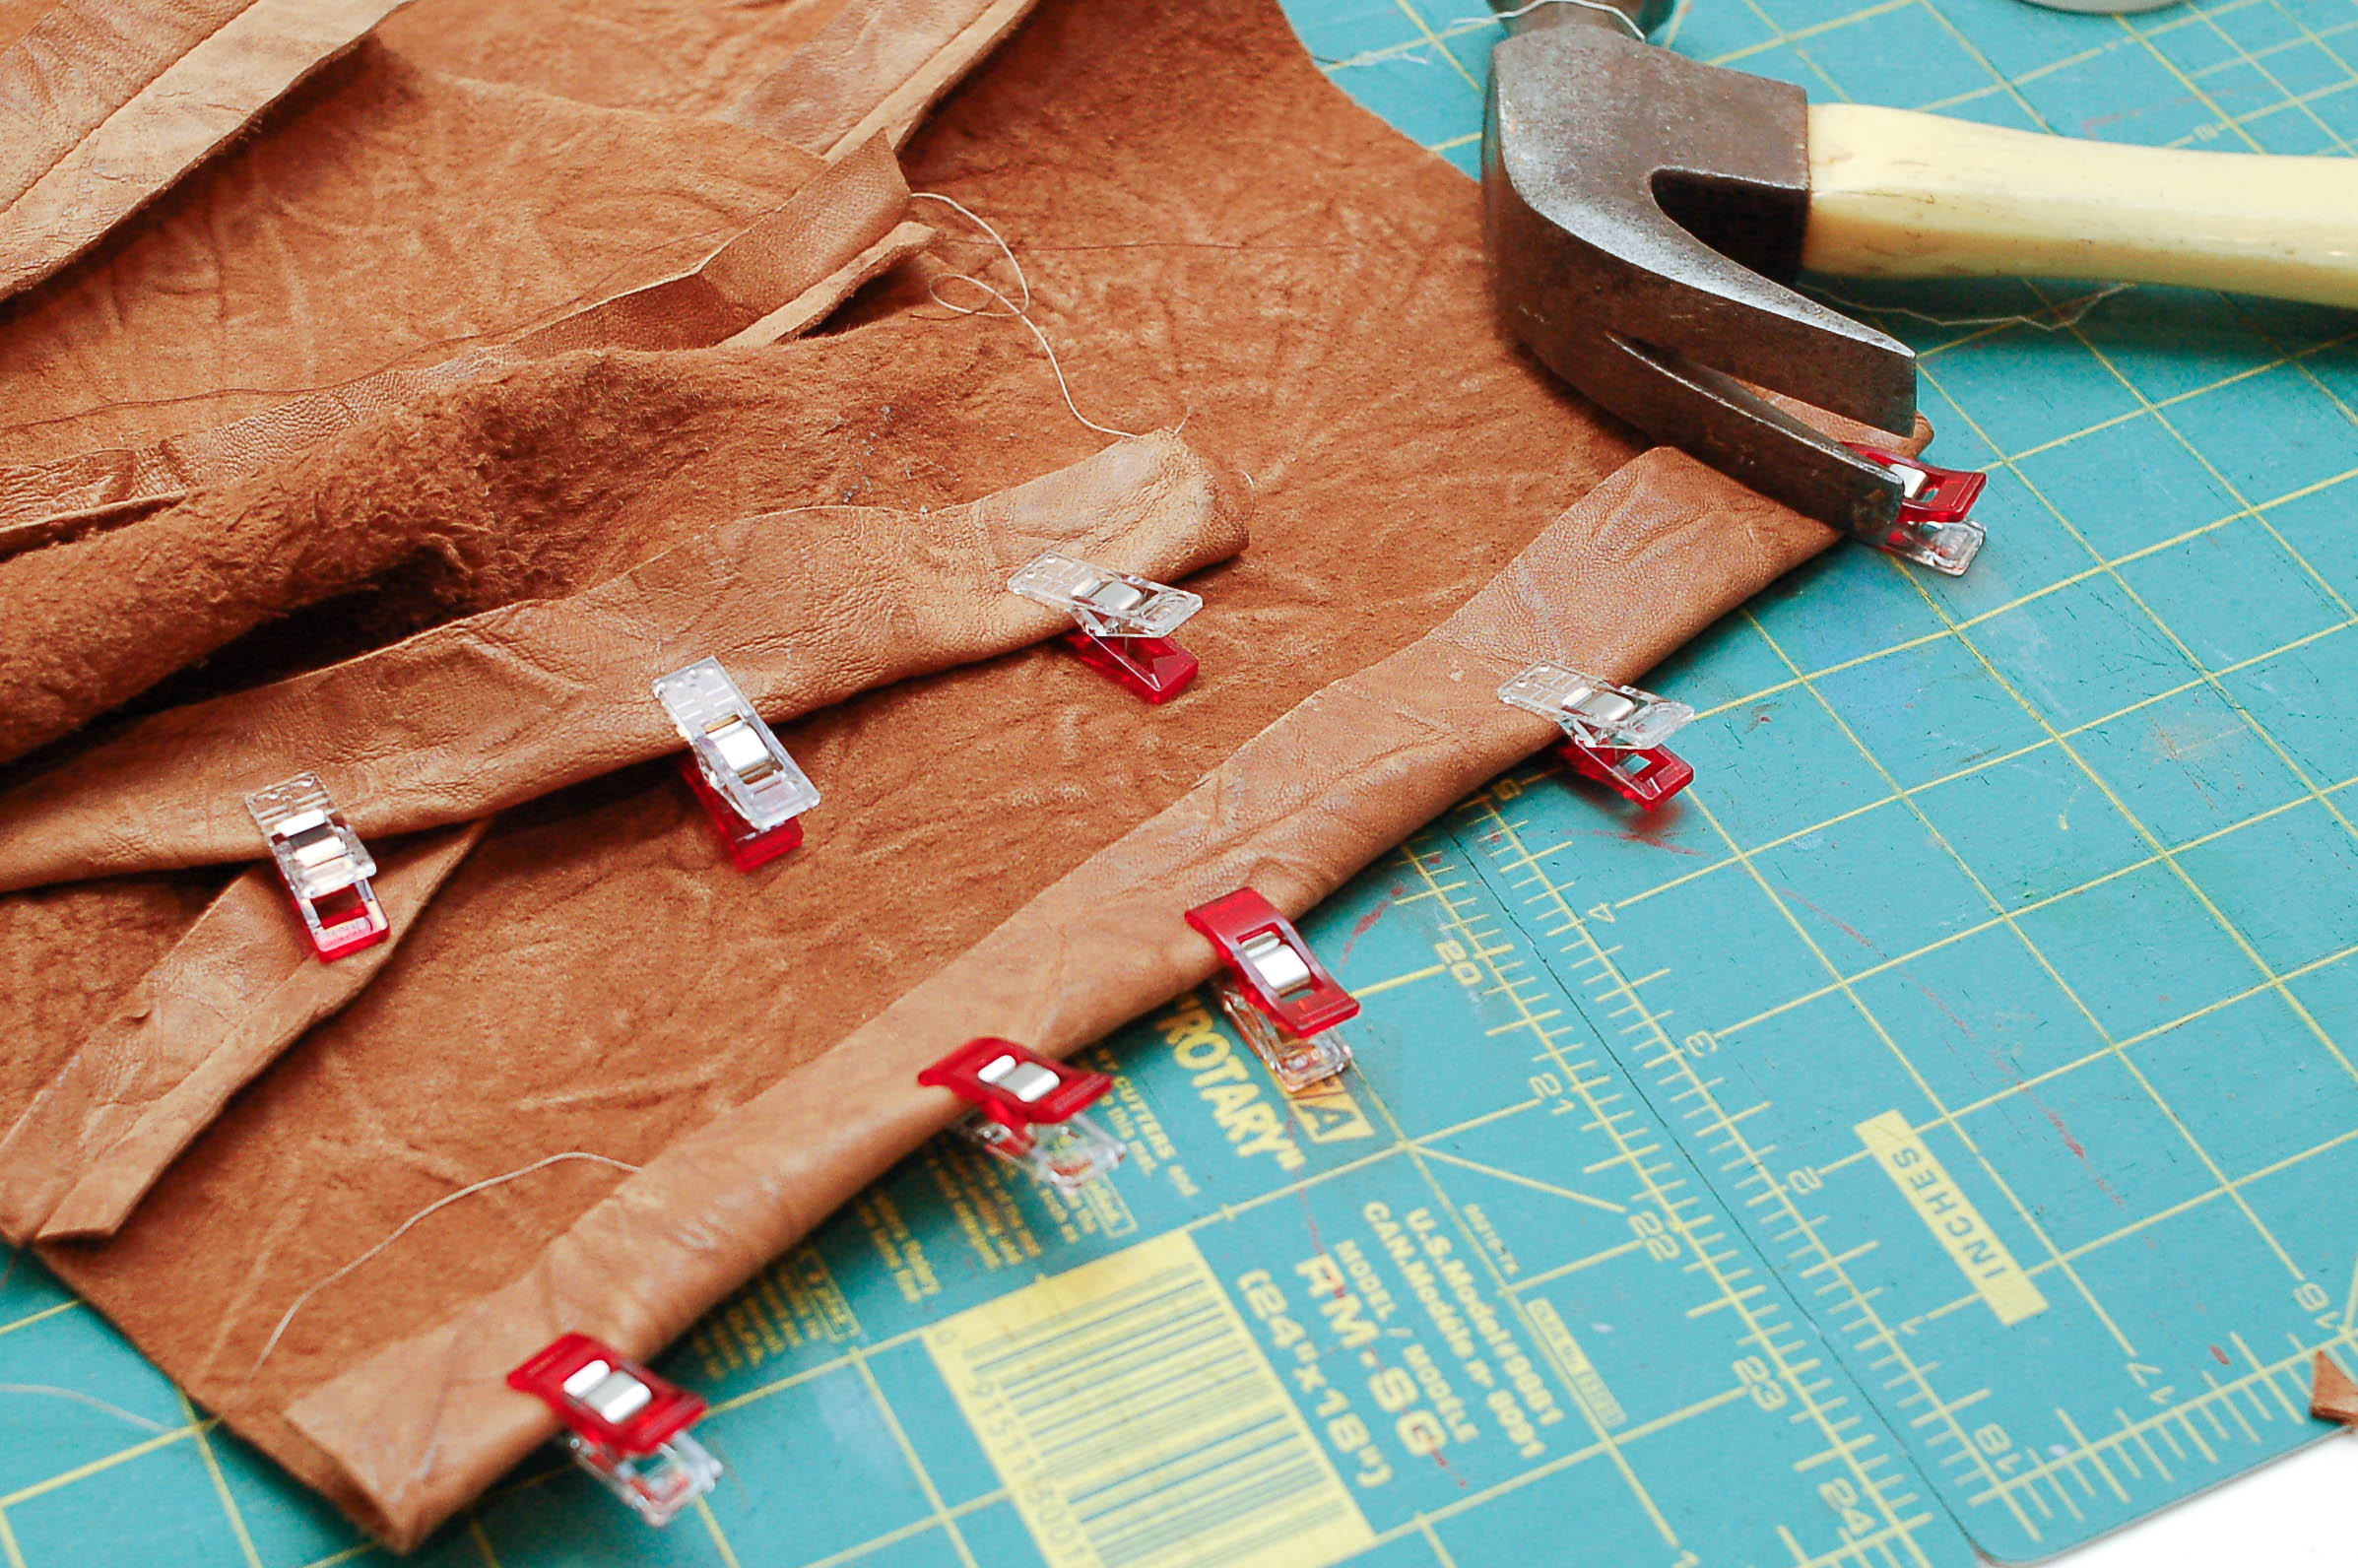
Step 3: Put the pieces for the front and the pieces for the backs together and sew each piece. Once the individual pieces are together, sew at the side seams. They are going to look pretty similar, so make sure you are sewing the fronts and backs together.
Press the lining seams. For the leather, I pounded them down flat with a hammer.
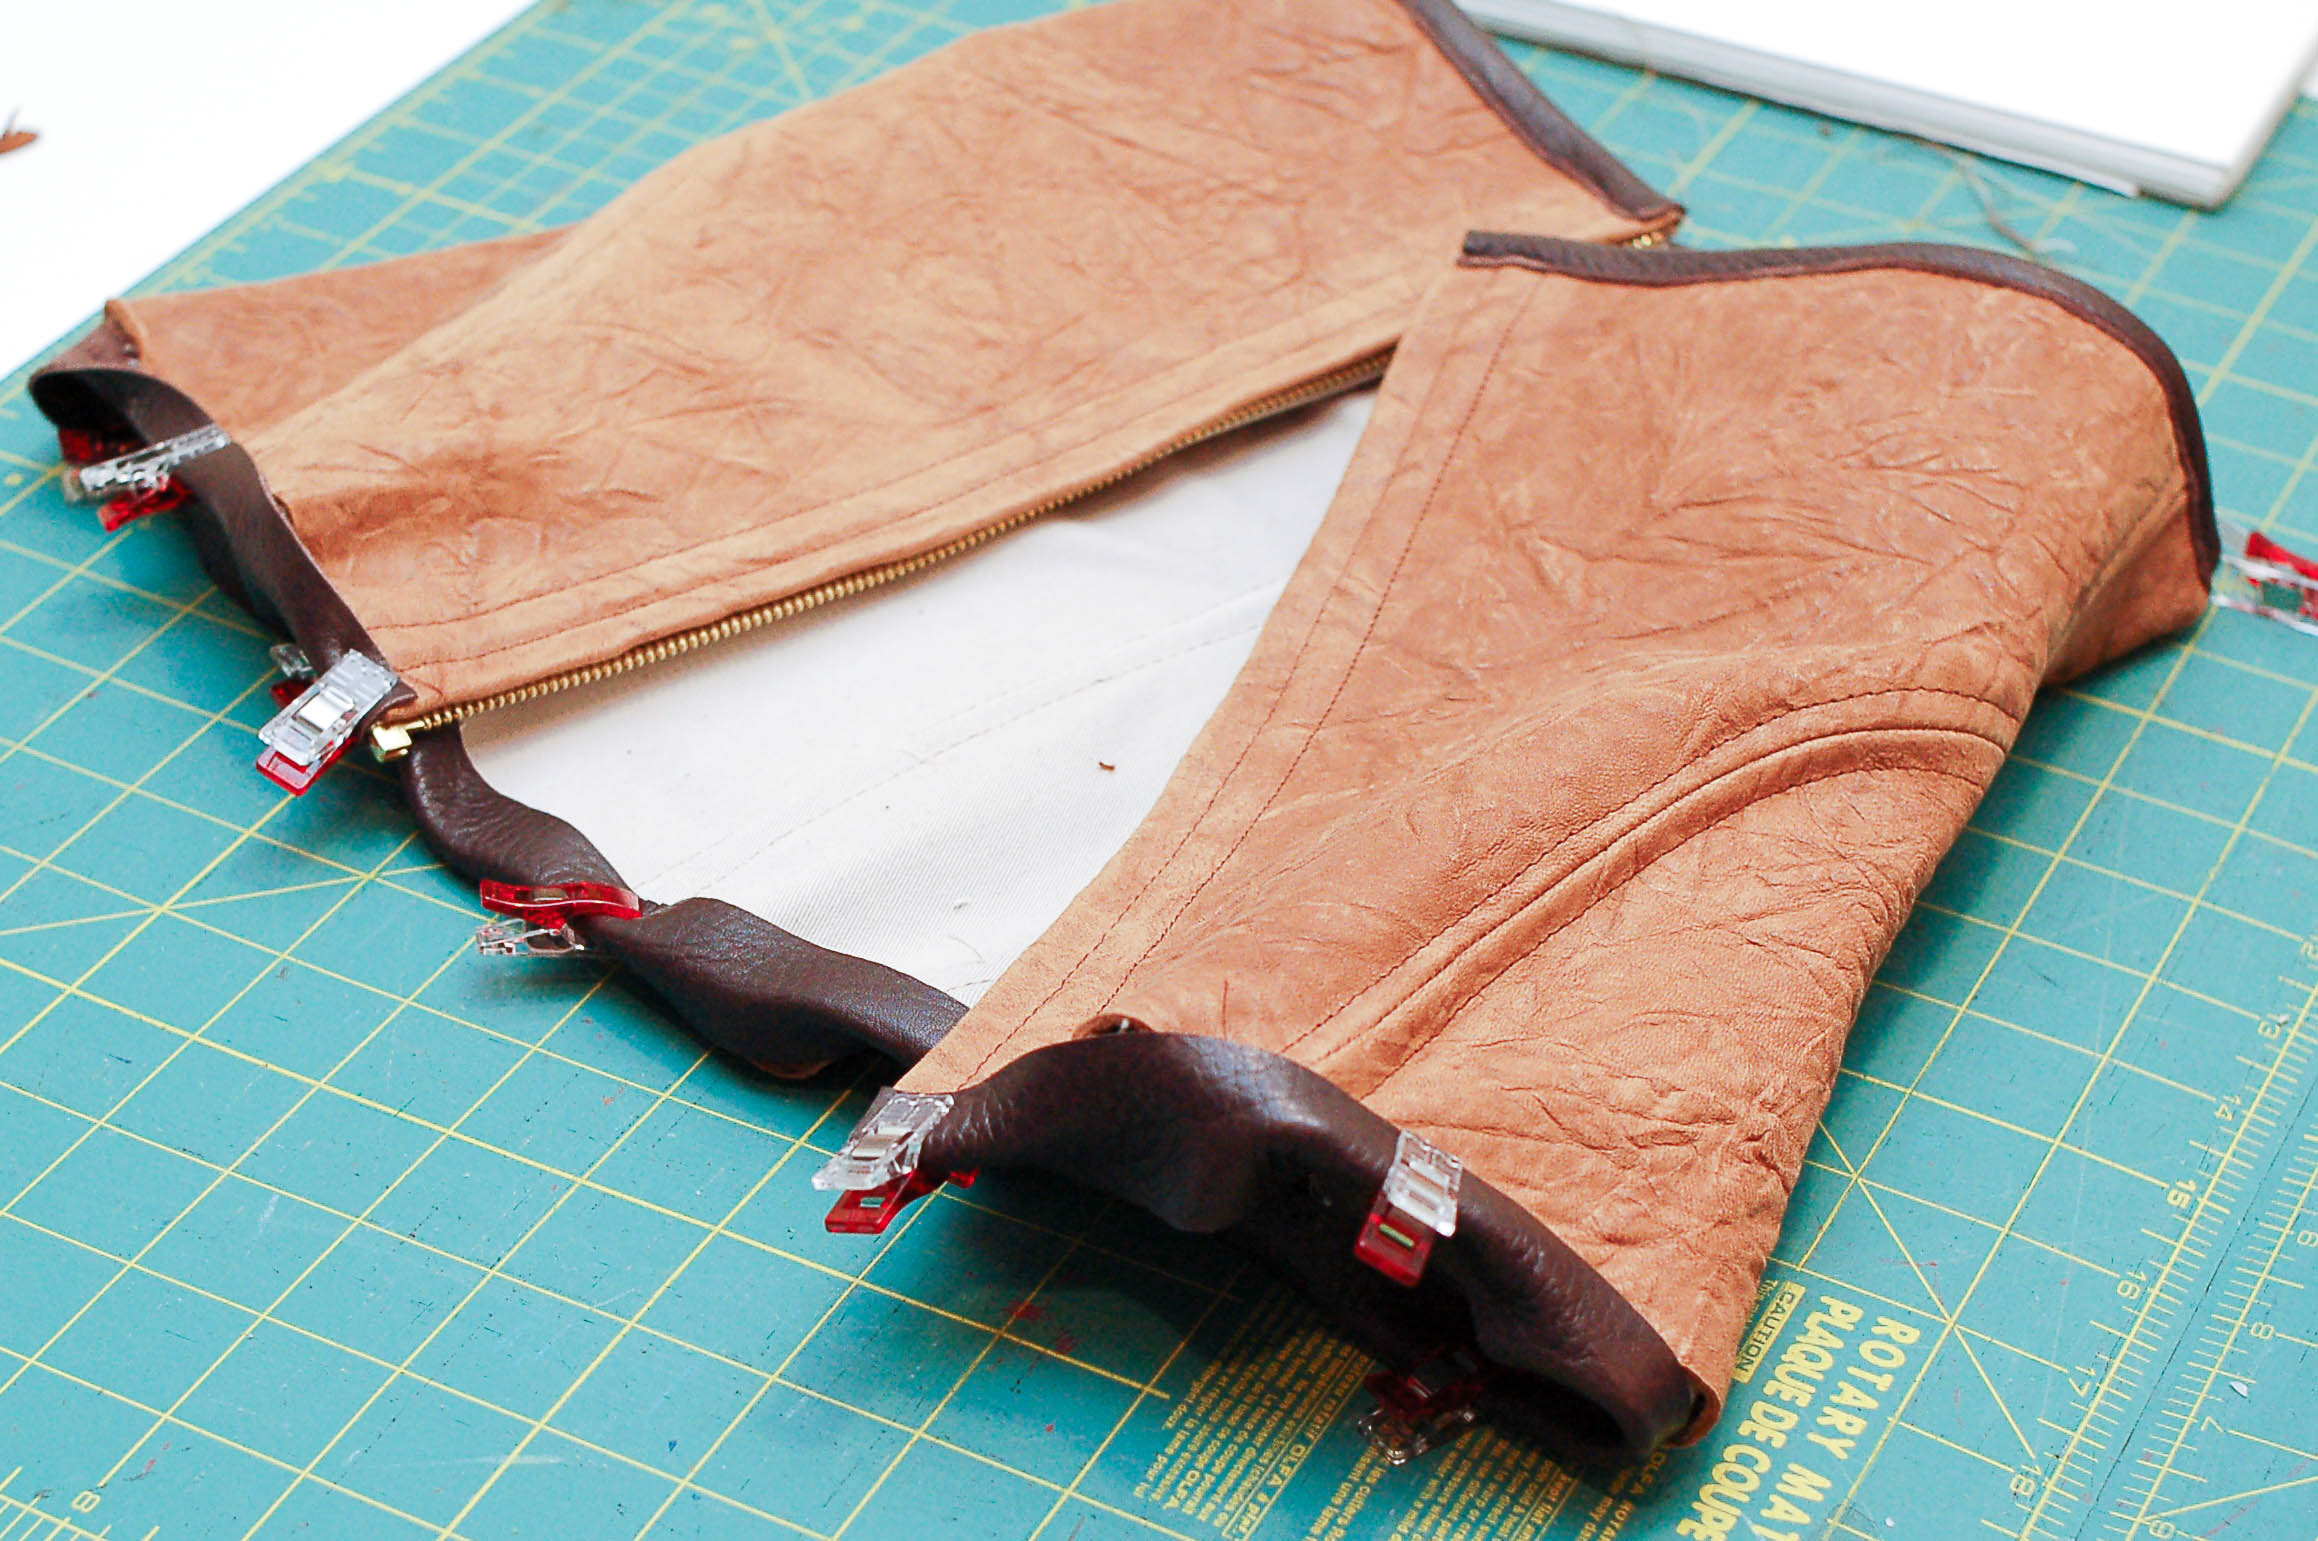
Step 4: Put in the separating zipper in between the exterior and lining pieces. I have a 1.5" seam allowance that I folded over. I pressed the lining and pounded down the leather with a hammer. The zipper is pretty close to the edges, since I am binding to the edge.
I am using Wondertape to hold the zipper in place while I sew it up. Go slow when sewing it up, watching to make sure it doesn’t shift. You want the zipper covered, or at least I do for this version.

Note: Get a metal zipper, since you can easily change it to match the length you need. Keep the bottom intact, and pull out the teeth above the length you need with a pliers. Then, take the stopper off the top of the zipper (the hardest part) and replace it above the remaining teeth by clinching it together again with a pliers. You kind of have to get between the zipper tape and the stopper to get it off. It helps if you cut the zipper tape off just above the stopper. Small pliers work best for this.

Step 5: Fit the back now that the front is connected.
I just did the fitting on the lining piece, and will transfer to the leather. Get your pins out and pin it up where it fits the best. I didn’t draw it too tight on her, since she has a few months before the costume will be worn.
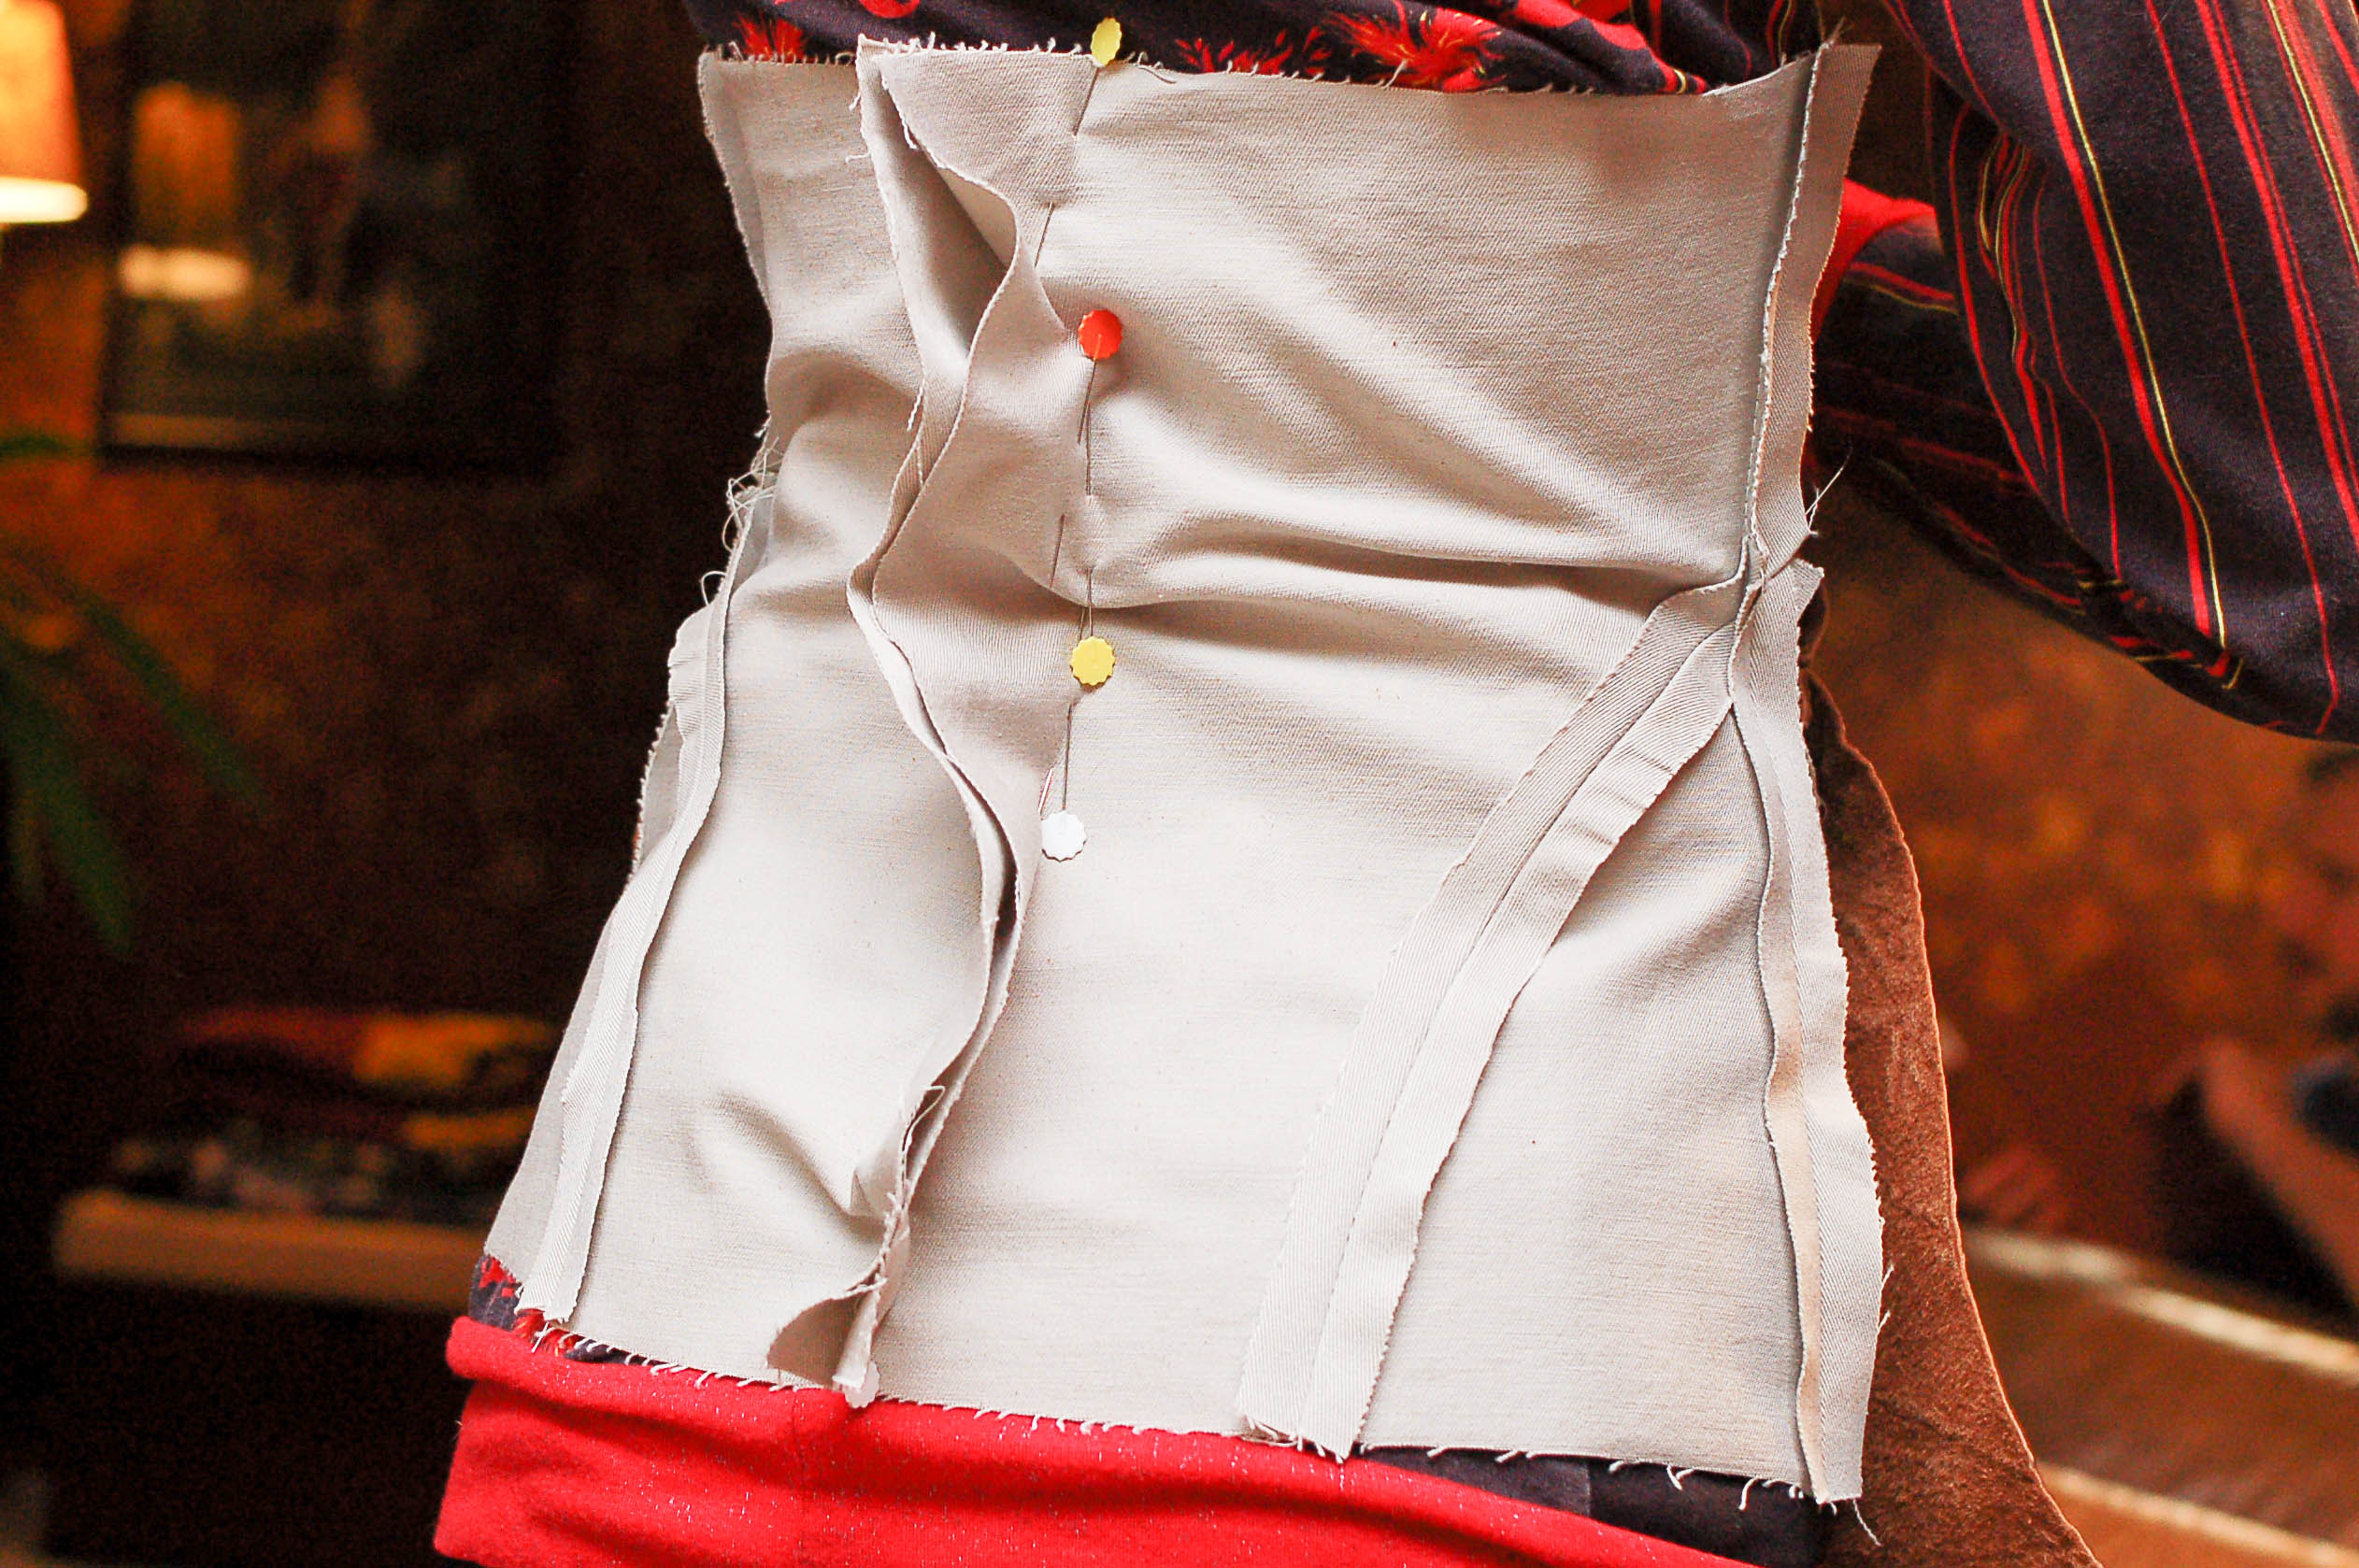
The leather and the canvas do have a bit of stretch, though, so she should be able to wear it at least a year.
Unzip the front and then mark it. I marked it with chalk as I took out the pins and lined it up. First, I sewed the lining, and then I sewed the leather. Press and pound down the seams.

If you want lacing at the back, fit it tightly at the waist part and then leave space at the top and bottom, so you lace it. You don't want this to fit loose. Sew the sides together, and sew a channel for boning. You want a piece of boning between the eyelets and the edge to give it some durability when lacing it. At this point, put in the eyelets no more than one inch apart. Leave room at the top and bottom for the edge binding.
Step 6: Sew the lining and exterior pieces together at the following seams for the channels for the boning. Try to get them to match up the best you can for this part.
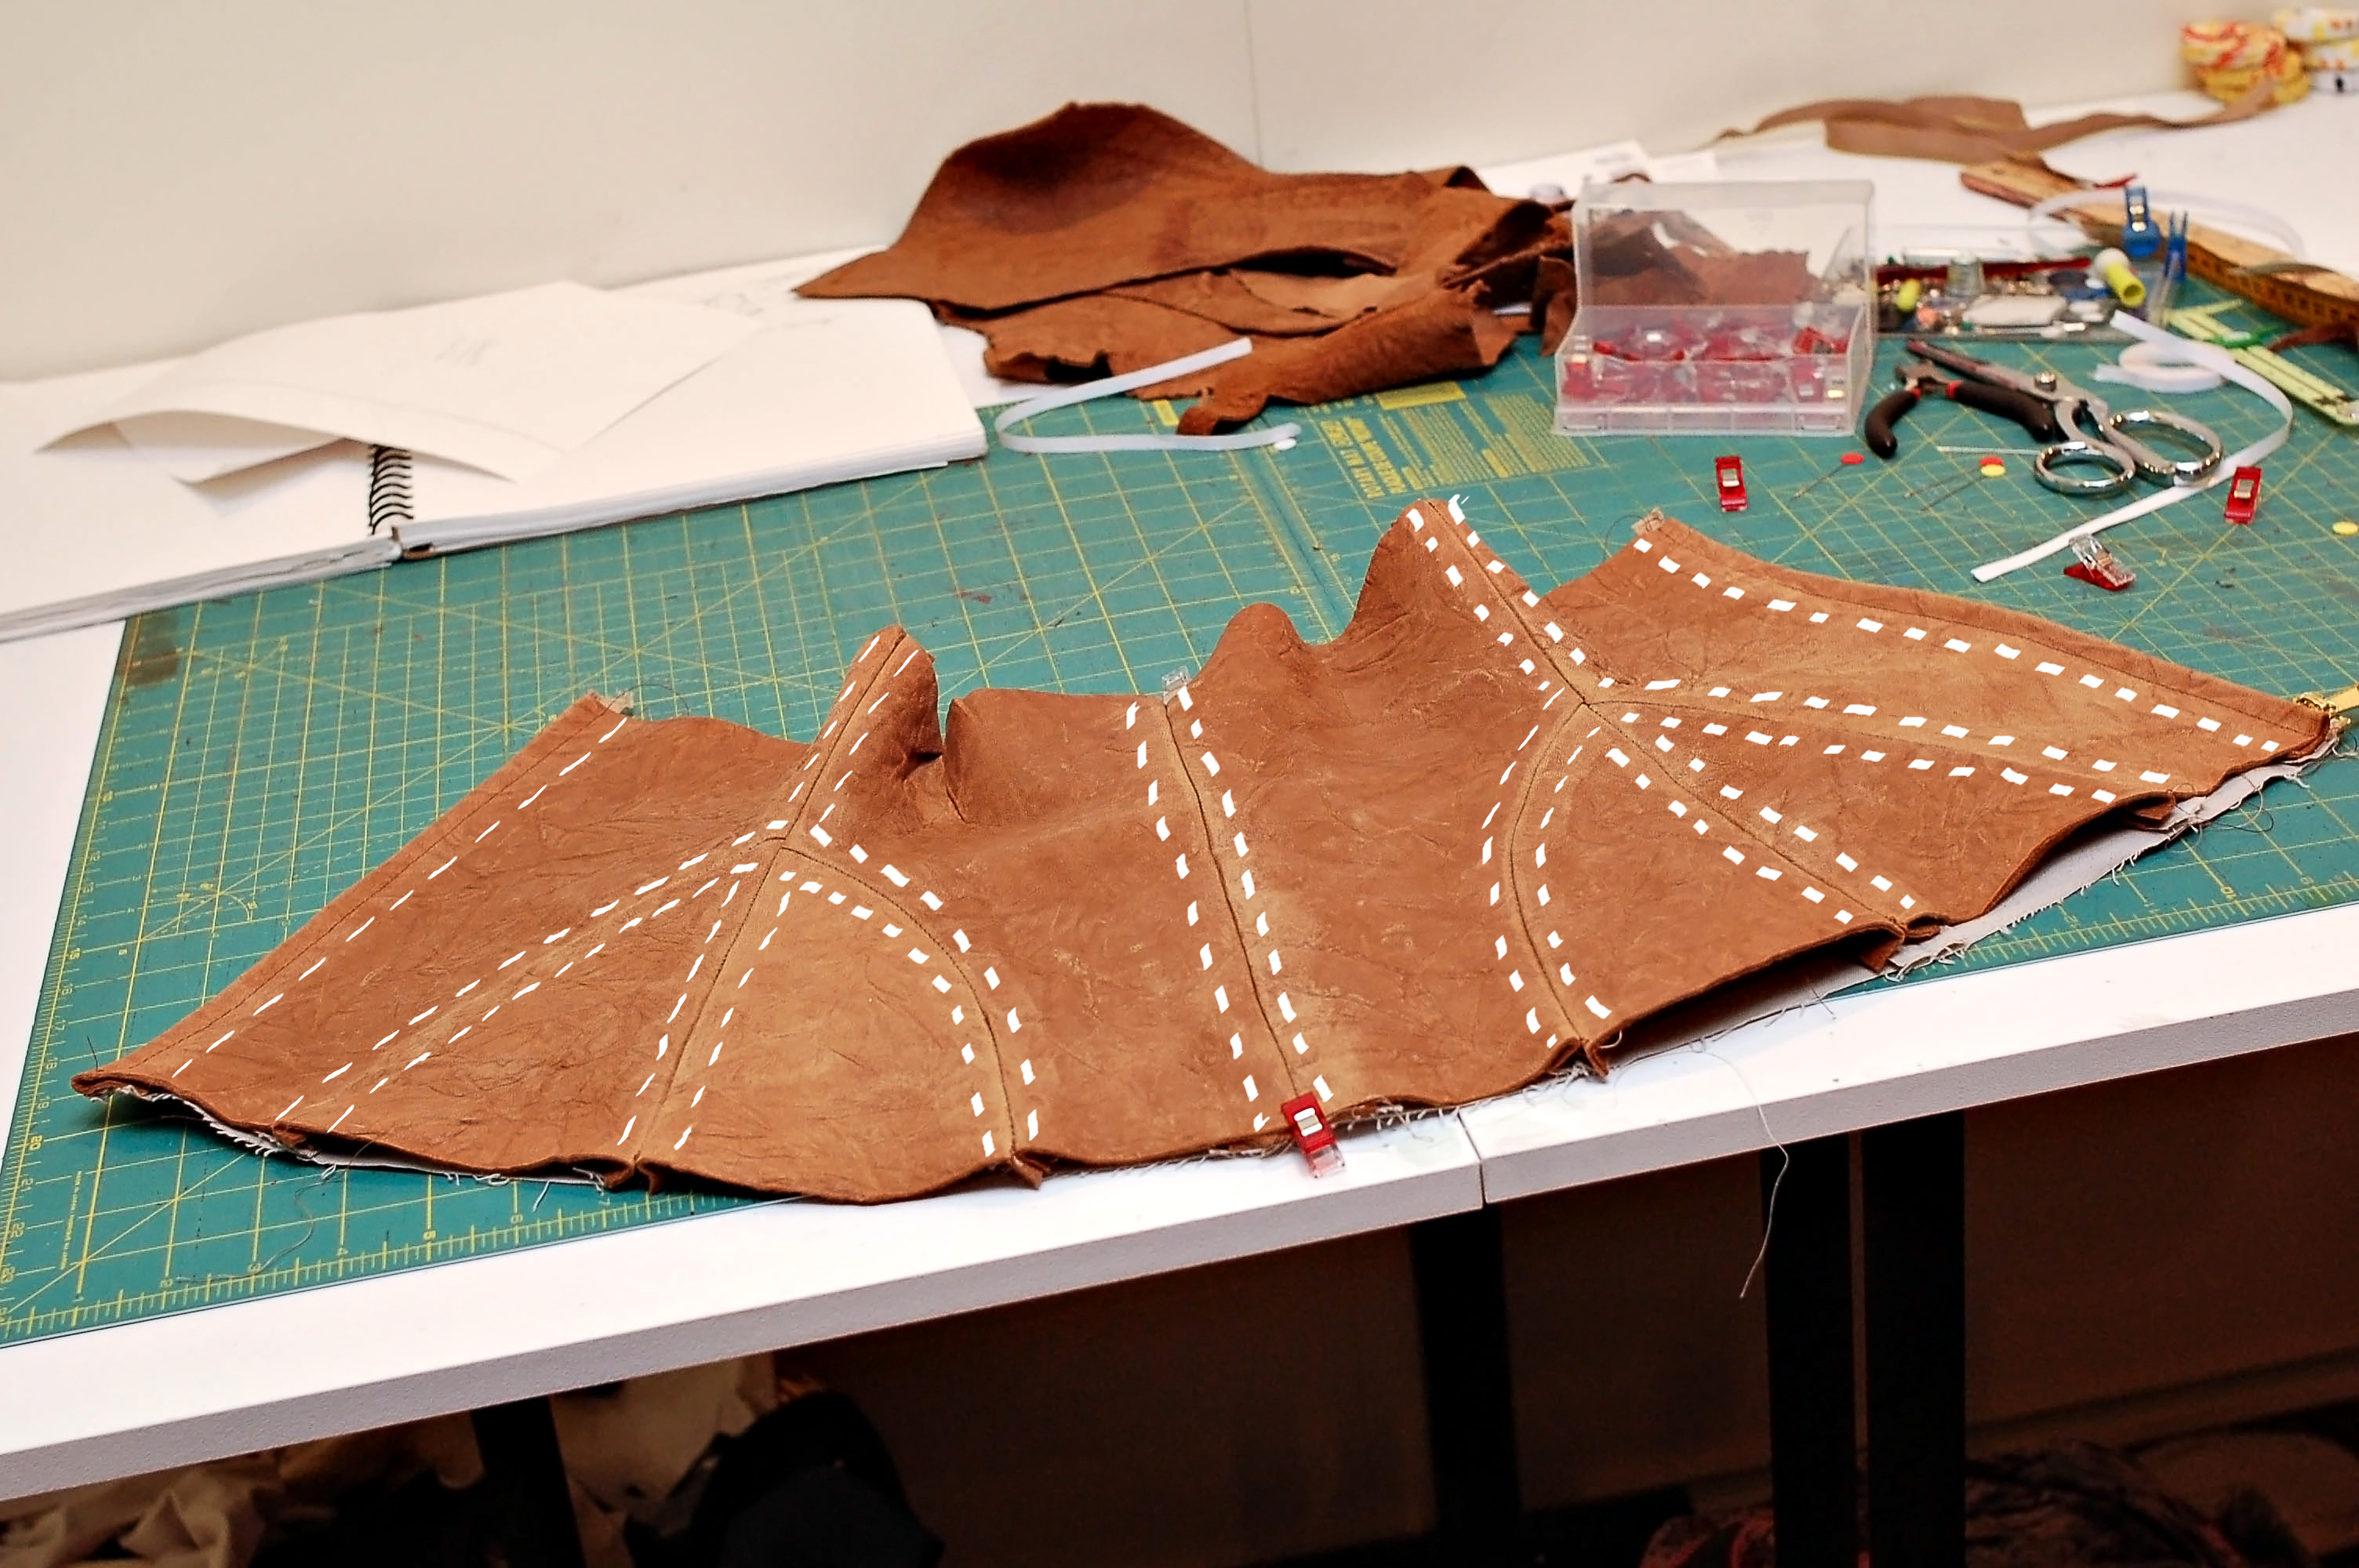
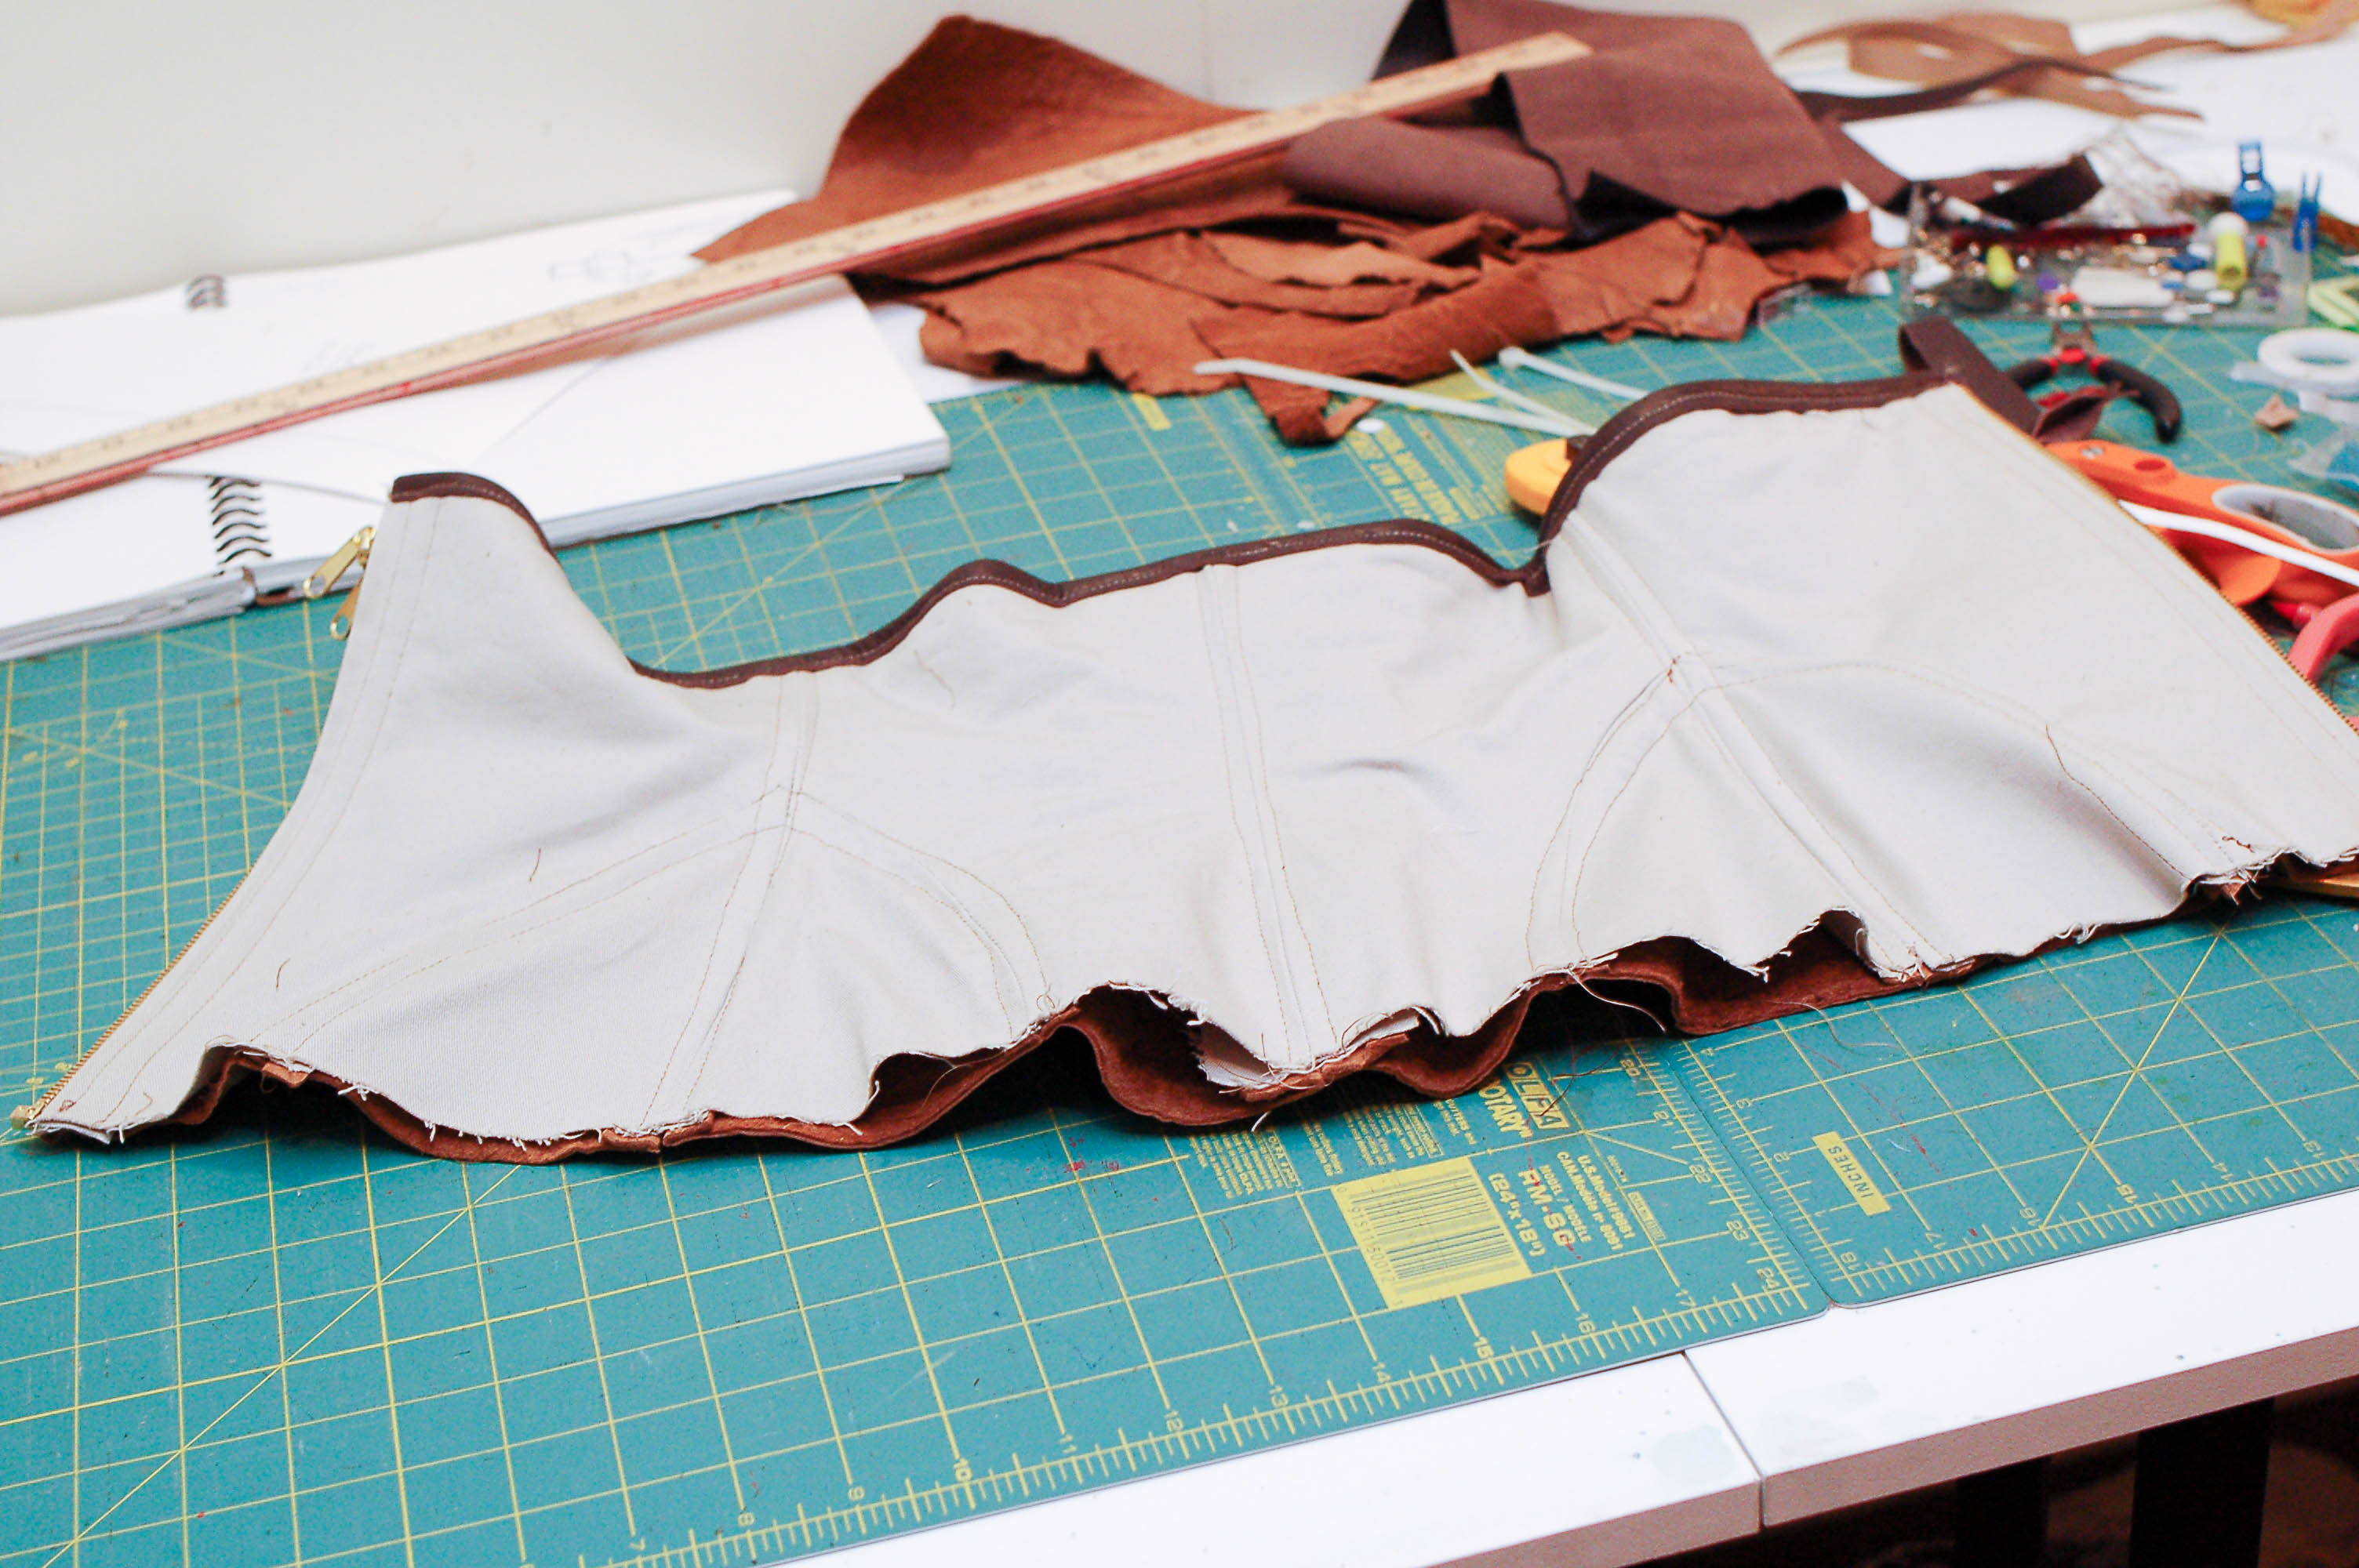
Step 7: Sew the binding on the top. I cut the leather with a ruler to make sure I had clean lines on the binding, which 1” wide. I also had to even up some of the edges of the corset body, so that the leather and the lining matched up. Things tend to shift and stretch out, so make sure you have even hems.
 Step 8: Insert the boning through the bottom of the channels. Cut off any excess that would hit the seam allowance of the bottom binding, and round the edge so it isn't sharp. It helps to have a small pliers to push the ends up into the channel.
Step 8: Insert the boning through the bottom of the channels. Cut off any excess that would hit the seam allowance of the bottom binding, and round the edge so it isn't sharp. It helps to have a small pliers to push the ends up into the channel.

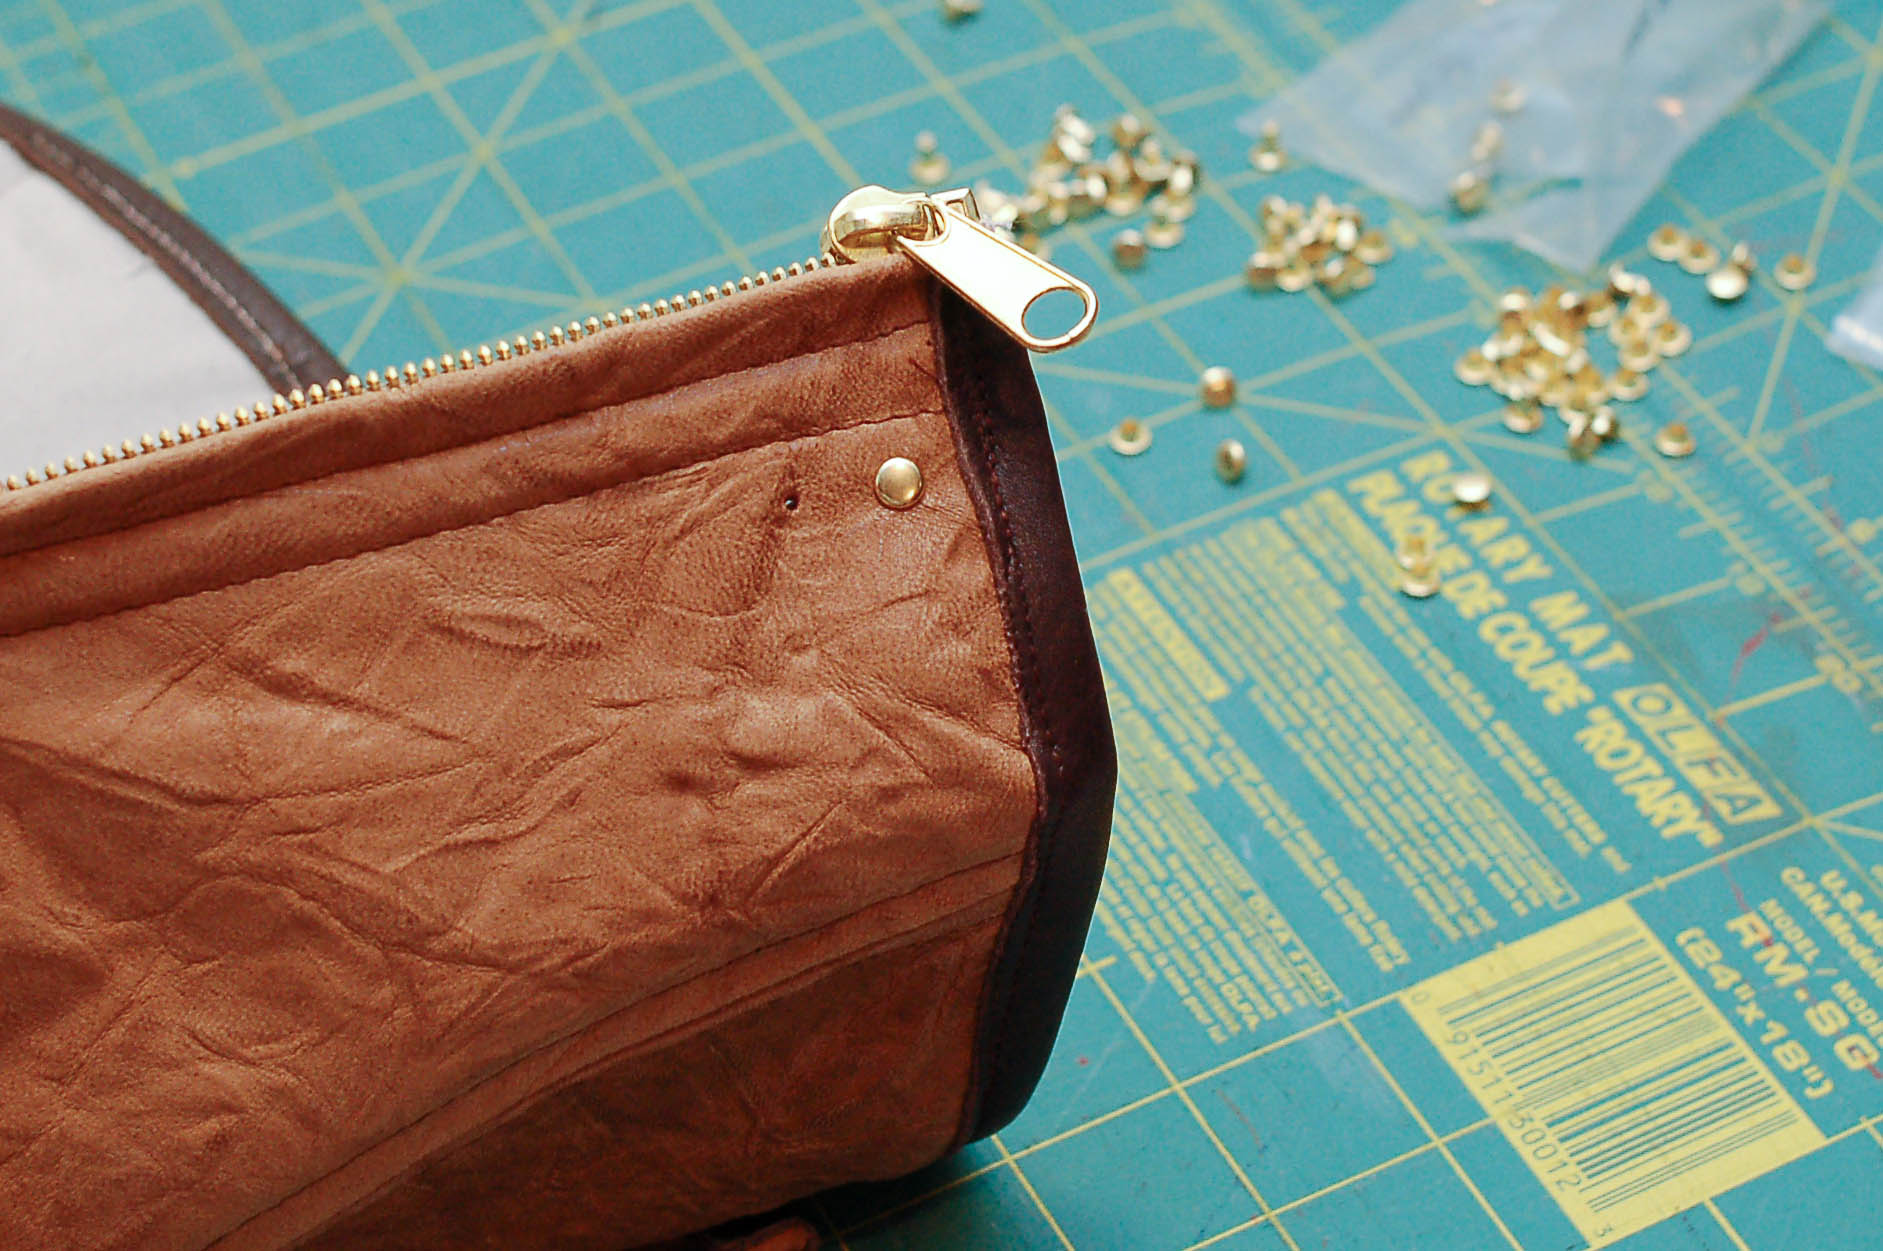
Step 9: Bind the bottom edge with a piece of leather.
Step 10: Add rivets or whatever fun bling you want to add to make it pretty.
All done! Now go forth and cosplay!

To follow along with the rest of the costume, you can find me here. Past costumes that I have done are here.
********
Thank you Stacy! If you want to follow Stacy you can on Instagram or her blog Stylin Stacy.
********
Thank you Stacy! If you want to follow Stacy you can on Instagram or her blog Stylin Stacy.

Oh my goodness, thanks for sharing this! I love making costumes, and I"ve been wanting to try a corset. :-)
ReplyDeleteThis comment has been removed by a blog administrator.
ReplyDeleteThanks, Sabrina! Hope this was helpful. :)
ReplyDeleteAWESOME! Love it!Any chance I could have the link for the Assassins Creed costume?!
ReplyDeleteSure, Danielle. Here is the link to the main costume, and at the bottom of that post I have links to the pieces. http://www.stylinstacy.com/connor-assassins-creed-iii-costume/
ReplyDeleteThis project sure has been keeping you busy! Amazing!
ReplyDeleteThanks, Rachel!
ReplyDeleteThis was seriously helpful! Thanks. Sharon Marquez
ReplyDelete