You're going to love this color blocking tutorial from Carin of Art Bella Creates. She proved she's a master at color blocking in her Mini Season 2 creation! Here she is with an awesome color blocking tutorial:
I love color-blocking when I sew. I like that it makes your garment an unique kind of art. one of a kind, because no matter how you do it, it is in itself perfectly unique.
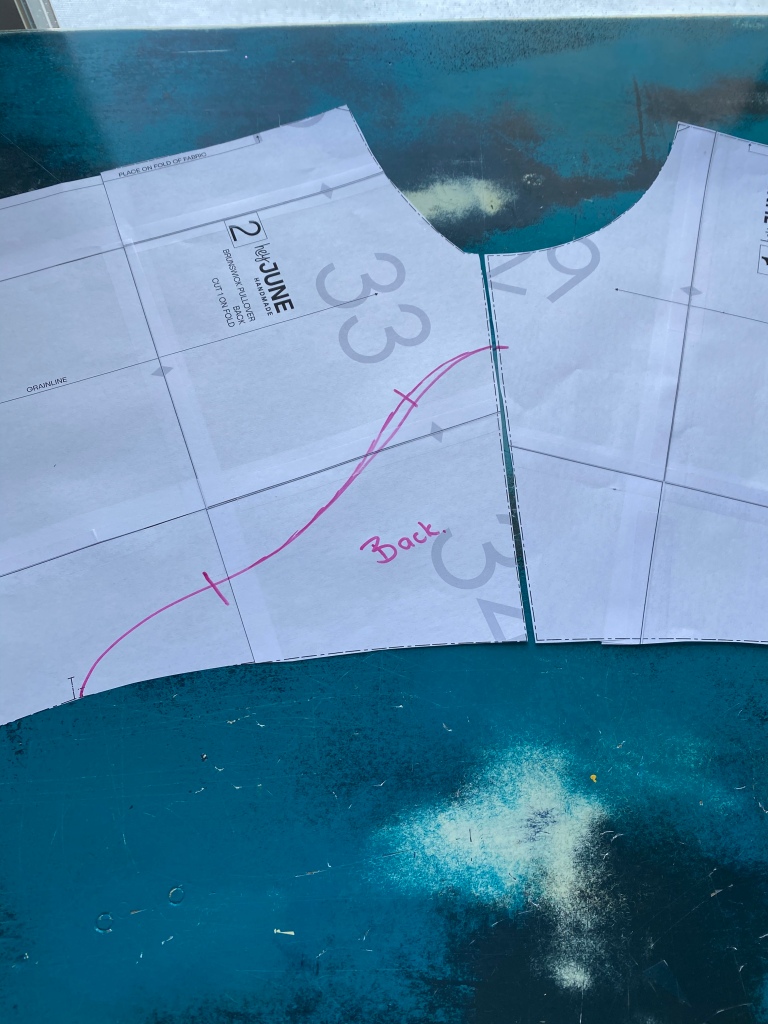
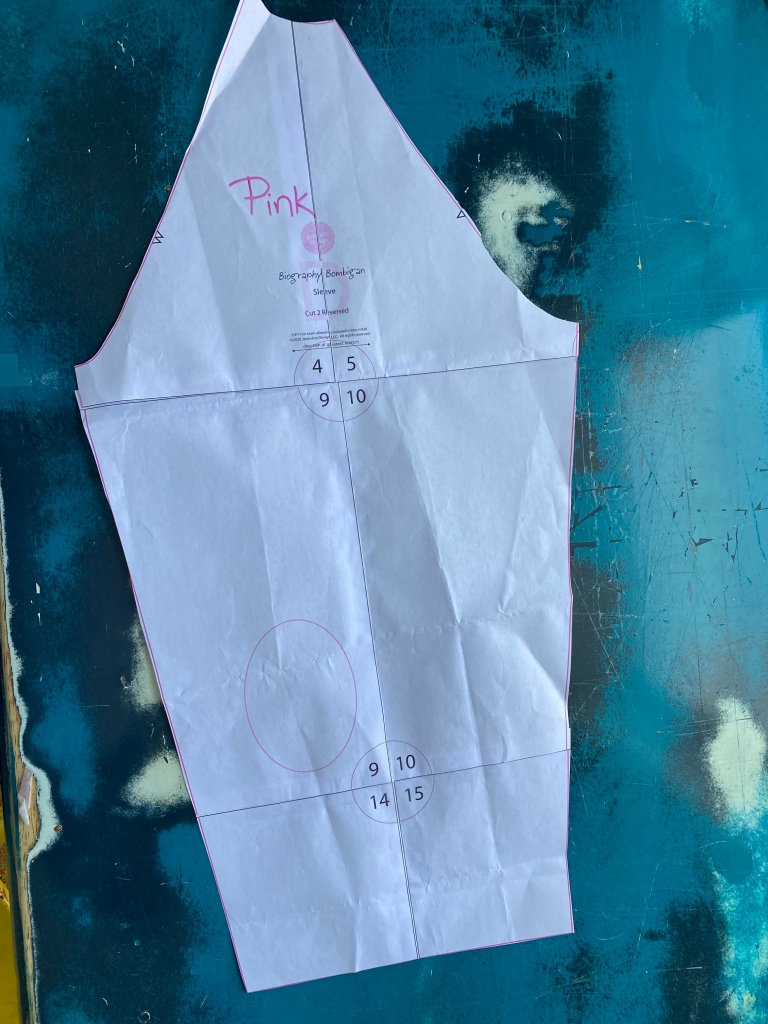
It starts with a vision, what pattern I am going to use, what fabric I have in my stash or sometimes it is something specific and I go searching for the fabric that I need. Once I picked the pattern, I am going to mark my cutlines. For this I recommend a curved and straight ruler. I will be honest and say for curves I rarely use a ruler and just go free hand.
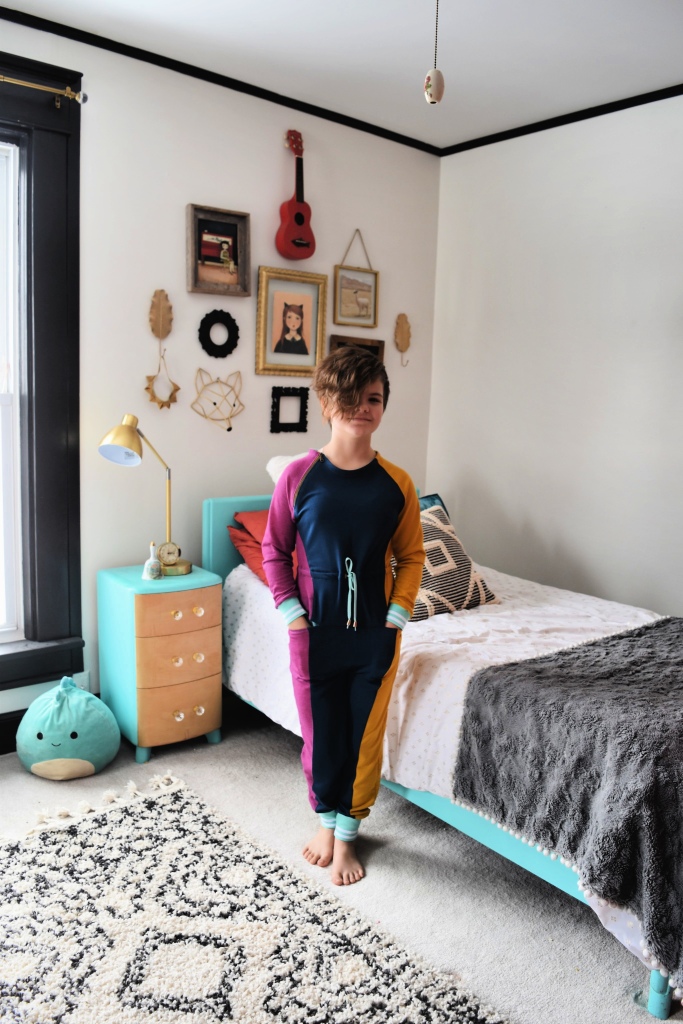
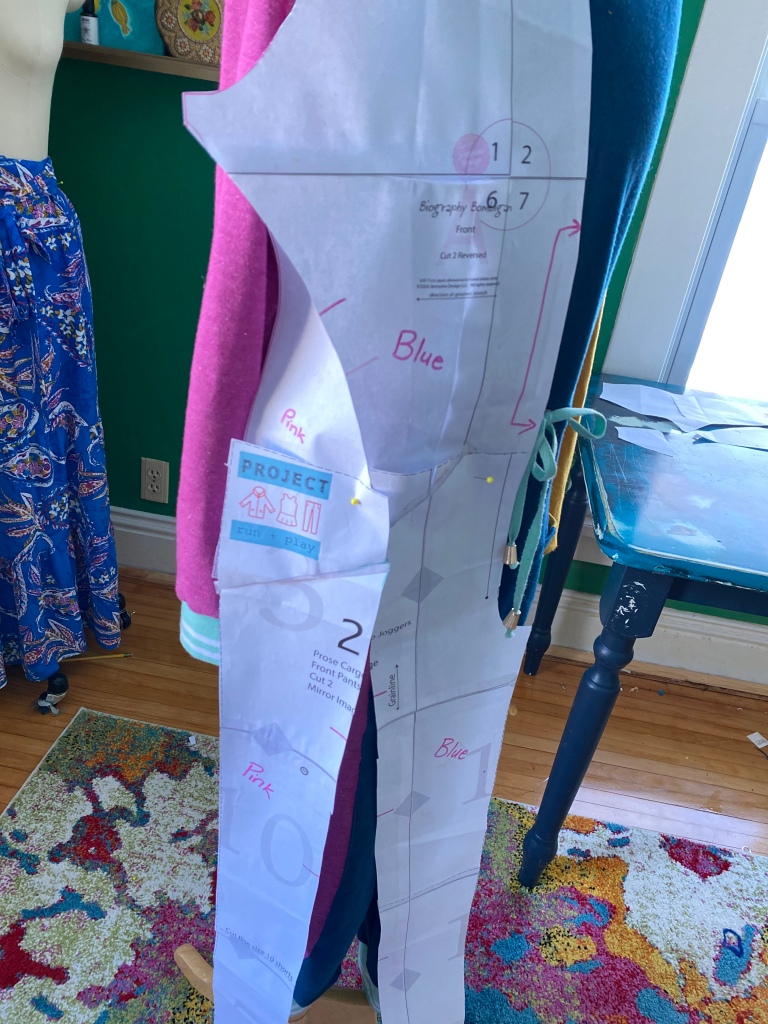
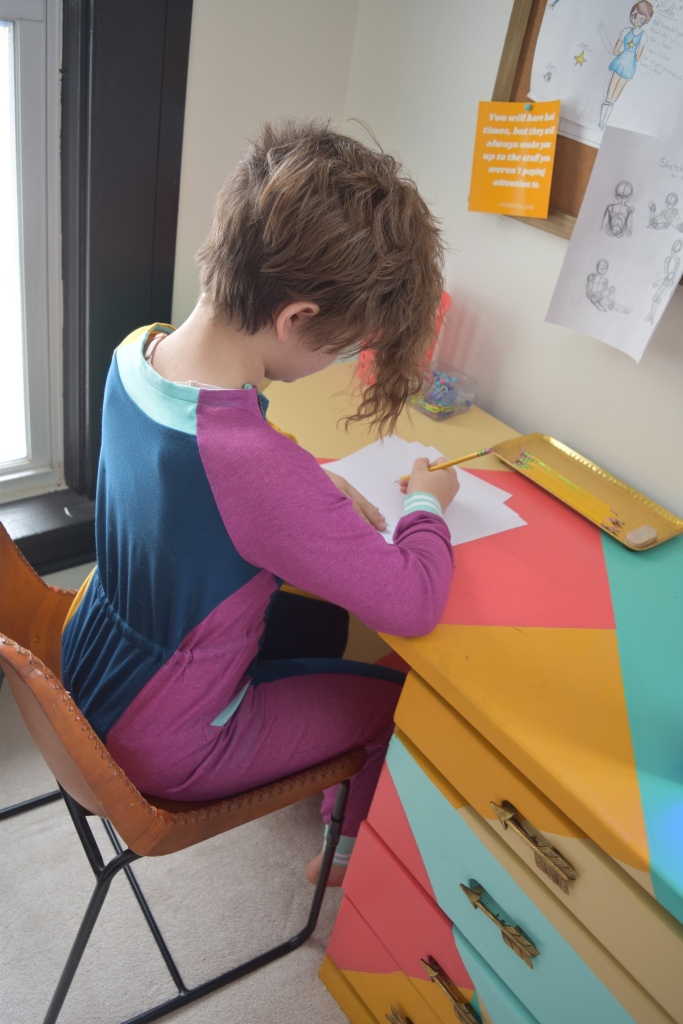
Now let's get to the specific jumpsuit I made for Week 3 of Project Run and Play's Mini season 2. It was definitely a challenge with lots of thinking involved but a very fun one indeed. It's like a puzzle fitting together. I mashed up two different patterns for the jumpsuit. Both are from Project Run and Play's Lounge Library collection. For the bodice I used the Biography Bomigan Pattern and for the bottom I used the Prose and Poetry Cargo Joggers Pattern.
I laid out my patterns and decided where my colors were going to go.
Every extra color blocked line that you added is going to need seam allowance. For my top part I knew I was cutting on the fold and my pants had seam allowance so I had to adjust for that and make sure they will line up.
NOW you are ready to cut your fabric. With color blocking I recommend taking your time, check and check again before you cut. Make sure you have the right color and make sure you know if you should have the pattern piece right side facing you or if it needs to be flipped.
REMEMBER TO ADD YOUR SEAM ALLOWANCE TO EVERY LINE YOU HAVE ADDED TO YOUR PATTERN. Pattern pieces have seam allowance in already but if you added a line you will have to cut extra seam allowance JUST ON THE LINES YOU ADDED. When you change a pattern that has an open front like the Biography to a one piece you need to fold your pattern piece in and add your " place on fold of fabric" to your pattern.
Once you have your pieces cut, you can start assembling. I add those lines right through my color block line so when I cut my fabric I cut my diamond notches and I usually have at least two or more on one line.
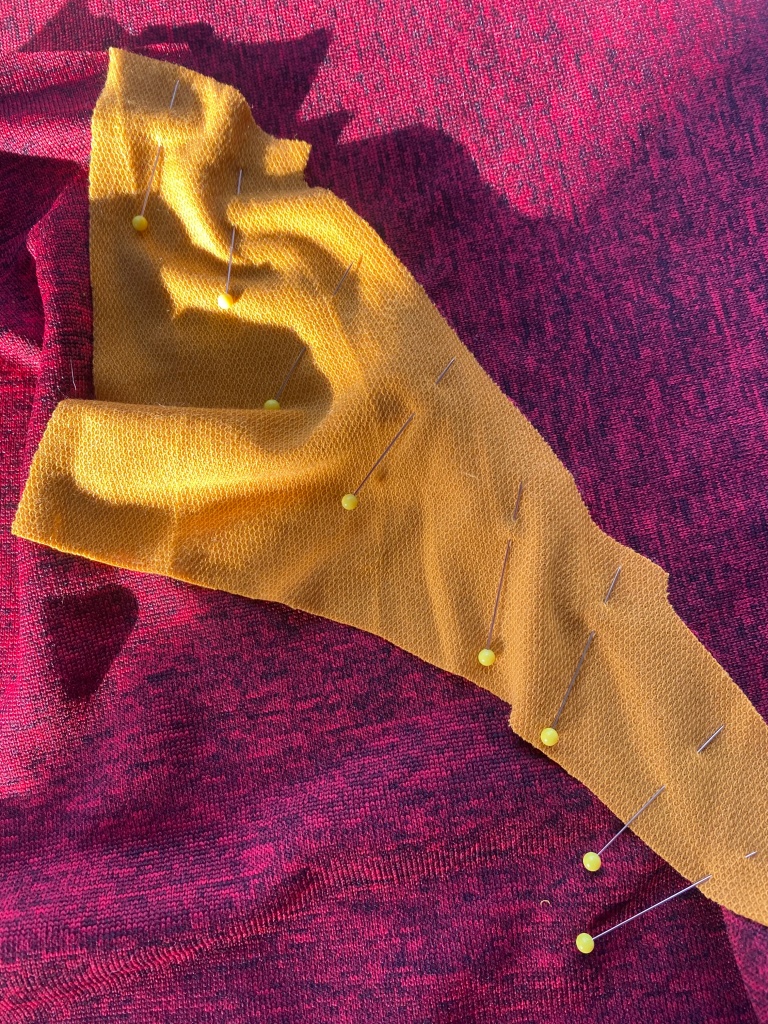
Press your seams after every seam you sewed. When I am working with a knit fabric, I always mostly use my serger but when I color block and I sew front and back pieces together that has a color blocked seam I pin it together, sew it together with my sewing machine first and then serge. The serger has a way of pushing one fabric out before the other with knit and because you can't serge over pins like a normal sewing machine, go ahead and sew it together with the sewing machine first. That way it gives you good sides that matches up. and press, press, press those seams always.
I hope this tutorial was helpful and if you haven't tried it yet, you should.
Happy Color blocking.......till next time.
Thank you so much, Carin! Be sure to come back tomorrow when we reveal the winners of the Mini Season 2 sew along!






Great job. That was a lot of color blocking and well executed! In fact, that is why I voted for you!
ReplyDelete