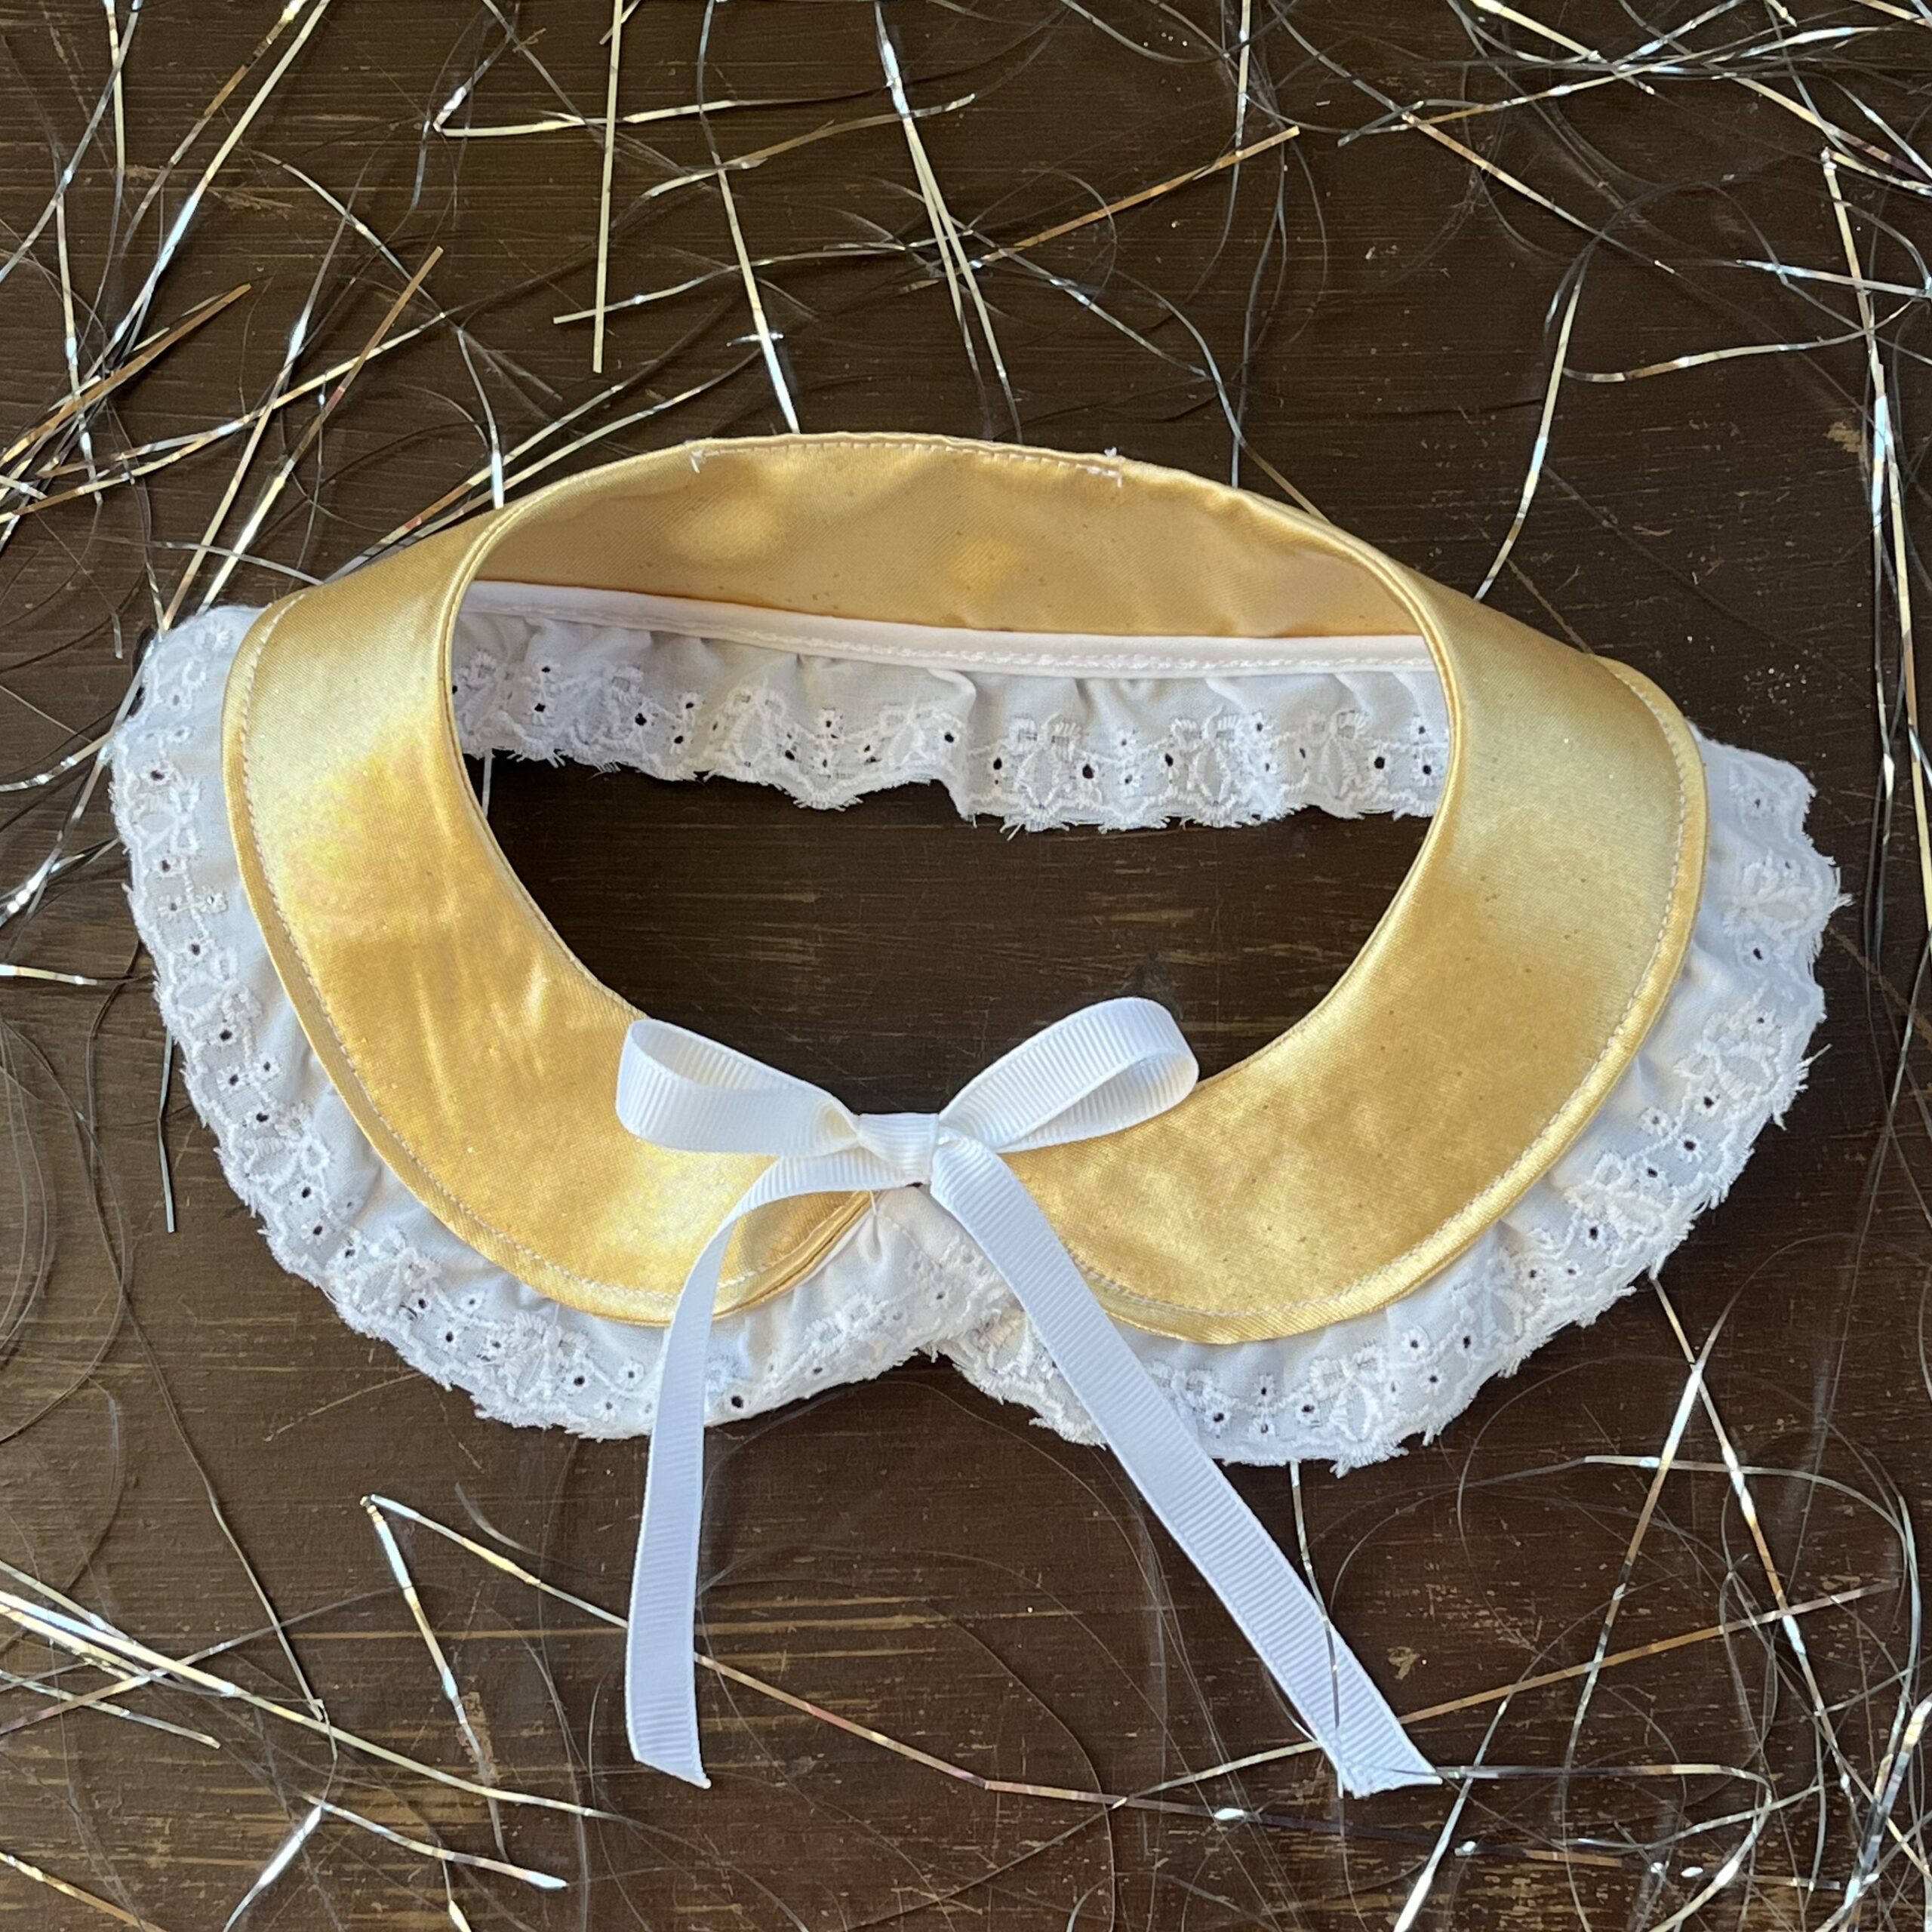
The Constellation Collar is a dazzling accessory to add a bit of class to any outfit! Try a classic peter pan curved style or a crisp, pointed version. The Constellation Collar includes ribbon ties or a button and loop closure. Lace or other trim may be added for a bit of extra frill or try pairing it with our Project Night and Day embroidery designs!
Don't forget to take advantage of our collection release sale! Individual patterns are 20% off AND you can get any PRP brand accessory pattern from the collection FREE with the code PNDBOGO!
Don't forget to take advantage of our collection release sale! Individual patterns are 20% off AND you can get any PRP brand accessory pattern from the collection FREE with the code PNDBOGO!
Here's another fun pattern bundle from the Project Night and Day collection!
Sunshine Scrunchies and Rain(Bows)
For hair that is ready for any weather, this is the perfect hair accessory bundle! Scrunchies can be made with or without added tails. The hair bows come in three sizes and include options for short, long, or no added tails. Bows are very versatile and can be attached to a pin, headband, clip, or hair elastic. These are also perfectly paired with our Project Night and Day hand embroidery designs!
This pattern has so many options to perfectly coordinate with any outfit! It is a perfect way to use up scrap fabric too!
Here's another accessory pattern from Project Night and Day!
Outer Space Ties
The Outer Space Ties pattern includes all the tie patterns you could ever want! The Fly High necktie can be made in classic, narrow and skinny widths. The Flutter By Bow Tie offers sharp dressing to every age. Each tie can be made in several sizes, from youth to adult. Both ties can be made adjustable/break away for longer wearing and safety concerns.
Here's a reminder of all the patterns in the Project Night and Day collection!
Don't forget to take advantage of our collection release sale! Individual patterns are 20% off AND you can get any PRP brand accessory pattern from the collection FREE with the code PNDBOGO!
The pocket can be divided into whatever dimensions you prefer- add pen slots or size one to fit your phone.
Today we are going to look at another option- adding a zipper pocket.
The zipper pocket can be placed on the inside or outside, depending on your preference. It is a great way to keep small items more secure.
Seashell Satchel Zipper Pocket Tutorial
This is designed to work with the pieced version of the medium Seashell Satchel. You will cut all of the pattern pieces for the Seashell Satchel with two changes.
1. Replace the front top piece with:
1 3/8" X 12" main and lining 4 1/2" X 12" main and lining 12" or longer zipper
2. Cut the top band pieces 2" X 12"
To prepare the front zipper panel:
Sandwich the top of the zipper between the top main and lining pieces. Sew with a 3/8" seam allowance using a zipper foot. Press the pieces away from the zipper and topstitch 1/8" from the seam. Repeat for the bottom pieces.
To assemble the bag:
Sandwich the main body of the bag between the zipper panel and lining. Sew using a 3/8" seam allowance. Press the top pieces upward and topstitch with a 1/2" seam allowance to enclose all of the raw edges.
Repeat for the back of the bag, topstitching as desired (you will only see one side at a time anyway.)
Sew the top bands in the same manner as the pattern instructions. They will just be more narrow so as not to add more layers over the zipper.
Baste the sides and be mindful of the zipper stop. Trim the ends of the zipper to align the edges with the rest of the bag.
Follow the rest of the directions as per the pattern.
Here is a video tutorial to make this a little easier for you!
We are adding more and more content to our YouTube channel so be sure to check it out!
The rest of this week we are focusing on our other "S" pattern - the Seafoam Skirt! Make sure that you are signed up for our newsletter to get special discounts on our Project Under the Sea Deep Dive featured patterns every week!
If you are sending your kids back to school the teachers often request a few items to help stock the classroom. They always need tissues and Clorox wipes!!! So why not whip up a quick Book Bag to send them in!?!?
This was actually my very first time using Cricut Iron On and I only had dark fabric, so I decided to test the waters with a patch on the front of the bag. The frayed edge patches are very trendy lately and I love how it turned out! I actually got a little carried away and made three of them!
Cut a piece of light colored canvas or other heavyweight fabric to the desired size. I started with an 8" x 10" rectangle. You can decorate it with an iron on digital design or create a unique background.
For the stitched lined paper patch:
Sew a horizontal light blue line of stitching one inch from the top edge of the fabric.
Stitch another blue line 3/8" from the first line.
Repeat until you get to the bottom of the fabric. The fabric may shift, so square up the edges and trim the loose threads with a rotary cutter as needed.
Sew a vertical line of red stitching one inch from the left edge of the fabric.
Add iron on vinyl to the patch.
To attach the patch to the bag:
Apply washable glue stick to the back of the patch and center it on the front of the bag, pressing and smoothing it in place.
Stitch 1/8" from the edge around the patch, pivoting at the corners.
Stitch around the patch again 1/8" from the first line of stitching towards the inside.
Pull out the loose threads on the edges to create a frayed effect.
Sew the Book Bag as per the pattern instructions.
I think they turned out really cute! You can get the Back to School Digital Designs in the shop and there are plenty of different elements to create tons of cute, original bags!
Don't forget to get your free printable first day of school posters from the shop, too!
In case you missed it, last week we also had a tutorial round-up for different ways to use digital designs in your children's sewing projects! Click HERE to learn more!


.jpg "Project Night and Day collar")


Bows")


.JPG)


