With the new year comes new changes to Project Run and Play.
First, all new blog posts going forward will be shared on the shop website, projectrunandplay.com! We plan to maintain this website so that all of the incredible content posted over the last 14 years can continue to be shared with others to teach and inspire. The shop website is also getting a bit of a refresh and reorganization, so please bear with us as we attempt to change things up a bit!

Jenny and Whitney have been helping out over the last few years and will be stepping back into contributor roles. Project Run and Play could not have accomplished so many great things without their hard work and great ideas! Thank you both so much!!!
Audrey is officially retiring from Project Run and Play! Back in 2018, Audrey took over Project Run and Play and expanded it to include a pattern shop as well as adding many fun events! Her vision for evolving Project Run and Play has created so many meaningful relationships in addition to huge accomplishments! We are going to miss her so much!

Here is a special note from Audrey:
For the past several years I have had the immense pleasure and privilege of holding the reins at Project Run and Play. It has been my goal during this time to continue providing an inspiring, educational, and creative space for the sewing community to find a reprieve from the daily grind. I have also attempted to grow Project Run and Play into an even bigger and more inspiring place by continuing the traditional Seasons, creating and curating the shop, releasing new patterns and pattern collections, coordinating inspirational sewing tours, and designing the ever popular lookbooks.
This would not have been possible without each and every one of you. Designers, contributors, sponsors, assistants, team members and more have carried this event on their shoulders and helped it succeed, while in the process becoming like family to me. I feel so humbled as I think of each and every person who helped me through my tenure as the head cheerleader at Project Run and Play. Thank you all from the bottom of my heart!
It is with immense gratitude and respect that I am retiring and passing the reins to Lindsay and Liesel. You know these two ladies well as they are past Designers, not only earning well-deserved top places in their Seasons, but continuing to inspire us all again and again since then! Their vision and dedication will lift Project Run and Play to even greater heights. Please give them your wholehearted support in every possible way you can. They have and will deserve it!
Thank you for everything and happy sewing,
Audrey
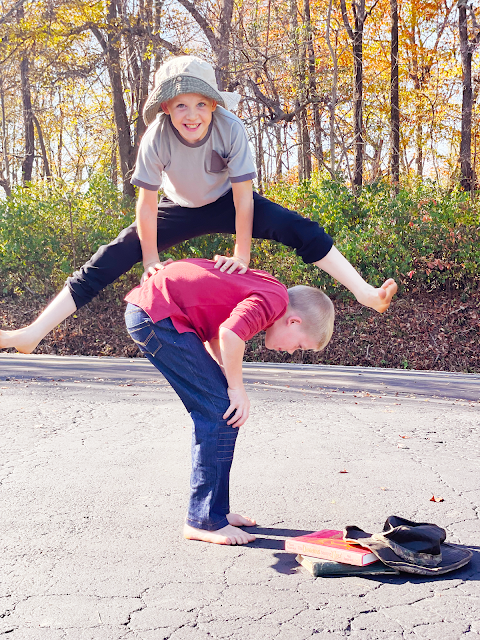
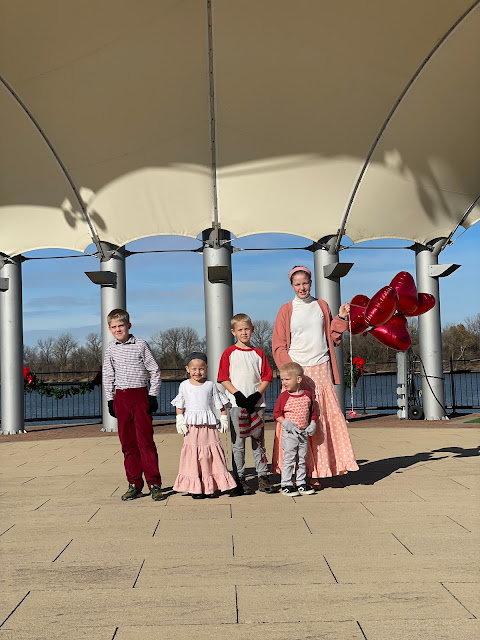
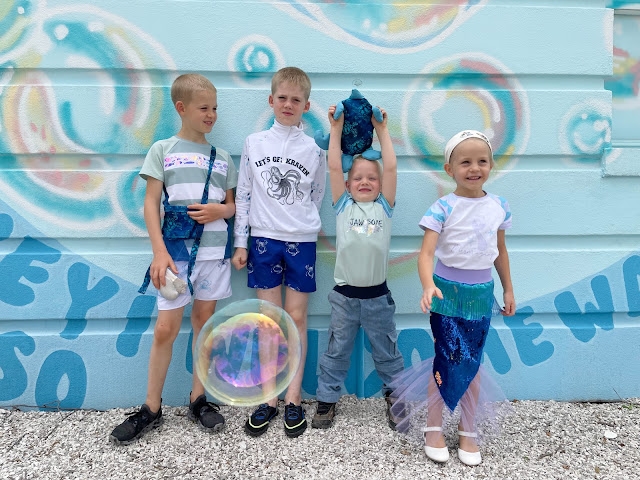
We have been planning this virtual "Retirement Party" in secret and collected special messages to Audrey from the Project Run and Play family. We are also sharing some of our favorite things that Audrey has sewn over the years! (Oh, and each of the images are linked if you want to see more!)
Audrey, Congratulations on your retirement! You have been such a positive light in the online sewing community. Your leadership has left a great impact on Project Run and play! I was blessed to work along side you for a short time. And I am honored to call you a friend! Wishing you joy, relaxation and lots of sewing time in the next chapter of your life! All the best, Whitney, Sew Whit Designs


Audrey, I am going to miss you leading Project Run and Play! You have done amazing things over the past few years and your work ethic and positive attitude have inspired me! I am honored to be able to continue the work that you started and I pinky promise to stay in touch! Above all, beyond the amazing sewing patterns and creative content, you have touched lives and inspired others. I am so grateful to call you my friend! -Lindsay, PACountryCrafts


Thank you so much Audrey for everything you have done for Project Run and Play! You made my dream come true as a 24 year old when you invited me to be a designer! It was something I never imagined happening but because of you I was able to challenge myself and become a better seamstress and even a designer. I am so glad to have “met” you through the blogging and sewing community. You constantly inspire me with your beautiful sewing and pattern designs. Thank you Audrey and happy retirement! - Elizabeth, The College Seamstress

Audrey, you have been an inspiration to me! I got to know PR&P because of you and it has made me very happy to collaborate with you and the other designers during the past years. I love what you do, your sewing, the collections, how you've managed PR&P, your podcast, and how you always have a kind word when I'm feeling down. You helped me see and feel that I'm not alone in this big pattern designing world, and this has been very important to me. I'll miss you dearly over here, and I wish you all the best in whatever you decide to do next. Perhaps we can meet in person one day, I would love that. - Susana, Suco by Susana

I can’t imagine anyone who could have done a better job leading and helping build Project Run + Play to what it is today. The countless hours she has put in, both behind the scenes and in front of the camera, will be sorely missed. To have this little nugget on the internet that celebrates those who sew for their children is such a joy. It wouldn’t be possible without the commitment Audrey has had to PRP since the beginning! I hope that this next chapter of life keeps your creative fires burning, while allowing you to rest a little more. We look forward to seeing what you do next! - Lakeisha, Sincerely Shantelle

The term “force for good” is very fitting for Audrey. As I’ve worked with her on several projects I’ve been witness to her amazing work ethic and positivity. She is such a skilled organizer, selfless cheerleader, adept designer, and the kindest of friends. I’ve genuinely never met anyone as dependable and hardworking as she is, and I’ve never left an interaction with her without feeling encouraged to be better. She inspires so effectively by example and through kindness. I will always admire the relentlessly uplifting impact she’s made on the sewing world through Project Run and Play. Best wishes for what’s next Audrey. Love, Delia - Delia Creates

 - Ajaire, Call Ajaire
Audrey, Project run and play is so fun to be a part of! It has inspired so many sewist over the years. Watching PRP grow has been so cool, especially having he opportunity to be a part of it! Congratulations on retirement, I hope the next phase of life is filled with enjoyment 💗 -Emily, Team Orosco


The first time I spoke with Audrey was to propose my participation in the PR&P, what a nice opportunity she gave me. I am very grateful. Audrey has always struck me as a hard-working woman with a very important skill: she never loses her patience and gentleness. That smile of hers is magic. I wish you all the best in your new stage. Greetings from Spain! -Monica, Ma Me Mi Mo

Thanks Lindsay! Audrey has been so wonderful and inspiring and has grown PRP so much!! Wishing her the very best with everything that comes next!! -Emily, Replicate then Deviate
It would be great if we could all have a piece of cake now! (Consider this your excuse for a treat!)
Congratulation, Audrey! Enjoy!
Moving forward, Project Run and Play will continue with Liesel and Lindsay taking the reins. For 2024 there will be monthly themes and sewing challenges with prizes! The first one is already started!!!
Here is how you can keep up with Project Run and Play:
To be continued...
Feel free to leave your own message for Audrey in the comments!


