Showing posts with label Girls. Show all posts
Monday, November 7, 2022

Project Art Studio with Jenny of Made of Starlite

 Next up on the tour, we have Project Run and Play team member Jenny from Made of Starlite on Instagram!

The theme for my collection is "Sketchbook". I started with this color palate, pulled from the 2022 NY Fashion Week Fall colors. I just love all the vibrant hues that are trending this season! I don't know if you've noticed, but I generally gravitate toward spring colors over fall, so these make me super happy. 😉

We started with these overalls. My daughter is totally OBSESSED with overalls! All lengths, all colors, all the time! So I knew the Degas Dungarees would have to be my first sew. We found this super cool ombre denim at JoAnn's, and while she usually picks comfort over aesthetics, she begged to bring it home even though it does not have any stretch! 

The finish on the inside of this pattern is just beautiful. I love it when the inside is a pretty as the outside!

Of course we had to sneak in a tag from the new fabric line! I don't generally use these side tag, and now I want to add them to all the things!!! 😍

I don't know if you can tell, but this girl loves a photoshoot. 😆😆

Next up, we went super comfy with a Haze Top made with double brushed poly! I was so excited when Sherri agreed to include this beautiful pattern in the collection. She originally designed it for spring, but I keep seeing that pleated bodice at retailers in their fall releases! 
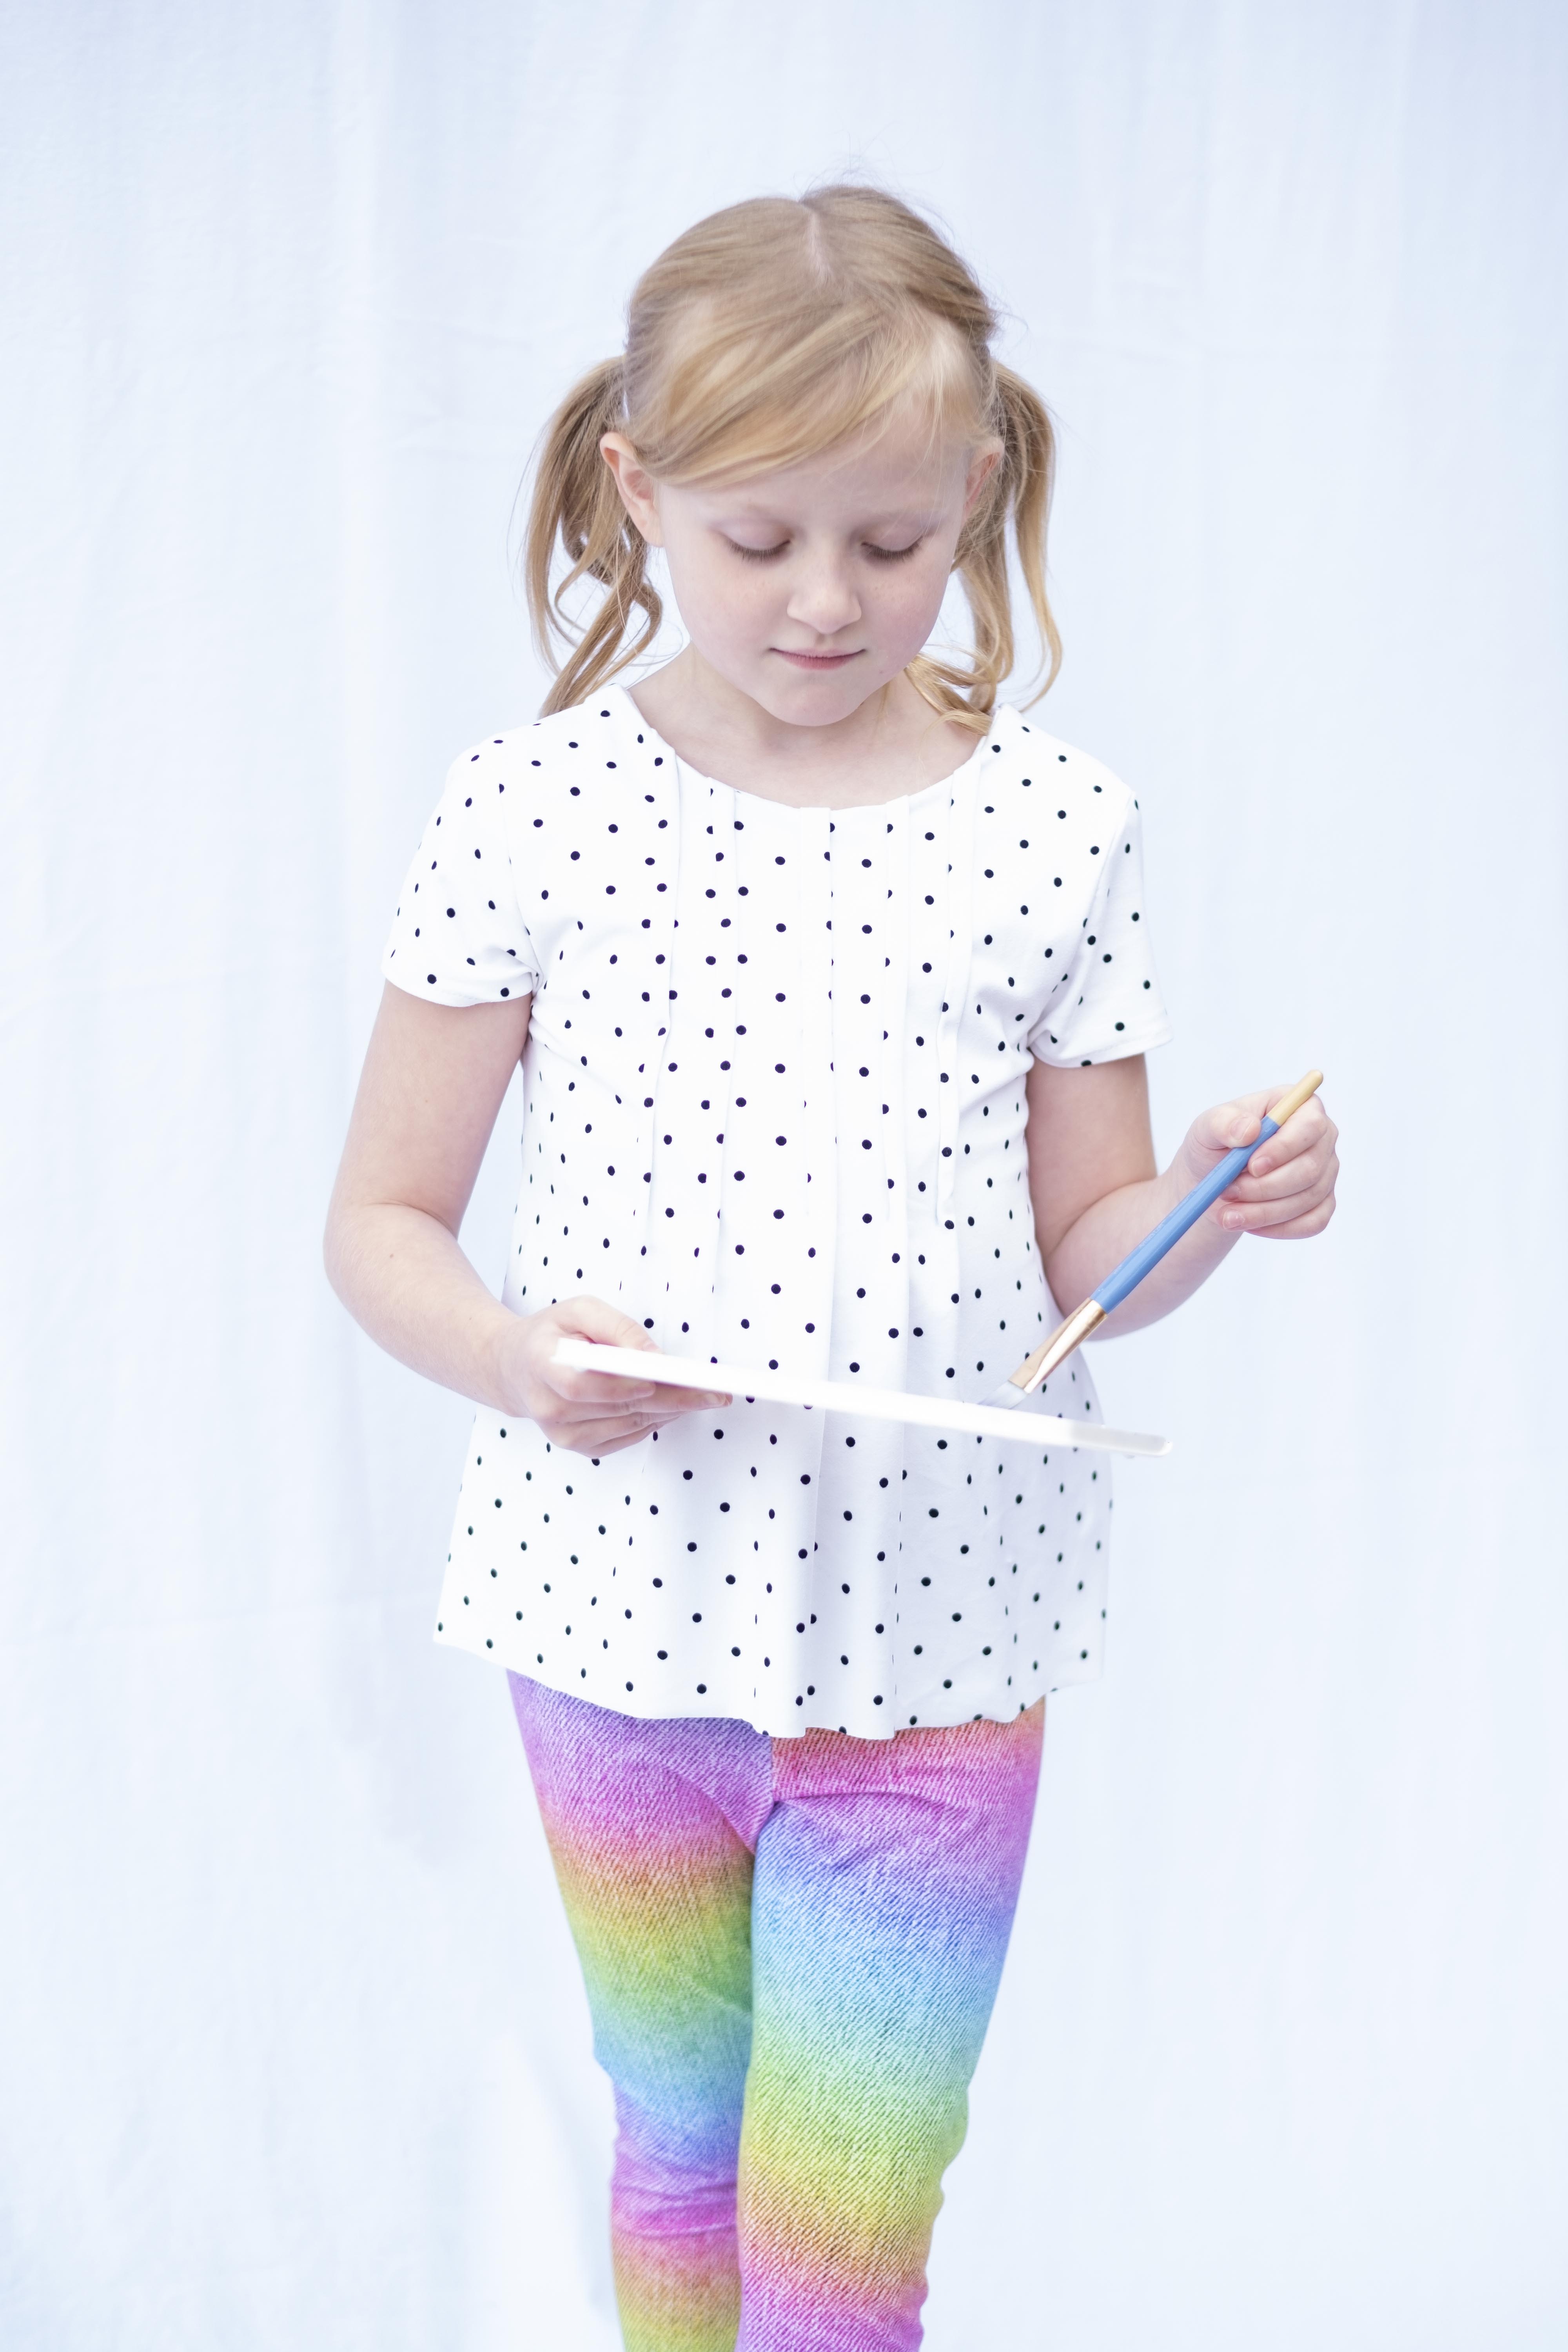


I followed the pattern exactly as written, despite using a knit fabric. I think if I did it again, I would size down one size in width, and probably skip the lining in favor of binding on the inside. 

And I keep thinking of pretty trim I could add to those pleats! I can't wait to try the hand stitched option; it's so pretty!


We paired the Haze with my favorite legging pattern of all time, the Rocky Shore Tights! I don't even know how many pairs I've sewn of these. I've been hoarding this super cool rainbow denim from Spunkin Honeyhead Fabrics forever, and we both agreed that the rainbow effect was meant to be part of this collection.

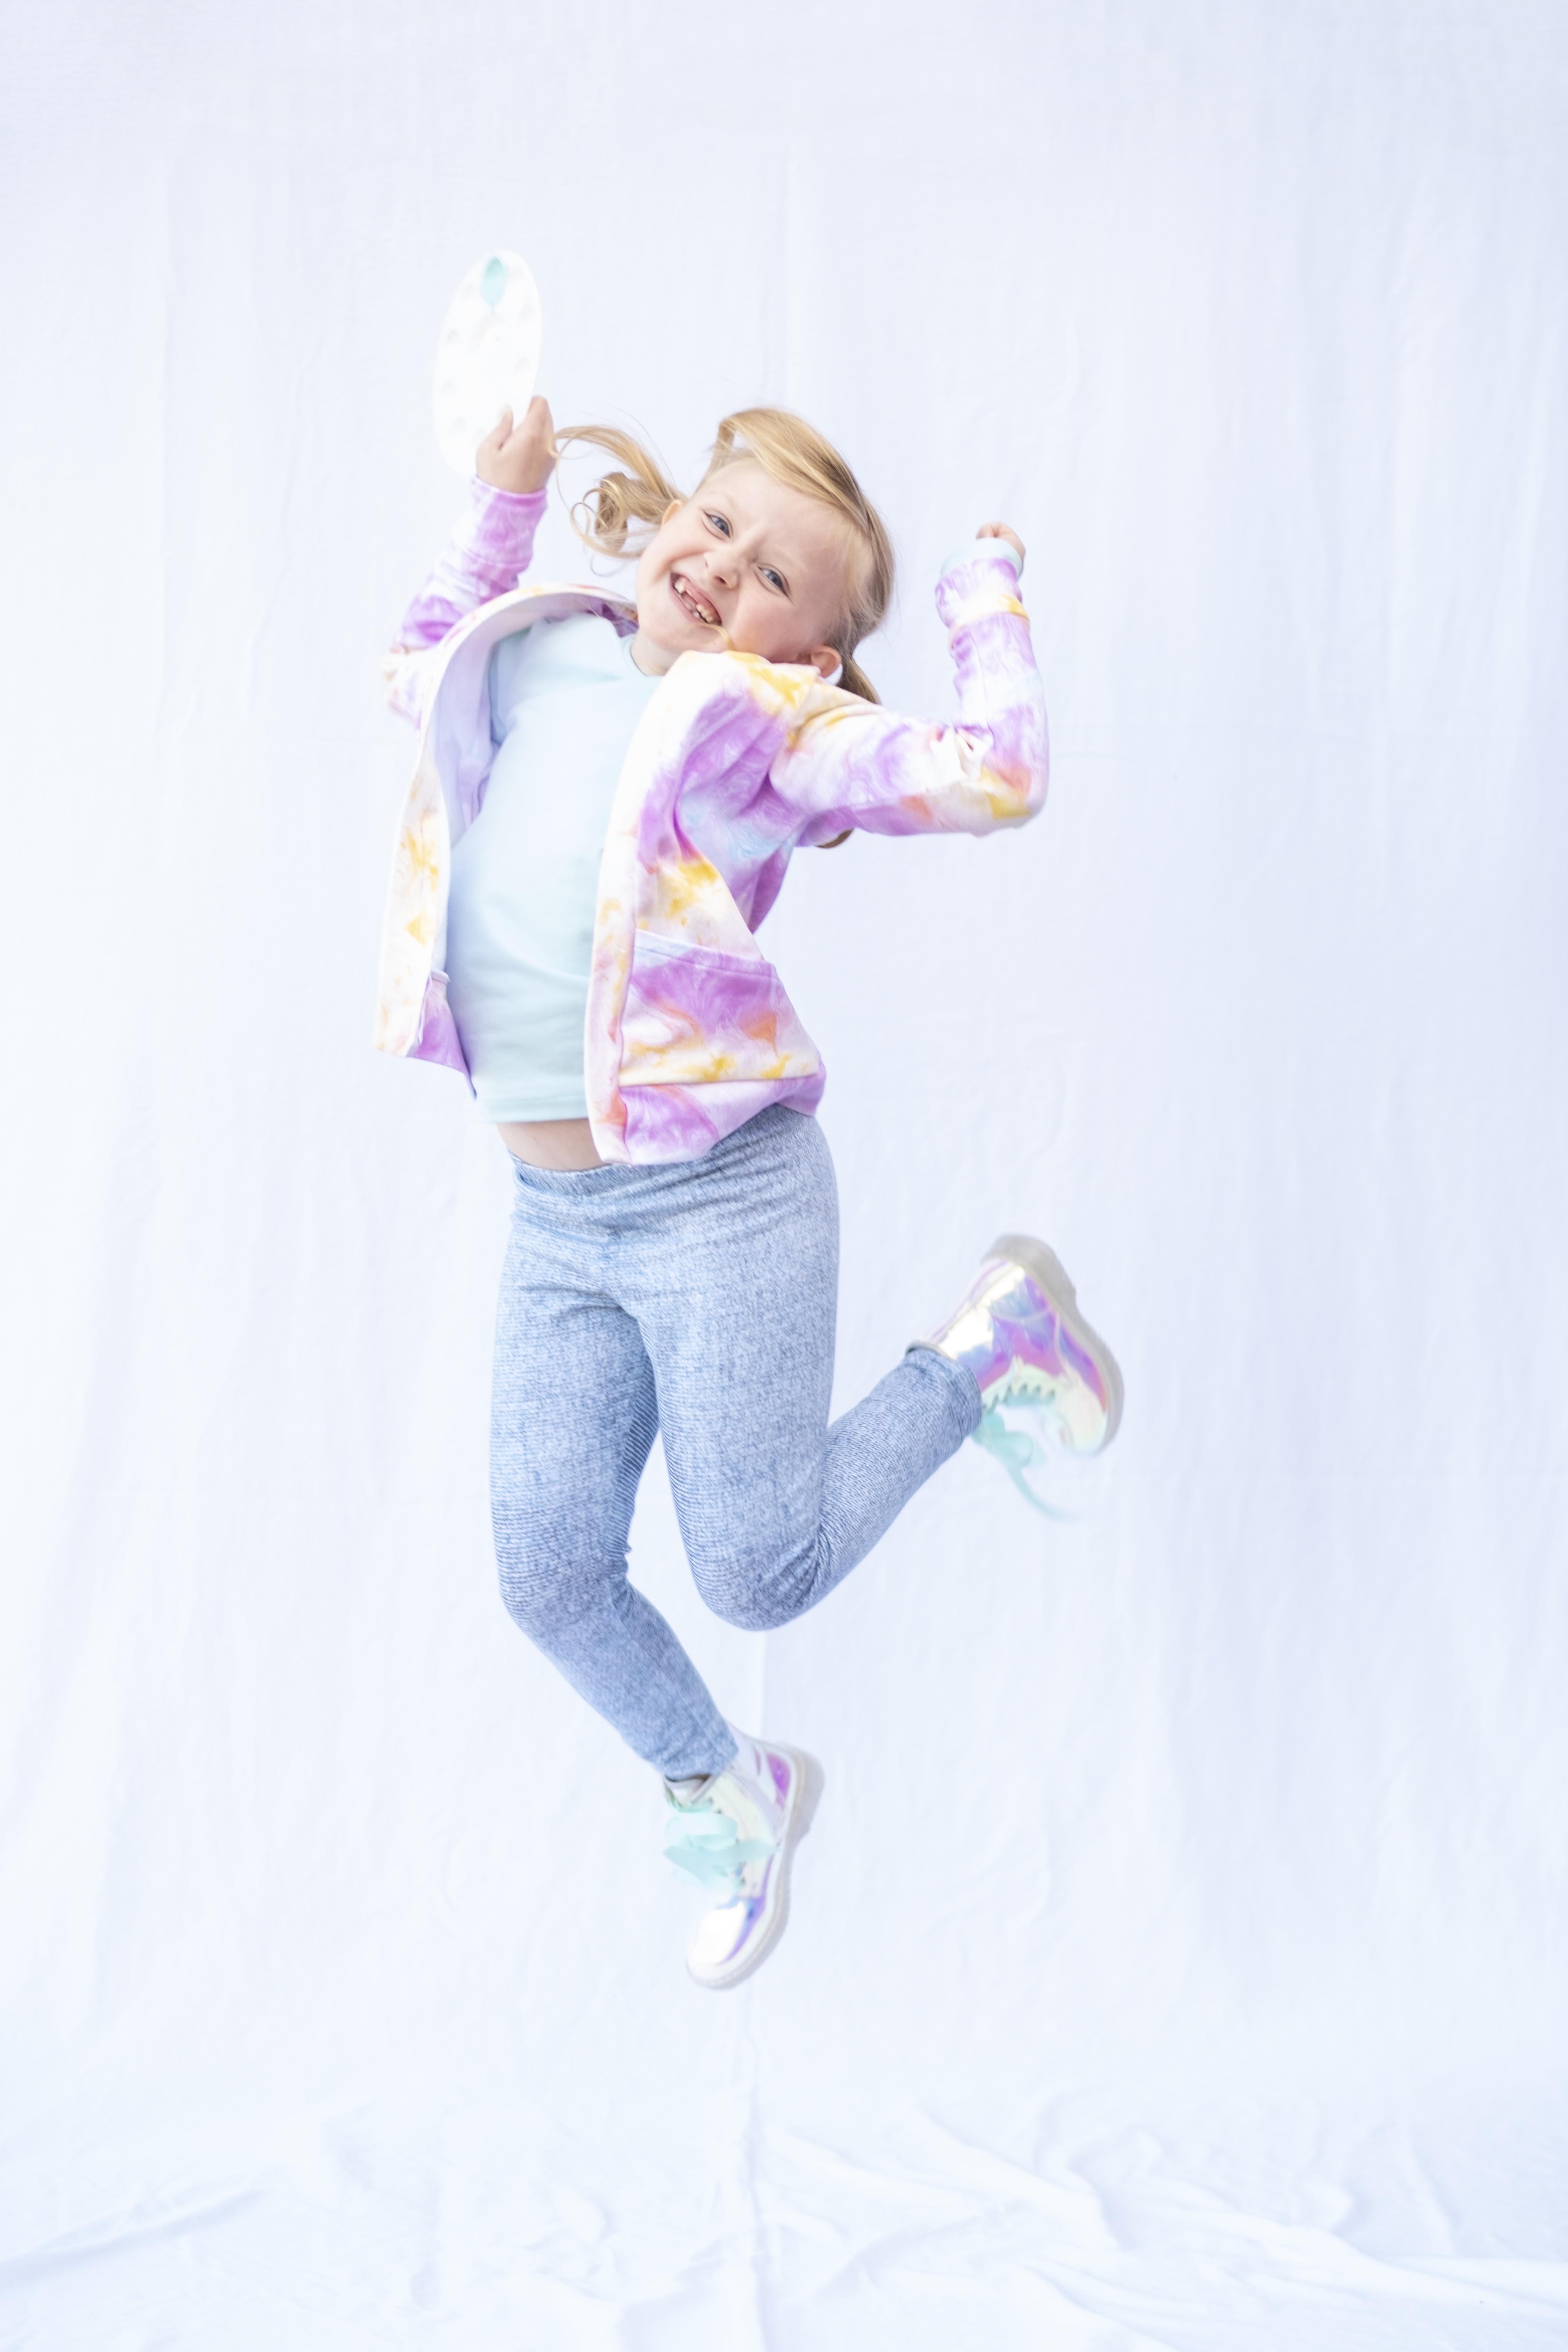
Of course I couldn't stop with just one pair of Rocky Shores, so we did a second pair in a light wash denim print knit. 

This time we paired them with a cozy Blank Canvas Cardigan and a Multi Hue Henley, sans placket. I always seem to forget about sewing wardrobe staples, so it was nice to force myself to just whip out a few basics since she is growing like a weed!


Look at that range of motion on those Rocky Shores! 😂😂


While we both adore the Henley, I didn't have buttons to match this blue knit, whic *perfectly* matches the blue in the sweater. So I just skipped the placket and cut a neckband at 80% of the neckline. Worked like a charm!


I'm sure you've noticed, but Millennial Moms: crop tops are back! 😁😂😀 It's 2003 all over again folks. So when we updated the Easy Street Tee and turned it into the Easel Tee (free with purchase of any pattern in the Project Art Studio Collection!), we had to throw in a crop length. 


Hope you are thoroughly inspired to sew something for your resident artist! 
Wednesday, July 22, 2020

Summer Hack-stravaganza: Coral Wrap Dress and Stoplight Skirt

On day 2 of the Summer Hack-stravaganza, Audrey is sharing a delightful combination of two exclusive Project Run & Play patterns:

and 


Wow!  Check out that stunning combination!  Here's the tutorial:


The first thing that needs to happen is the alteration of the skirt pattern pieces.  They have a waistband built into the pattern piece, but you'll be using the waistband from the Coral Wrap Dress pattern.  So remove the waistband part from the top of the pattern piece, and add 2" of length to the pattern piece at the lengthen/shorten line.

Next, construct the Coral bodice as instructed in the pattern except be sure to INCLUDE the short ends of the bodice when sewing the side seams.  (The instructions specifically state to NOT include the short sides, but this dress hack will be a faux wrap, not a true wrap.)


Next construct the waistband.  This tutorial works for both the wide and narrow waistband options.  Use the 2 back waistband and 4 front waistband pieces from the Coral Wrap Dress pattern.  Place 2 of the front waistband pieces with the right sides together.  Sew around 3 of the sides, leaving a short end open.  Turn them right side out, and you have created 2 ties.  
Now take the two back waistband pieces and place them right sides together.  One of these will be the back and one will be the front.  Sandwich one of the front waistband/ties in between the front and back waistband pieces across each short end.  Since the ties are sewn together and the seam allowance has been used, they will not be as wide the back waistband pieces.  Sew across both short ends.

Next, follow the instructions to construct the panels of the Stoplight Skirt.  Incidentally, you can use any of the 3 views of the skirt for this tutorial!  

Then it's time to put the top, skirt and waistband together.  All 3 of these items are sewn into circles, so it's just a matter of sewing the top to the top of the waistband and the skirt to the bottom of the waistband.  Be sure to not catch the long ties when you are sewing the waistband, bodice and skirt together.

  Mark the top and waistband into quarters, match those spots and then sew them with the right sides together.  After the top is attached to the waistband, attach the skirt to the bottom of the waistband in the same way.


For fabric links and more photos of this super fun dress, please visit Skirt Fixation.

See you tomorrow for more Summer Hack-stravaganza fun!!
Tuesday, July 21, 2020

Summer Hack-stravaganza: Cobalt Shorts, Thyme Shirt, & Aurora Raglan

The first entry in the Project Run & Play summer Hack-stravaganza is by Audrey.  She hacked 3 patterns to create this adorable brother/sister coordinating look.  (Scroll to the end for today's giveaway information...)


What patterns do you see here?  On the sister we have the Aurora Raglan hacked into a dress with a circle skirt!  On the brother, we have the Thyme Shirt and the Cobalt Shorts; both of which recommend WOVEN fabrics, sewn with KNIT fabrics!  Ready for the details?


Cobalt Shorts woven to knit details:

This was literally the easiest hack ever!  Because the elastic back allows you to fit the finished garment to the child, NO ADJUSTMENTS were needed to change from using a woven fabric to a knit fabric.  I sewed the Bermuda length with the faux fly option.  I did use a stretch stitch when sewing these Cobalt Shorts.  So easy and FUN!


Thyme Shirt woven to knit details:

Again, this was a super duper easy transformation.  When I measured him, he was between sizes, so I decided to use the smaller size since I was using a knit fabric.  It worked out perfectly!  This is the Thyme Shirt with short sleeves.  I used a stretch stitch, and that's the only adjustment needed!  Such a cute shirt and so easy to make with knit fabric.


Big sister got a maxi Aurora Raglan Dress with a skirt skirt.  She hasn't stopped spinning since...

Aurora with a circle skirt details:

I measured to where the waist is on my girl and used the Aurora Raglan pattern pieces for the bodice, sleeves and ties.  Then I used the Aurora pattern's finished measurements chart and my daughter's waist to ankle measurement to calculate the dimensions of a circle skirt using the By Hand London circle skirt calculator app.  (You can also use the Janie Dress pattern pieces for this if you detest math!)  Once I had the circle skirt cut out, it was simply a matter of sewing it to the Aurora Raglan top and hemming it.  Easy peasy!

For fabric links and more photos of these two in their coordinating clothes, please visit Skirt Fixation.

Today's giveaway information:

Enter to win 2 patterns of your choice from the Project Run & Play shop in and of these 3 ways:

Follow Project Run & Play on Instagram and comment on the post with these outfits.
Follow Audrey on Instagram and comment on her post with these outfits.
Leave a comment on this post!  

Winner will be drawn at random on July 24.  


Friday, June 28, 2019

Rita Dress & Nightgown with It's Liesel


The final stop on this new pattern release tour features the Rita Dress & Nightgown!  Here to help celebrate this pattern is Liesel from It's Liesel.


Susana of Suco by Susana used the Rita Dress & Nightgown pattern to create this darling top as part of her Wanderlust look.


Today, Liesel is sharing this perfect staple Rita Dress & Nightgown!  See all the details over at It's Liesel and enter to win a free pattern of your choice from the Project Run & Play shop.

 Find the Rita Dress & Nightgown pattern here.

The sale ends SOON!!!

Use the code newpatterns20 for 20% off your entire purchase in the Project Run & Play shop!
If you buy 3 or more patterns, use the code newpatterns25 for 25% off your entire purchase

Pattern collections are already discounted and excluded from the sale.  Sale begins now and ends at midnight EST June 30.


Thursday, June 27, 2019

Ring Around the Rosie Romper & Dress with Sew Haute Blog


The spotlight today shines on the Ring Around the Rosie Romper & Dress.  Here to help celebrate this pattern is Teronia from Sew Haute Blog.


Aimee of Puzzle Patterns used the Ring Around the Rosie Romper & Dress pattern to create this adorable romper as part of her Surf & Sand look.


And today, Treonia is sharing just how perfectly suited the Ring Around the Rosie Romper and Dress is for summer sewing!  Plus the juiciest baby pictures ever!!  See all the details Sew Haute Blog and enter to win a free pattern of your choice from the Project Run & Play shop.
Remember the sale:

Use the code newpatterns20 for 20% off your entire purchase in the Project Run & Play shop!
If you buy 3 or more patterns, use the code newpatterns25 for 25% off your entire purchase

Pattern collections are already discounted and excluded from the sale.  Sale begins now and ends at midnight EST June 30.


Wednesday, June 26, 2019

Merry Go Round Dress with Candice Ayala


The next new pattern in the shop is the Merry Go Round Dress & Top!  Here to help celebrate this pattern is Candice Ayala.


Aimee of Puzzle Patterns used the Merry Go Round Dress & Top pattern to create this cute dress as part of her Patriotic Parade look.


And today, Candice is sharing just how perfectly suited the Merry Go Round Dress & Top is for summer sewing!  Plus a bonus pattern, the Susie Shorts!!  See all the details over at Candice Ayala and enter to win a free pattern of your choice from the Project Run & Play shop.
Remember the sale:

Use the code newpatterns20 for 20% off your entire purchase in the Project Run & Play shop!
If you buy 3 or more patterns, use the code newpatterns25 for 25% off your entire purchase

Pattern collections are already discounted and excluded from the sale.  Sale begins now and ends at midnight EST June 30.


Thursday, June 20, 2019

Flying Fox Dungarees with SewSophieLynn


The spotlight today shines on the Flying Fox Dungarees/Overalls!  Here to help celebrate this pattern is Tami from SewSophieLynn.


Aimee of Puzzle Patterns used the Flying Fox Dungarees pattern to create this cute romper as part of her Surf & Sand look.


And today, Tami is sharing just how perfectly suited the Flying Fox pattern is for older girls too!  See all the details SewSophieLynn and enter to win a free pattern of your choice from the Project Run & Play shop.

Remember the sale:

Use the code newpatterns20 for 20% off your entire purchase in the Project Run & Play shop!
If you buy 3 or more patterns, use the code newpatterns25 for 25% off your entire purchase

Pattern collections are already discounted and excluded from the sale.  Sale begins now and ends at midnight EST June 30.


Wednesday, November 13, 2013

Children's Holiday Wear Inspiration: Tutorials for Girls

Hello!
Happy Wednesday Everyone!
Today we are sharing some of our favorite tutorials from seasons past that could be used for a variety of girls holiday sewing ideas.


Tuesday, January 29, 2013

How to Applique Hearts on Kids Clothes

I am super excited to be here this week on Project Run & Play - I can't get enough of it!  I eagerly anticipate each season.  Everyone always does an amazing job and it's very inspiring.

This week is Valentine's and I want to show you how you can just add a few embellishments to an outfit to make it have a slight Valentine flair.  I like this because it can be for Valentine's Day, but is not overly themed so it can be worn year-round as well.
First, use your favorite legging pattern and cut the leg pieces out like normal (can you tell I made this during Dots and Stripes week??  I thought that was such a fun theme and had to try it).  Then before you sew the leg pieces together, attach heart patches to the knees.  I used tshirt scraps, so because it was jersey I didn't need to worry about frayed edges.

After the patches are attached you can sew the leggings together like normal.  I didn't have my niece there when I made them, so I guessed on the patch placement and got them a little lower than knees (so hard to tell where that falls on baby pants) but it's still cute!

I embellished the shirt in the same manner - cut out jersy hearts and layered and sewed them on a discarded onesie I found.  If you want to add an embroidered name, I suggest doing that before you sew it onto the onesie - it's easier to embroider that way.

That's it!  Go out and add a little Valentine Flair to your latest project.  Can't wait to see what the contestants will link up this week!
 Hope to see you over my blog, www.SugarBeeCrafts.com - it's awesome over there!


Wednesday, January 16, 2013

Winner's Tutorial: Vanessa's Yellow Cardigan


Hi! Vanessa here. First, I want to say thank you so, so much to everyone who voted for my outfit! Very exciting to win! Today I'll share a bit about the little yellow cardigan I made and show you how to draft a collar pattern. As I mentioned, I used Made By Rae's Flashback Skinny Tee pattern as a starting point for this cardigan. Such a great pattern to have in your stash! You could also use a t-shirt that fits your child well  to create a pattern. I used the back pattern piece as is and cut my fabric on the fold as directed. I used the front pattern piece to cut 2 separate pieces of fabric - the 2 front halves of the cardigan. The only change I made to it was to extend the middle edges out about an inch so that I could fold the fabric under later to create a button placket. I made changes to the length of the cardigan and the sleeves later in the process of construction. If you'd like a looser fitting cardi, add some width the back/sides of the pattern pieces.

To begin drafting the collar pattern, you'll want to have both the front and back pattern pieces on hand along with some tracing paper and a pencil. I used a 3/8" seam allowance for this project and marked the seam allowance at the shoulder of both pattern pieces as pictured below.


You'll then want to overlap the pattern pieces at the shoulder - the seam allowance markings and the edges of the pattern pieces should line up. Tape the pieces together. This will create 1/2 of the neck opening and will give you a guide for drafting a collar. 


Place the tracing paper over the pattern pieces and start by tracing just the neck opening.


Next, make a mark about 1 inch from the left edge of the bodice front piece. This will give you a starting point for the collar. Since you'll need to fold under some fabric for the button placket and you don't want the collar itself to overlap when you button the cardigan closed, you don't want to start the collar at the very edge of the pattern piece. I folded my fabric under 1/2" to make my button plackets so that's where I came up with 1". Draw the collar the actual size you'd like it be. Keep in mind that this will create 1/2 of the collar. You'll then want to add in a 3/8" seam allowance (dotted line below) to just the bottom edge of the collar. You can now cut the collar pattern piece out and use it to cut 2 collar pieces on the fold of your fabric. You'll end up with 2 "C" shaped pieces of fabric.


If you'd like to create faux piping on your collar, use the collar pattern piece to trace out a slightly larger version...I made mine 1/8" larger. I simply traced 1/8" from the edge of the seam allowance I previously drew. You'll then cut out one standard collar piece and one slightly larger piece from a contrasting color (the larger piece will become the underside of the collar). Place the pieces right sides touching, with the sides and bottom aligned. Sew together along the bottom edge of the collar - leave the inner curve open. Turn the collar right side out and roll the bottom edge of the underside towards the front to create the look of piping. Press in place. 


If you haven't already, sew together the front, back, and sleeves of the cardigan together. Next, you'll baste the collar to the cardigan (wrong side of collar touching right side of cardigan). Center the collar on the back of the cardigan and pin in place - raw edges of the collar lined up with the raw edge of the cardigan. Baste close to the edge. You'll then want to create a strip of 1/2" wide single fold bias tape (doesn't have to be cut on the bias when using knits) the same length of the top of the cardigan. This tape will bind the seam of the collar. Open the binding and pin the right side to the collar. The top edge of the binding lines up with the raw edges of the collar/cardigan. Sew it in place using a 1/4" seam allowance.


Now you'll flip the binding in towards the inside of the cardigan. Smooth everything out and press well. Pin the binding in place and then stitch close the the edge. If you're using different color fabrics, it helps to match the bobbin thread to the fabric underneath.


The collar is finished! From this point, you can either hem or add a band to the bottom of the cardigan and finish off the sleeves. Then, fold under the front edges of the cardigan and stitch in place to create the button placket. Sew buttonholes and attach buttons....and you're done!


Thanks Vanessa!  That cardigan is ADORABLE!
*Don't forget to link up your stripes and polka dot looks for this week at our linky party HERE.